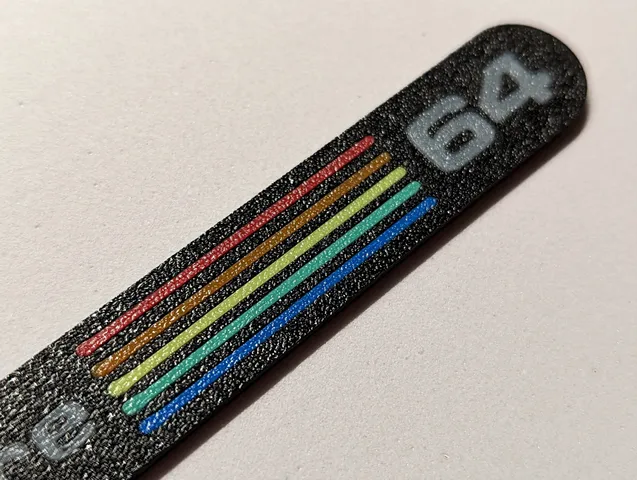
Commodore 64 Badge
prusaprinters
Printed with a single extruder using the method outlined in a video on the CHEP Youtube channel found here. This method easy once you understand it and work out the details. It also results in a very nice surface. Note that the model is not sized to be a direct C64 badge replacement. Scaling down to the correct size may be a challenge to print, but not sure yet.The general idea is to print each model separately, but leave them on the bed. With z hop / raise z enabled on retraction, the nozzle is lifted to clear the previous extrusions. I set the color bands and text height to 0.4mm with 0.2mm layers height, so my z hop / raise z was set to 0.5mm.VERY IMPORTANTIf you have a probe, use a stored mesh after the first print to avoid the probe hitting the print or detecting the print. If the probe is used as the z endstop or for gantry leveling, be sure the print does not interfere with those probe points.The badge prints face down and the order of prints isn't critical as long as Backing.stl is last.Printing in the order red, orange, yellow, green, blue, text and then backing worked well for me.Keeping the models aligned is very important. In Prusa Slicer loaded the text model and set its scale and location. This will act as an anchor of sorts. Then right-click on the model and selected Add part -> Load... to pick the first stripe to print (red for example). This will properly locate the stripe. Then delete only the text and print. Once the first print is complete, undo to undelete the text stl, delete the first stripe, and then add the next as a part. Swap filament and print again. This process repeats through to the last backing model.TIPSMake sure your bed is very clean and your z offset is correct. The text has lots of small extrusions that will need reliable adhesion.Keep the hotend and bed at temperature between prints. The hotend needs to be hot for filament swaps, and a hot bed keeps bits from popping loose. You could tweak your end print gcode to leave temps on, but I simply quickly set them again manually.
With this file you will be able to print Commodore 64 Badge with your 3D printer. Click on the button and save the file on your computer to work, edit or customize your design. You can also find more 3D designs for printers on Commodore 64 Badge.
