Comb Design
grabcad
Creating a Custom Haircut in SolidWorks is a Straightforward Process. To begin with, launch SolidWorks and select the part template from the new part dialog box. This will create a new part file in your workspace. Now, click on the 'extruded cut' feature under the features toolbar to define the base plane for your haircut design. In this case, we'll be working with the top plane of our part. Next, sketch out the shape of your desired haircut using either 2D or 3D sketching methods within SolidWorks. If you're creating a more complex style, it's recommended that you break down the process into multiple sketches and features to ensure accurate results. Now, click on the 'extrude' feature to create the solid model of your haircut design. Make sure to select the correct side of the extrusion, as this will determine which direction the hair grows from. You can then adjust the height of the extrusion by dragging the edge of the part upwards or downwards. Once you have created the base shape of your haircut, use the 'fillet' feature to round off any sharp edges and create a more realistic look. This is particularly important for longer hairstyles where the hair flows smoothly from one area to another. To add texture to your haircut design, click on the 'feature analysis' tool in the features toolbar. This will give you access to various surface finish tools that can be applied directly to your part model. Select the desired finish option and adjust its properties as needed to achieve the desired level of realism. Finally, use the 'rendering' feature within SolidWorks to view your completed haircut design in a more realistic format. This will help you evaluate the overall appearance of your design and make any necessary adjustments before finalizing it.
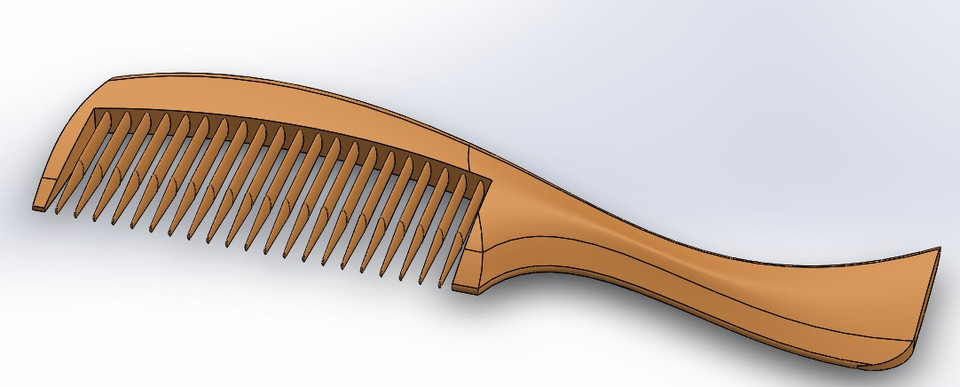
With this file you will be able to print Comb Design with your 3D printer. Click on the button and save the file on your computer to work, edit or customize your design. You can also find more 3D designs for printers on Comb Design.