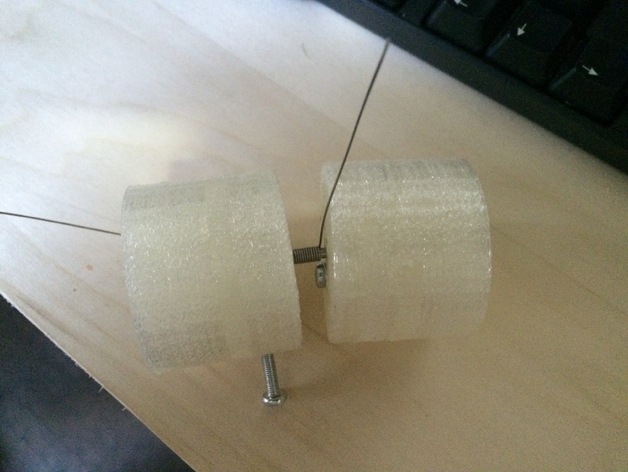
Coil Jig for different rod sizes V3
thingiverse
This jig enables easy creation of coils from Kanthal or Nickel wire. To set it up, insert an M3 machine screw in one of the holes matching the wire gauge size on one cylinder. Next, secure a center smooth rod using a grub screw on the opposite cylinder. Now, thread the wire through the hole adjacent to the rod. Grip the exposed end of the wire with your thumb and rotate it once around the central rod to initiate coiling. Once that's done, insert the protruding rod through the axial hole in the second cylinder. Begin rotating it to form a coil, and the machine screw will keep the wire in place, allowing for an effortless, uniform winding process. For users dealing with stiff wires, markers A, B, C, D are positioned on the cylinder as references. Coiling can begin at marker A, which will guide the completion point at either marker A or C, while a more extensive rotation towards B or D accommodates potential wire rebound. Please note that screw holes for machine screws require forceful insertion due to their untreaded state, however they are designed to apply gentle pressure on the coil against the center rod according to the chosen gauge.
With this file you will be able to print Coil Jig for different rod sizes V3 with your 3D printer. Click on the button and save the file on your computer to work, edit or customize your design. You can also find more 3D designs for printers on Coil Jig for different rod sizes V3.
