CNC workholding clamp
prusaprinters
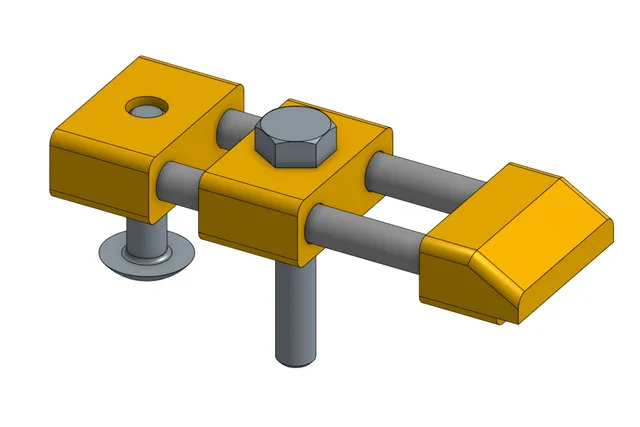
Oops clamp for ¼-20 hardware. Inspired by the OneFinity product.Stick a hex bolt through the middle sliding section into your spoilboard threaded inserts. I use a short carriage bolt on the back side to keep the clamp parallel to my workpiece.If you often work with stock of the same depth, you may want to fasten the Hex bolt loosely in place with a nylock nut.You may need to ream out the printed parts gently with a ¼" drill bit, but they're meant to be a very snug press fit. I assemble these by pressing them together with my bench vise. The sliding middle piece should move fairly freely along the aluminum rods.Non-Printable ItemsQuantity¼-20 Hex Bolt (whatever length you need)1¼-20 Nylock Nut1 (optional)¼-20 Hex Nut1¼-20 Carriage Bolt (½ inch shorter than your Hex Bolt1¼" aluminum rod, 3" or 4" long2
With this file you will be able to print CNC workholding clamp with your 3D printer. Click on the button and save the file on your computer to work, edit or customize your design. You can also find more 3D designs for printers on CNC workholding clamp.