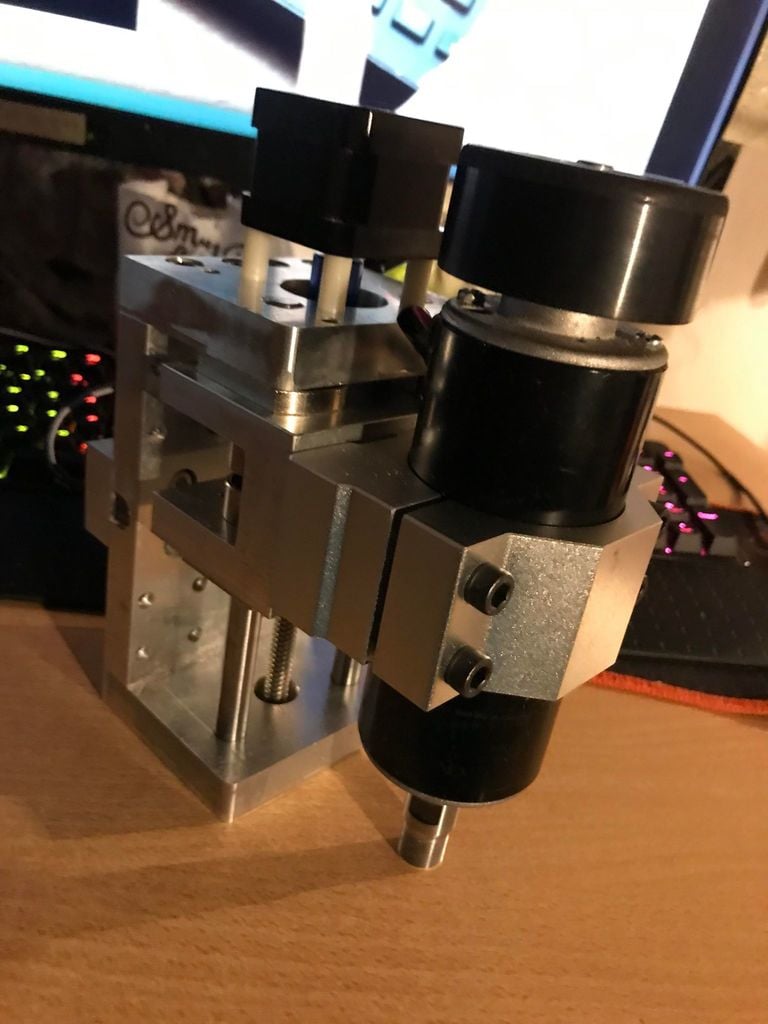
CNC 3018 upgraded X and Z-axis
thingiverse
------- The stl-files are not meant for printing. They're just an easy way to preview the models. ------- Project is meant to kill two birds with one stone. Fix the flex in the X-axis caused by the floppy 10mm rods, aswell as to add a 52mm spindle. If there's actually any interest in making this, I can post the NC-files. UPDATE: Posted NC-files. They're a mix of CAM and manual programming. Been a while since a wrote the code, but I'm pretty sure I used some fanuc specific flavoured commands(I know for sure that the rigid tapping cycles will only work for fanuc). A controller that supports sub programs is required, so grbl won't work w/o a rewrite. There are two versions using a spindle clamp. One for a 52mm spindle and one for a 55mm spindle. Parts needed: 4x LMH10UU (you can reuse the LM10 found in the X-axis carriage, but they are pretty shit) 2x MGN12H 350mm linear rails 4x MGN12H blocks 16x M3 * 16 30x M3 * 10 30x 2020 t-slot thingies with M3 threads 8x M6 * 30 (30-40) 1x TR8 with antibacklash nut ~120 mm (just buy the cheapest one and dremel it to length) Made the actual parts out of aluminium, but I'm sure they can be made out of acrylic on the 3018. Optional: *1x industrial milling machine for making the aluminium parts. Rest of the parts can be reused from the 3018. Demonstration: https://www.youtube.com/watch?v=c53kEF1c5FM
With this file you will be able to print CNC 3018 upgraded X and Z-axis with your 3D printer. Click on the button and save the file on your computer to work, edit or customize your design. You can also find more 3D designs for printers on CNC 3018 upgraded X and Z-axis.
