Clutch-Style Mini Driver
prusaprinters
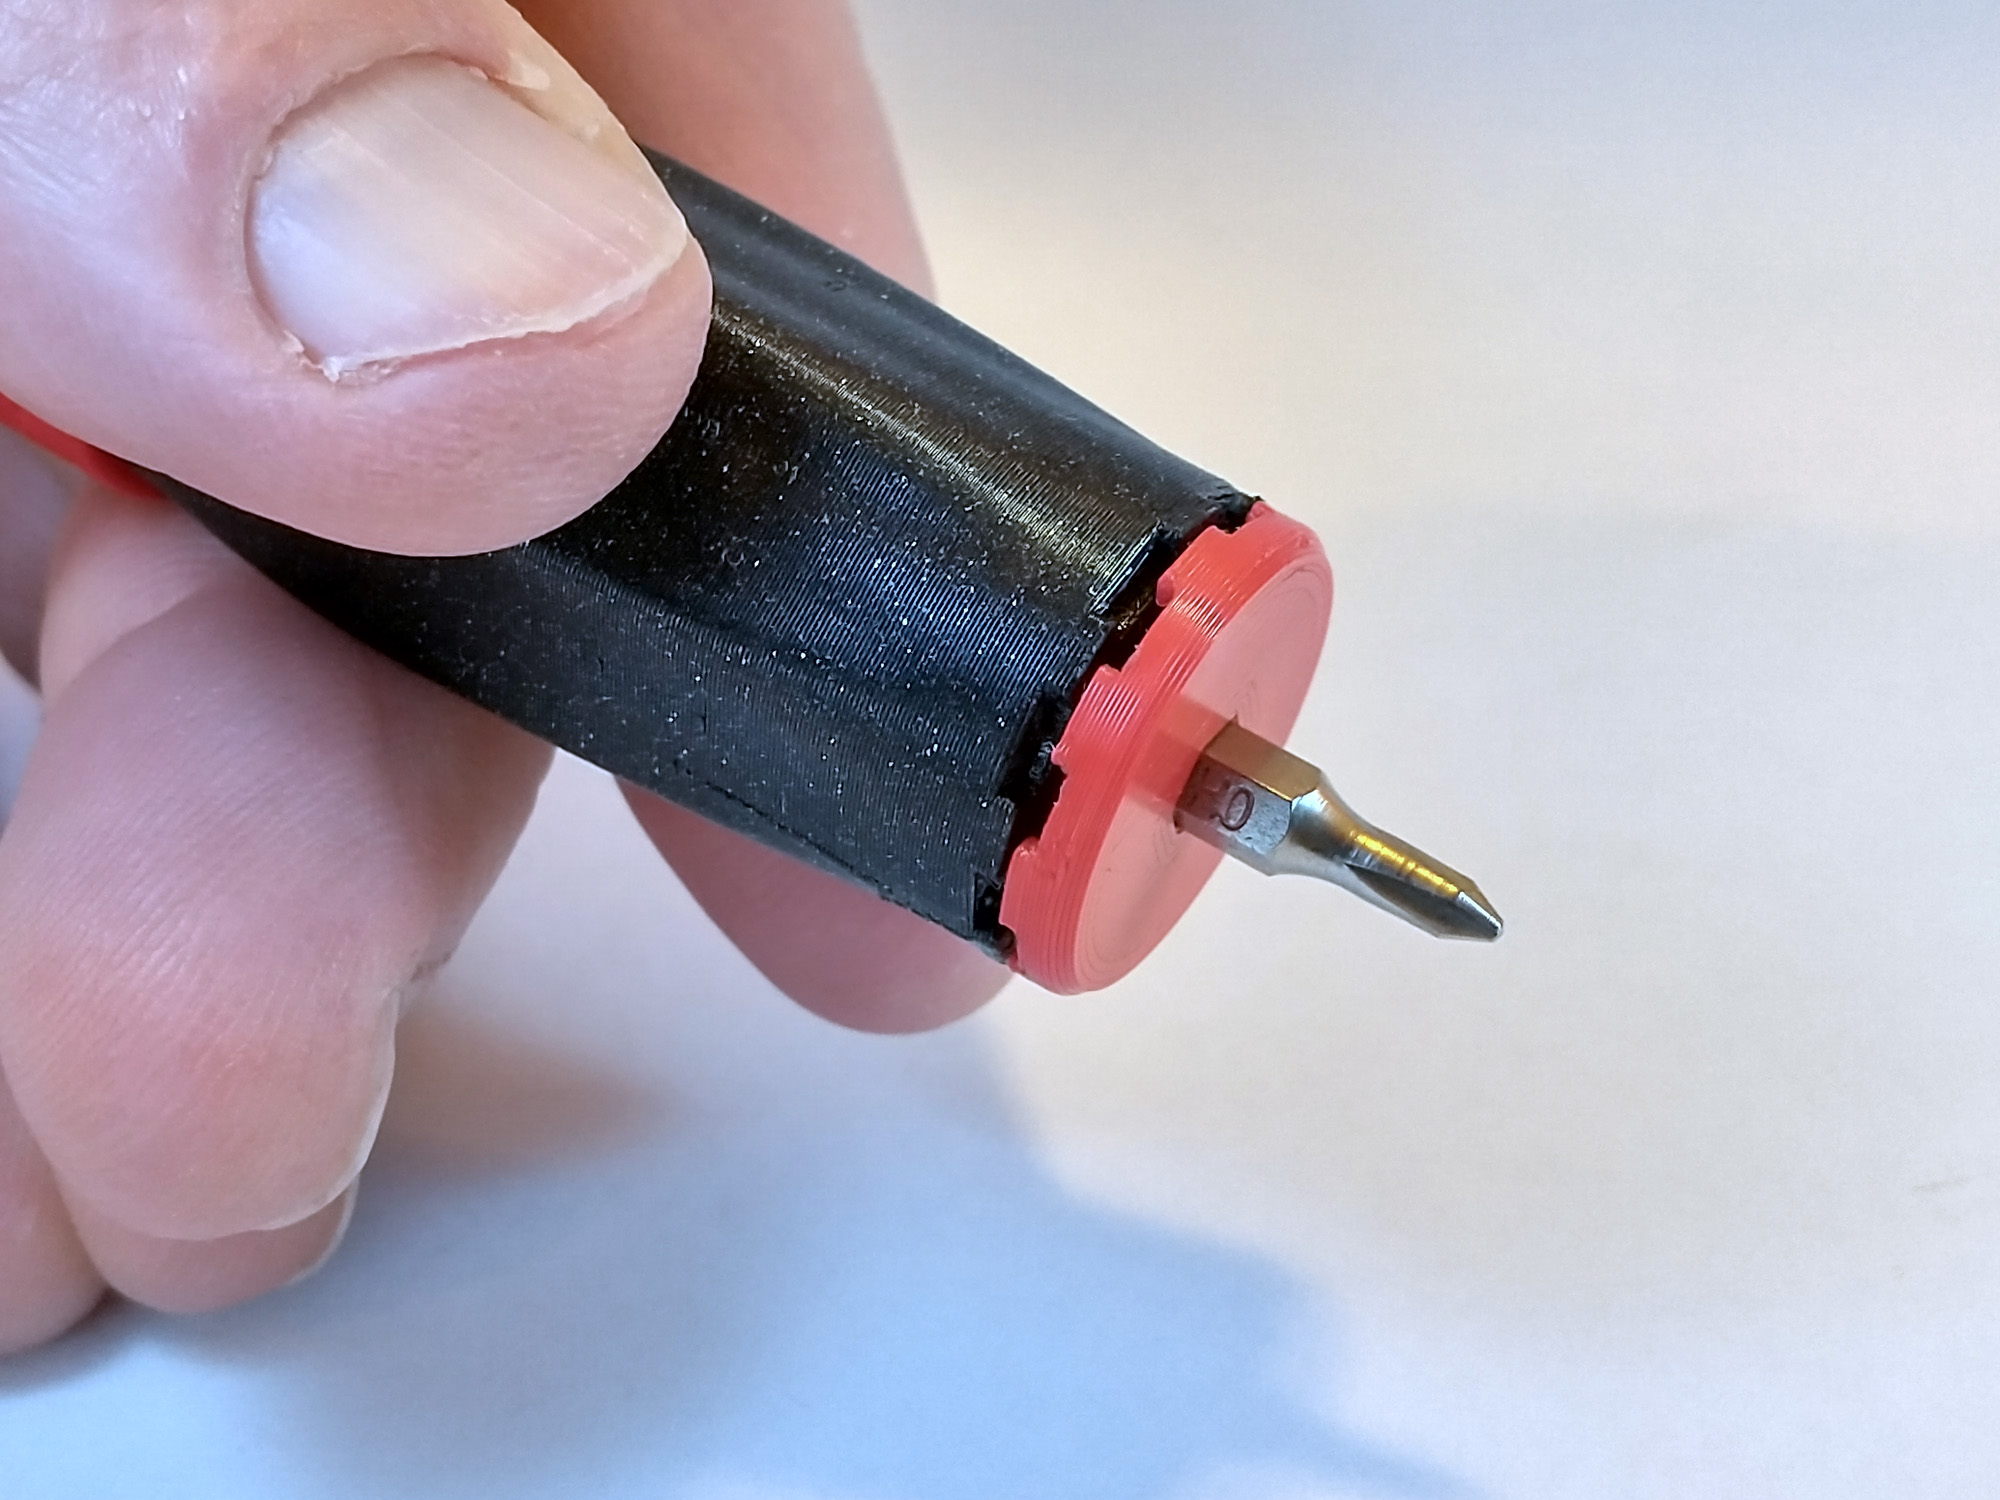
<p>Long story short (<a href="https://www.printables.com/model/273991-mini-screwdriver-keychain">yada </a>: <a href="https://www.printables.com/model/274863-ratcheting-mini-screwdriver">yada </a>: <a href="https://www.printables.com/model/276576-15-in-1-reversible-ratchet-mini-driver">yada</a>), this design takes up <a href="https://www.printables.com/model/277719-durable-mini-driver-kit-with-bi-directional-clutch">Highrise Workshop's</a> (perhaps unintended) challenge to make a spring-clutch mini screwdriver <i><strong>without </strong></i>any additional hardware. Like a ratcheting driver, the spring-clutch allows you to back-rotate the driver without disengaging the bit. Just press in to drive, and then release the pressure slightly to freely back-rotate. Unlike a ratchet, it works both directions without needing a reversing mechanism, but it does take a little more deftness to use. Like the other drivers linked to above, this uses 4mm shank driver bits, up to 28mm long, and there is storage in the handle for up to 6 bits.</p><p>This prints and assembles easily. Use 0.2mm layer thickness and 0.42mm perimeter lines to make sure all for the tolerances work out. All parts print without supports. The body prints on end and may tip without good bed adhesion. I've included models with and without little brim pads (don't use your slicer's brim feature) that you can use, depending on your level of bed adhesion.</p><p>I've also included two different caps - one with a key ring hole and one without. The last part is the little spring - print three of these.</p><p>After printing, clean up any nits or strings. Insert the three springs in the pockets in the body as shown in the last photo. Test the springs to make sure they boing up and down freely. Then flex the prongs of the socket piece together and insert into the center hole in the body. It should click into place. Finally, screw on the end cap and insert a bit into the socket.</p><p>If everything has gone to plan, the springs will push the socket away from the body and it will be free-spinning in either direction. As you press the bit into a screw head and turn, the clutch will lock into place and drive the screw. Back off slightly on the pressure to allow the clutch to release to back-rotate the driver.</p><p>To disassemble, pull gently downward on the socket while rotating it and it should pop back out.</p>
With this file you will be able to print Clutch-Style Mini Driver with your 3D printer. Click on the button and save the file on your computer to work, edit or customize your design. You can also find more 3D designs for printers on Clutch-Style Mini Driver.