Clothesline Reel
thingiverse
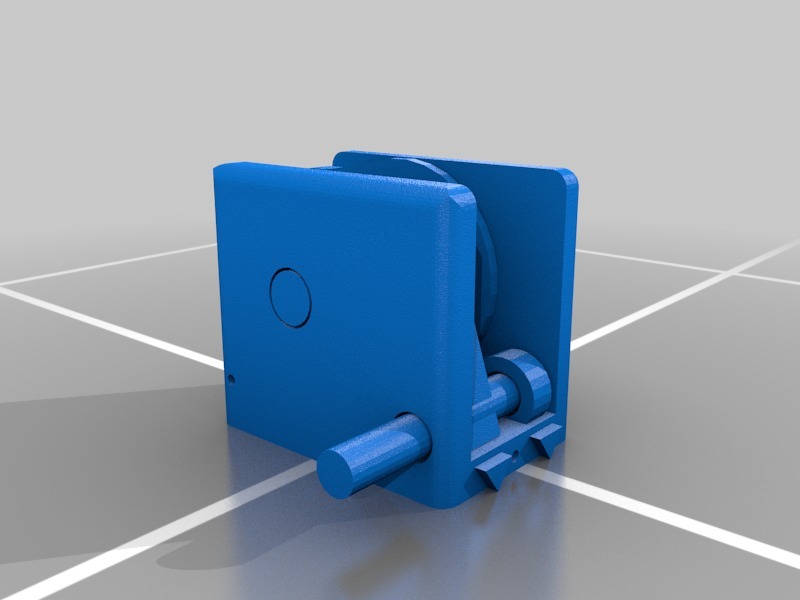
PLEASE READ BEFORE PRINTING...................\r\n\r\nUpdate 1/23/2018\r\nThe TopWrap and BottomWrap cover parts were incorrectly designed. Sorry for anyone who may have wasted plastic on them due to incorrect sizings. Please find the new Version-2 parts and download and print them. If necessary, use a hair blow dryer to achieve a proper fit. Various printer settings will result in slightly different wraps. Also updated the Reel part with a screw hole for securing the wraps using small screws. Thank you and apologies again for the mistake.\r\n\r\nMy rendition of a ClothesLineReel designed for indoor use. Some items need to be hung up to dry after only a few minutes of dryer usage, and the problem is where to hang them in winter. This should help answer that question and give a sense of accomplishment from creating something yourself.\r\n\r\nI haven't printed this myself yet. After printing an item with similar features, I'm confident it will print well. I'm running low on plastic and don't need one at the moment, so if you encounter any issues, please let me know and I'll take a look. I'll be monitoring comments closely for the next week or two.\r\n\r\nA few notes:\r\n\r\n1) The reel was designed to be used without the cover/wraps. You can use the wraps if needed. Print the wraps, wrap them around the reel, and use a hair blow dryer if necessary. There's a thin spot on each wrap for easy corner wrapping. With a .5mm nozzle, this would require only two layers. I recommend using Supper-Glue on the clip after assembly and checking that everything is secure. The cover-wraps can be removed by pulling them off the top and bottom studs on the reel.\r\n\r\n2) You'll need to use some support, but not too much. Make sure to include support under the spool, gear stop lever handle, reel handle, and a few teeth in the gear. Do not add support around any of the bearings for the spool, handles, or levers. It should print fine without support in those areas.\r\n\r\n3) This should be printed strong. Use 50% or more layer resolution for optimal results.\r\n\r\n4) The reel handle is not designed for pulling slack by itself. Its primary function is to store the line after use. To avoid putting too much tension on the handle, pull out the slack using your hands while reeling it in with the reel handle.\r\n\r\n5) Find a sturdy wood stud in the wall where you plan to mount the clothesline. I don't think it will work well if mounted only in sheet-rock. Use washers on each hole and hooks for added security. Hooks may still be effective even when mounted in sheet-rock, especially if using special screws that require making a larger hole before tightening.\r\n\r\n6) This design is suitable for about 12 feet of 1/8th inch thick line used for clotheslines. I envisioned mounting mine in a corner and using four hooks for drying clothes.\r\n\r\n7) You can use one, two, or three hooks, depending on your preference and usage habits.\r\n\r\nI hope you find this useful and that it prints well. HAPPY 3D PRINTING!!\r\n\r\nOH! Please post a picture of your creation once you've made it. I'd love to see how it turns out !!
With this file you will be able to print Clothesline Reel with your 3D printer. Click on the button and save the file on your computer to work, edit or customize your design. You can also find more 3D designs for printers on Clothesline Reel.
