Closet-Wallhook (Tool holder V2)
prusaprinters
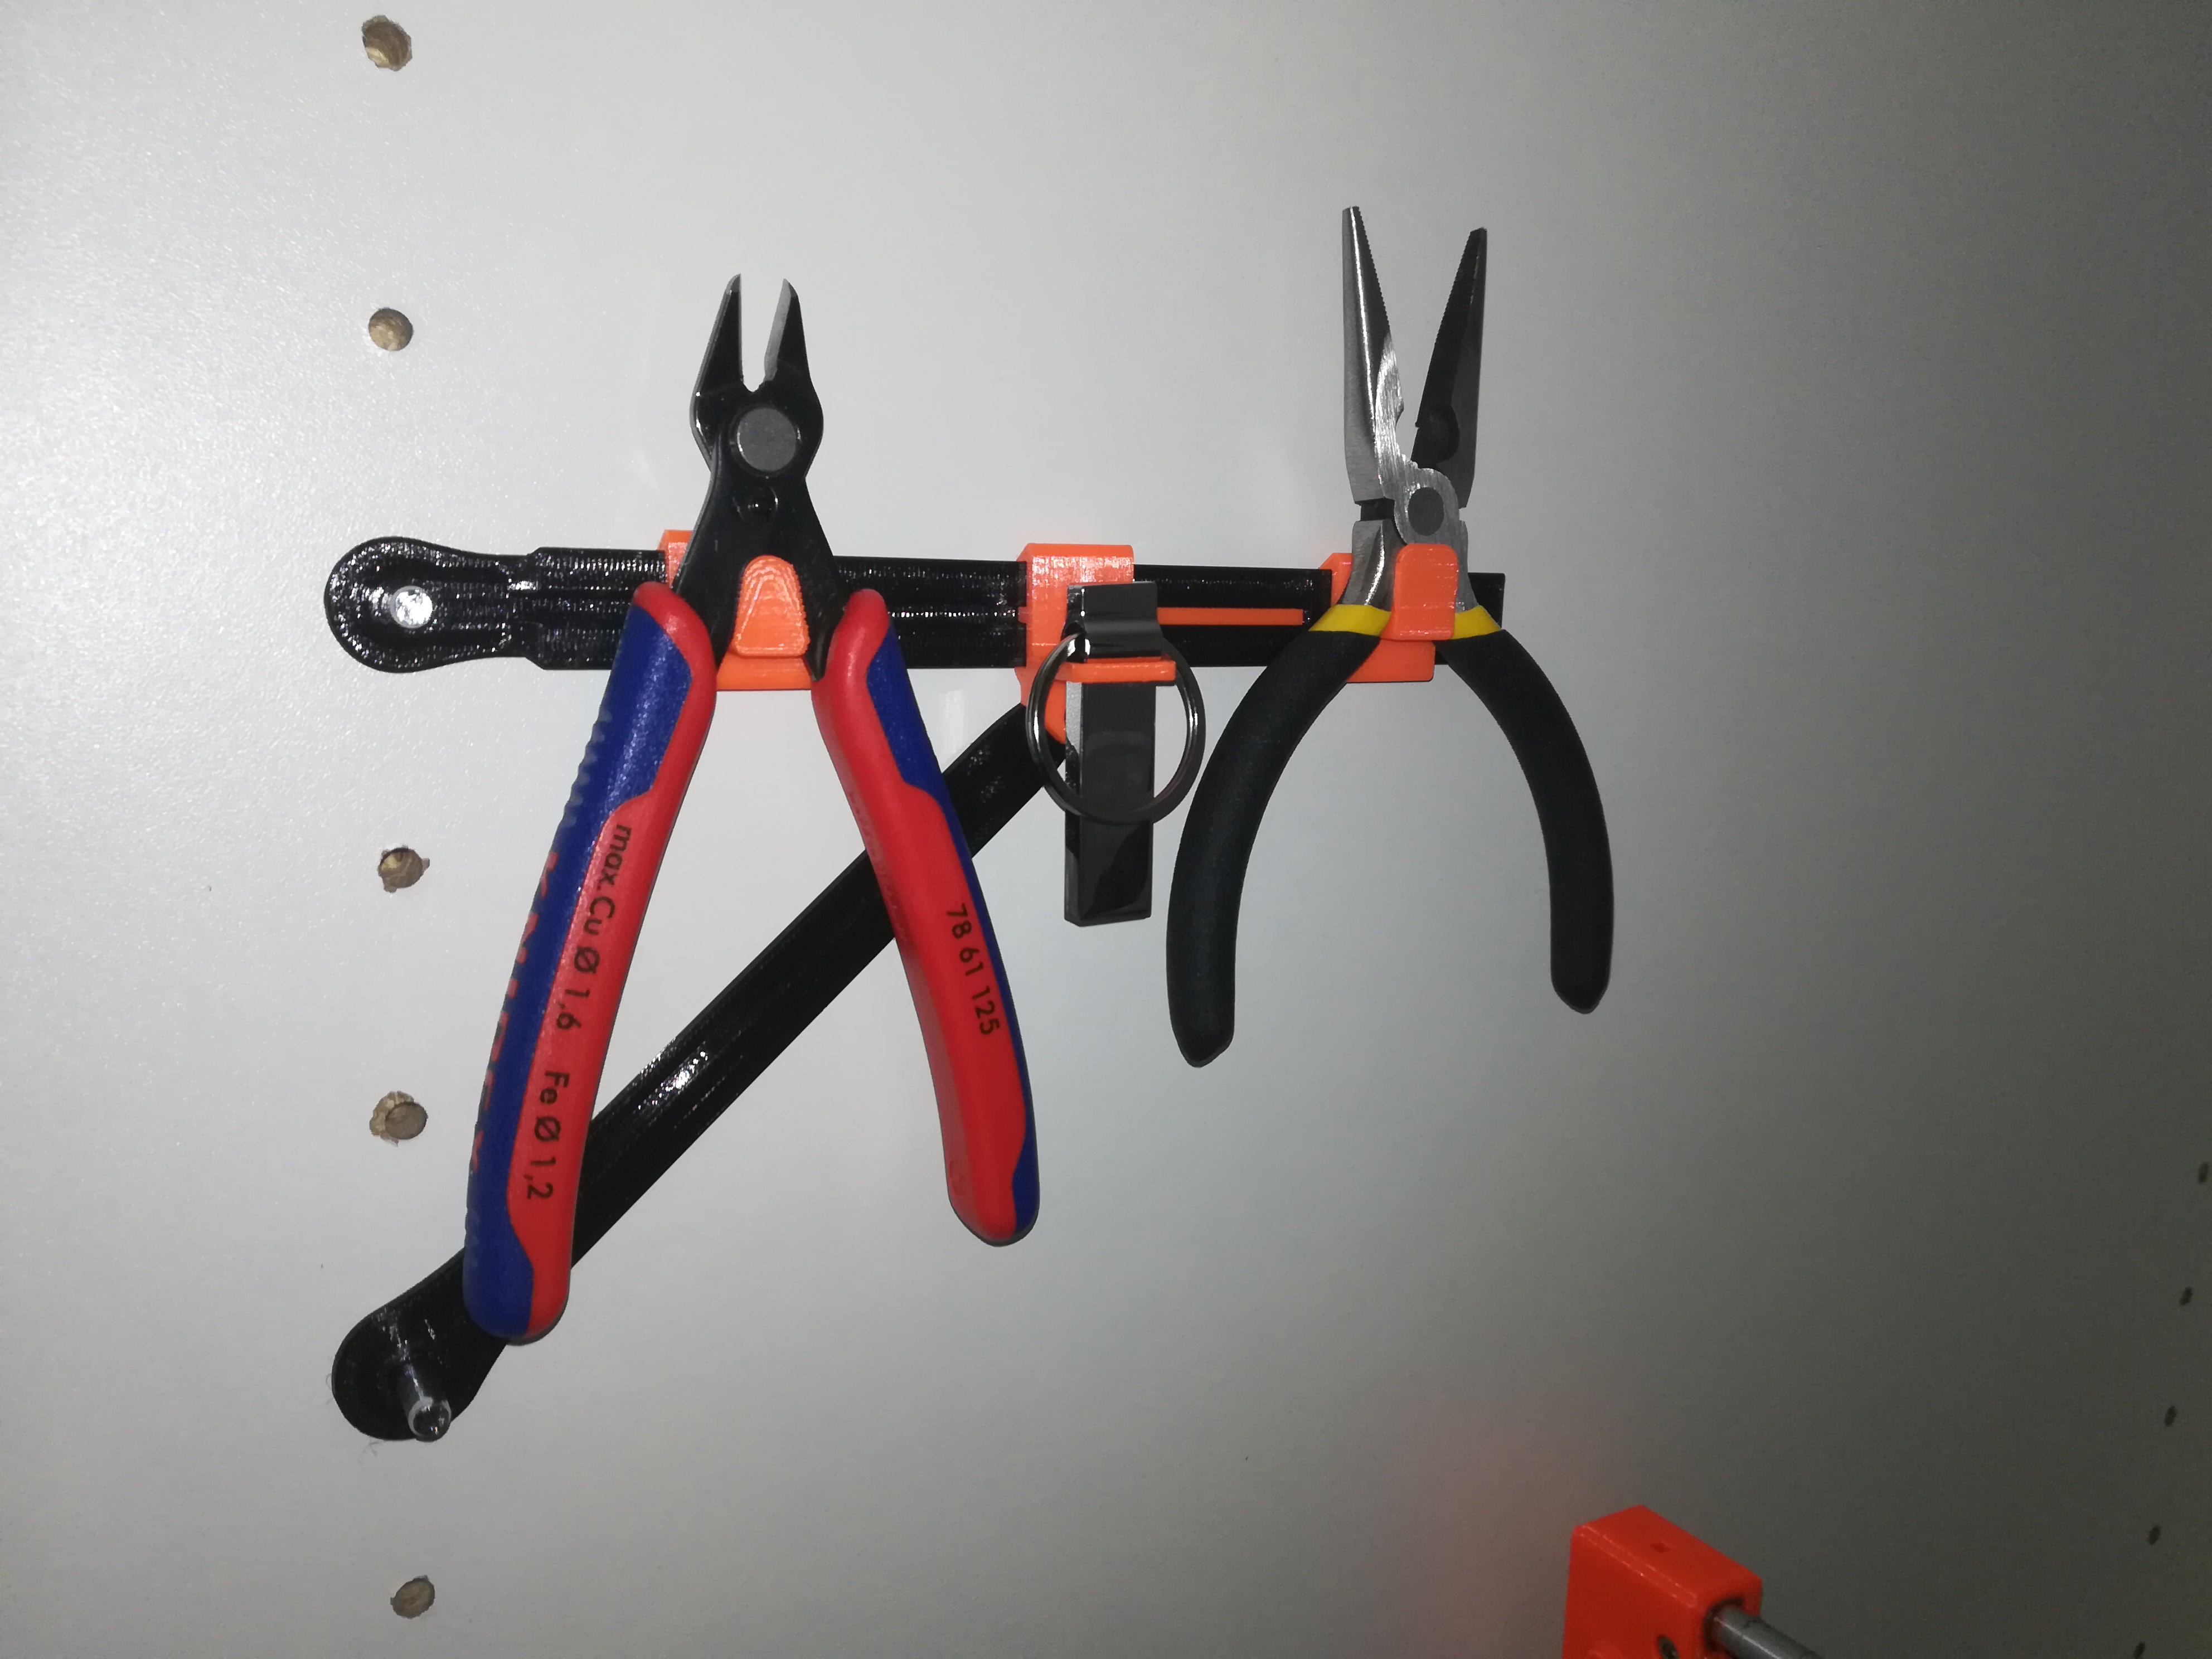
<p>The distance between the two mounting holes is now variable (<strong>from 20- 135mm</strong>)</p><p>First push the support-clip onto the rail, and fix the rail and the support-rod with the bolts to your closet-wall in such way that the rail is straight. Then <strong>fix the support-clip</strong> with <strong>either a M3 countersunk head screw (Picture 5)</strong>, </p><p><strong>or</strong> restrict its movement <strong>with the spacer (Picture 6)</strong>, which you can cut at your desired length (Picture 3). The space is not ideal if you want to change the position very often, but if you haven't got any screws like me, it's a prefect solution.</p><p>The support-clip is available with or without the holder for your Prusa-USB-Stick.</p><p>I added some hooks for your plier or side cutter, and also a empty clip, so you can design the hooks for your tool!</p><p> </p><p>I printed the rail and support-rod in PETG (black) and everything else in PLA (orange). I designed everything that it should fit easy. If you plan to print everything in PETG or PLA be aware that the tolerances could vary a bit because these two materials have a different thermal expansion.</p><p> </p><p>Alex :D</p>
With this file you will be able to print Closet-Wallhook (Tool holder V2) with your 3D printer. Click on the button and save the file on your computer to work, edit or customize your design. You can also find more 3D designs for printers on Closet-Wallhook (Tool holder V2).