Clips for IKEA Dioder LED strips - Ultimaker
thingiverse
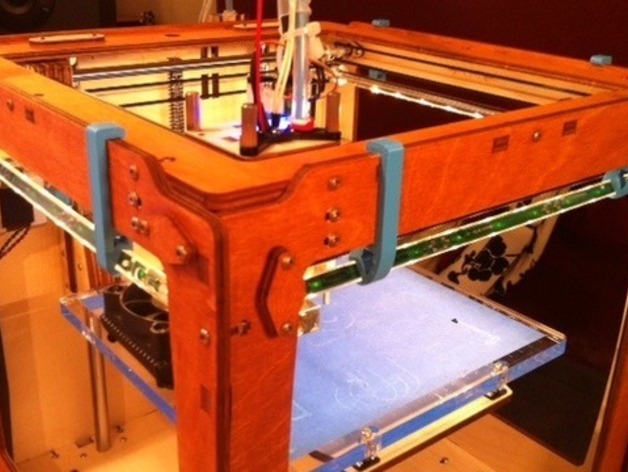
For an easy, hassle-free LED lighting solution for your Ultimaker 3D printer, consider these simple yet effective clips designed to hold three of the four Dioder IKEA LED strips in place. The clips attach effortlessly to the frame and strips without requiring any drilling or bolts. The LED strips are angled optimally for illumination. There are two types of clips: one larger clip attaches to the front LED strip, ensuring it fits inside the frame, while the other clip secures the left and right strips. To install, slide the side clips onto the LED strip first, then move upwards to attach them to the frame. For the front strip, simply snap the clips onto the frame before inserting the LED strip. The fit is snug and secure, making it easy to remove when needed. Inspired by a minimalistic design approach, these clips were created with no drilling or bolts required for installation, resulting in a neat and clean setup. The profile was designed using Sketchup, with adjustments made for optimal LED angle and rounded corners to save print time. To ensure proper fit, trim the LED connector by 1-2 mm with a metal blade jigsaw if needed. For the front strip, remove the transformer from the IKEA plug, then hot glue it into the bottom of the printer along with the little distributor. Add a switchable power jack near the other inputs and shorten the cables for a tidier appearance. Print the clips with 20% fill density for optimal strength, and skip the brim for a smooth printing process.
With this file you will be able to print Clips for IKEA Dioder LED strips - Ultimaker with your 3D printer. Click on the button and save the file on your computer to work, edit or customize your design. You can also find more 3D designs for printers on Clips for IKEA Dioder LED strips - Ultimaker.