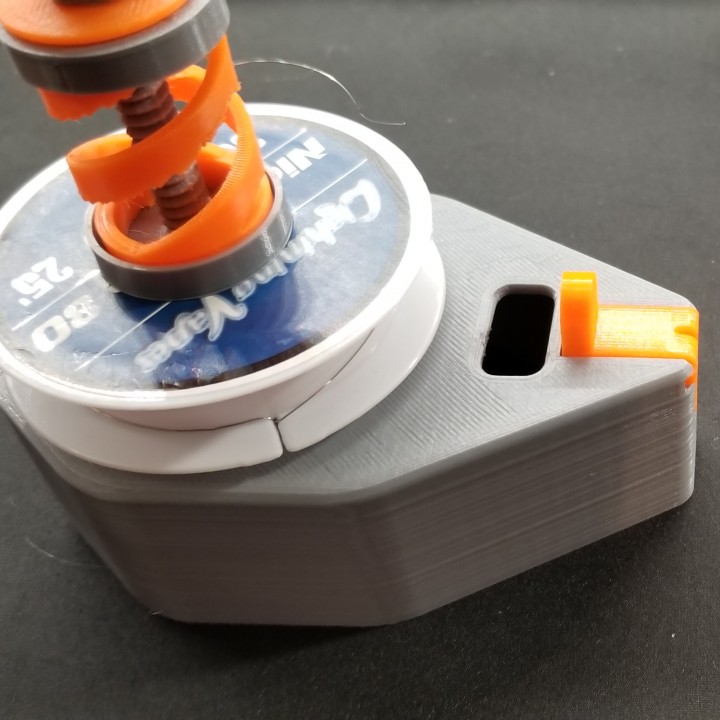
Clapton Coil Maker
myminifactory
Based off the Daedalus Coil Maker, I opted not to shell out $70+ for the real deal because it comes bundled with a drill that seemed unnecessary. I took matters into my own hands and designed a DIY coil maker using pictures and videos as my guides. Now, I'm eager to share my creation with you all! Stay tuned for some upcoming videos showcasing this project in action. To start, print the Maker Base upside down on your 3D printer, ensuring the supports touch the build plate (this is where the jig will be inserted). I chose a moderate infill setting of 15% for this part. Next up, print the Jig with a single hole touching the build plate and three holes positioned above it for a cleaner finish. Again, I opted for a 15% infill rate for this component. Moving on, print the Bolt, measuring 70mm in length, with its flat side facing downwards to enhance thread strength. Use supports during this print job to ensure a solid foundation. I selected a higher infill setting of 20% for added stability. The Spring component should be printed upright with supports in place and a 100% infill rate to achieve maximum firmness. Finally, print two Springs Caps using a moderate infill setting of 15%. These caps will be used to secure the spring from a MAG-LITE Flash Light, specifically one sourced from a C battery mag lite. The Steel Spring Caps are designed for use with the spring extracted from a standard C battery mag lite. I maintained a consistent infill rate of 15% throughout this print job.
With this file you will be able to print Clapton Coil Maker with your 3D printer. Click on the button and save the file on your computer to work, edit or customize your design. You can also find more 3D designs for printers on Clapton Coil Maker.
