Circle Jig for Router
cults3d
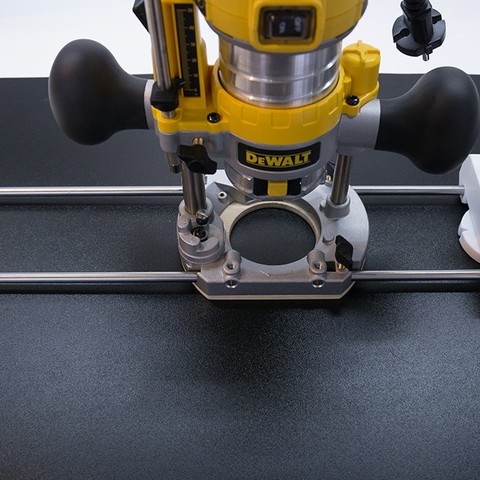
This is fine and useful piece of equipment if you need to cut a circle from a wooden plate using DeWalt DWP611PK (US) or D26203/D26204 (EU) plunge router. Besides the 3D printed parts, which can be downloaded in stl files here, some additional hardware is needed for final assembly. The hardware list includes: - 2 ea. steel bars with a diameter of 8mm and a length of approximately 50cm (length is up to you) - 2 ea. Steel bolts + nuts, M5, 30mm - 1 ea. Steel bolt, M8, 50mm - 3 ea. Nuts, M8 - 2 ea. Washers for M8 bolt with an outside diameter of 16mm - 2 ea. Ball bearings 698 (ZZ or not) - 1 ea. Bakelite cast M8 knob (one can also design and print this knob) - 2 ea. Brass pins D = 5mm, L = 8mm (to tighten the steel bars) The 3D printed body, which is the biggest part, has two M5 threads on top of each steel bar for tightening them. M5 standards have fairly fine threads, and 3D printers with a .4 nozzle may have difficulty creating these threads, especially in the given printing orientation on their plate. In such cases, you can use an M5 tap to re-cut these threads. It would be a nice improvement to have M5 steel nuts instead of 3D printed threads. The first update (if there will be) might handle this issue in the coming days. The base circle of the jig has four notches for centering the jig on top of the target circle's center. Draw a cross on the center and make the notches aligned to these center lines. You can use double-sided tape to fix the jig in place or use clamps for arcs. The maximum diameter size of the circle to be cut depends on the length of the steel bars. I used 49cm bars, which allows cutting circles with a maximum diameter of approximately 80cm. If you need larger circles like table tops, you will need longer 8mm steel bars. I use a layer height of 0.2 mm and 30% infill. In this model, I prefer four layers for the top and bottom, while shell numbers for the outline and perimeter are all four. No support is needed in the given orientation, and my favorite filament is PET-G again. For final assembly, I provided a video at https://youtu.be/lMjVvI9G5dA that shows the detailed process of assembling. This should prevent possible confusions. Enjoy!
With this file you will be able to print Circle Jig for Router with your 3D printer. Click on the button and save the file on your computer to work, edit or customize your design. You can also find more 3D designs for printers on Circle Jig for Router.
