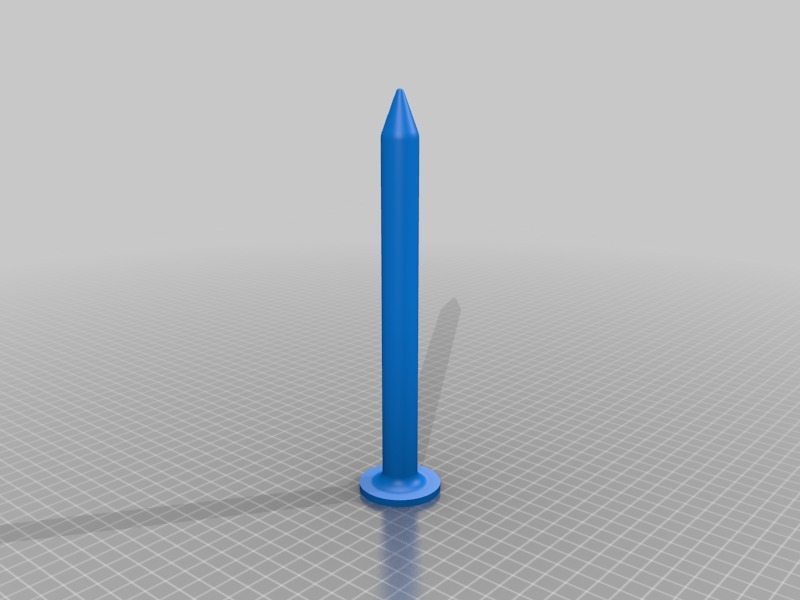
Chunky knitting needles
thingiverse
Crafting a sturdy knitting aid involves designing and printing two identical chunky needles using FreeCAD software. To begin, launch the FreeCAD application and access its 3D modeling tools to create the first needle. Start by defining the dimensions of the needle's shaft, taking into account the desired thickness and length for comfortable handling. Next, create a cylindrical body for the needle, ensuring it has a flat top and bottom section for secure grip. Add a rounded tip at the end of the shaft, providing ease of use when knitting delicate patterns. Now, replicate these design elements to create a second identical needle. This symmetry is crucial for knitting matching scarves or other projects that require uniformity. Before printing, verify that both needles are correctly oriented and scaled in the 3D view. Make any necessary adjustments to ensure accurate dimensions and smooth functionality. With designs complete, select the preferred printing material and settings according to the desired texture, durability, and color of the finished product. FreeCAD's built-in slicing tool will generate a printable format for each needle. Finally, send the design files to your 3D printer, and wait for the needles to be printed. Once complete, inspect them for any defects or imperfections before using them for knitting scarves or other projects that require chunky needles.
With this file you will be able to print Chunky knitting needles with your 3D printer. Click on the button and save the file on your computer to work, edit or customize your design. You can also find more 3D designs for printers on Chunky knitting needles.
