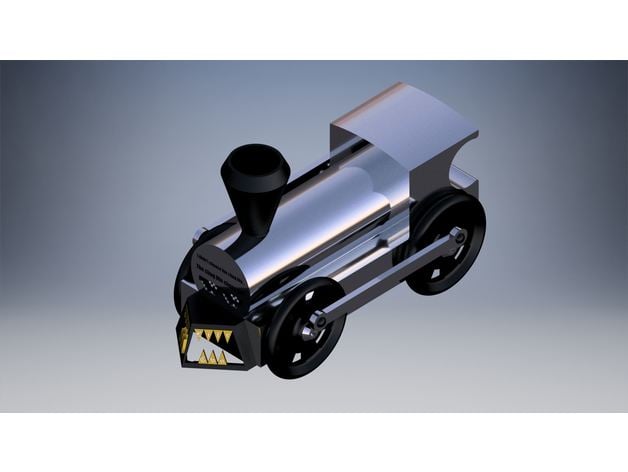
Chug Life Train
thingiverse
This is a project I was assigned at school, and I took it in a new direction by modifying the cow catcher and front of the train to reflect a more "Chug life" style. Drawing inspiration from the phrase "thug life," I added a gold teeth grill to the cow catcher with the engraving "Chug Life, Chu Chu." The front of the train also features the "Deal With It Glasses" and the saying "I didn't choose the chug life; the chug life chose me." This is just a small toy, but it's fun. Print Settings: Printer Brand: MakerBot Printer: MakerBot Replicator+ Rafts: Doesn't Matter Supports: Yes Notes: As of March 16, 2017, I haven't started printing yet, and I'm still unsure if the parts will fit perfectly together. Maybe rotating everything to print upright, except for the wheels, is a good idea. You can make it any size you want as long as all the parts are to scale. March 17, 2017: I've started printing (full-size 5.5 x 2 x 2.5) the body, and it's estimated time is 6 hours and 25 minutes. Assembly: How To Assemble: To assemble the Chug Life Train, simply align the wheels with the holes and insert axle pegs into the wheel holes. Insert the cow catcher on the front of the train. Place the smoke stack on top of the train. Align the hitch magnet with the back hole and insert the hitch magnet peg. Attach the linkage arms to the wheels by inserting linkage arm pegs. Congratulations! Your train is assembled. Paint it however you like, but avoid using super glue to prevent sticking.
With this file you will be able to print Chug Life Train with your 3D printer. Click on the button and save the file on your computer to work, edit or customize your design. You can also find more 3D designs for printers on Chug Life Train.
