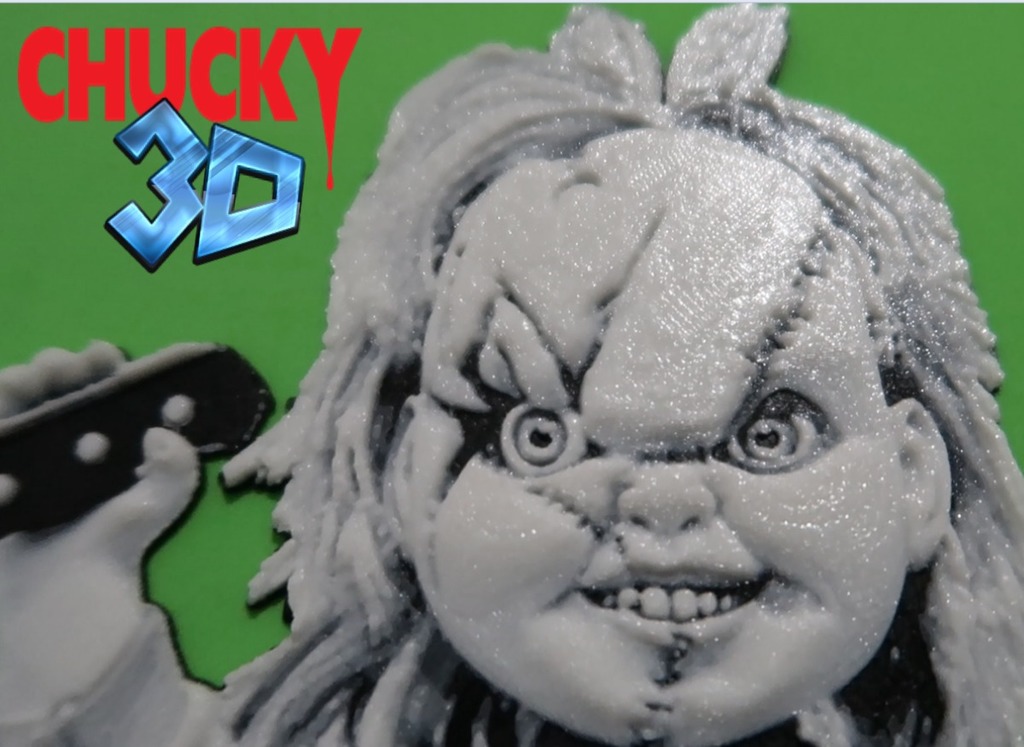
CHUCKY 3D DRAWING
thingiverse
Creating a 3D Chucky Model Requires Patience and Attention to Detail. You'll find this tutorial incredibly helpful if you're interested in learning how to create a realistic 3D version of the infamous killer doll, Chucky. The process is quite involved, but with persistence and dedication, you can achieve impressive results. Start by gathering all necessary tools and software, including Blender or similar 3D modeling programs. Familiarize yourself with the interface and basic navigation before proceeding. Once you have a solid grasp of the basics, move on to creating Chucky's body. This involves modeling individual parts such as his face, arms, and legs, which can be a challenging task due to the doll's intricate design. Next, texture and color each part to give your 3D model a lifelike appearance. Pay close attention to details such as skin texture, fabric patterns, and eye color. These elements will greatly enhance the overall realism of your Chucky model. With all parts complete, it's time to assemble them into a single cohesive model. This involves applying precise measurements to ensure everything fits together seamlessly. Be prepared for trial and error as you fine-tune your creation. Finally, render your finished 3D model in high definition to admire the results of your hard work. With patience and dedication, you can create an incredibly realistic 3D version of Chucky that's sure to impress. To get started, watch this helpful video tutorial on creating a 3D Chucky model: https://www.youtube.com/watch?v=IhTsJDIEe3o
With this file you will be able to print CHUCKY 3D DRAWING with your 3D printer. Click on the button and save the file on your computer to work, edit or customize your design. You can also find more 3D designs for printers on CHUCKY 3D DRAWING.