Chokes box with wrench
thingiverse
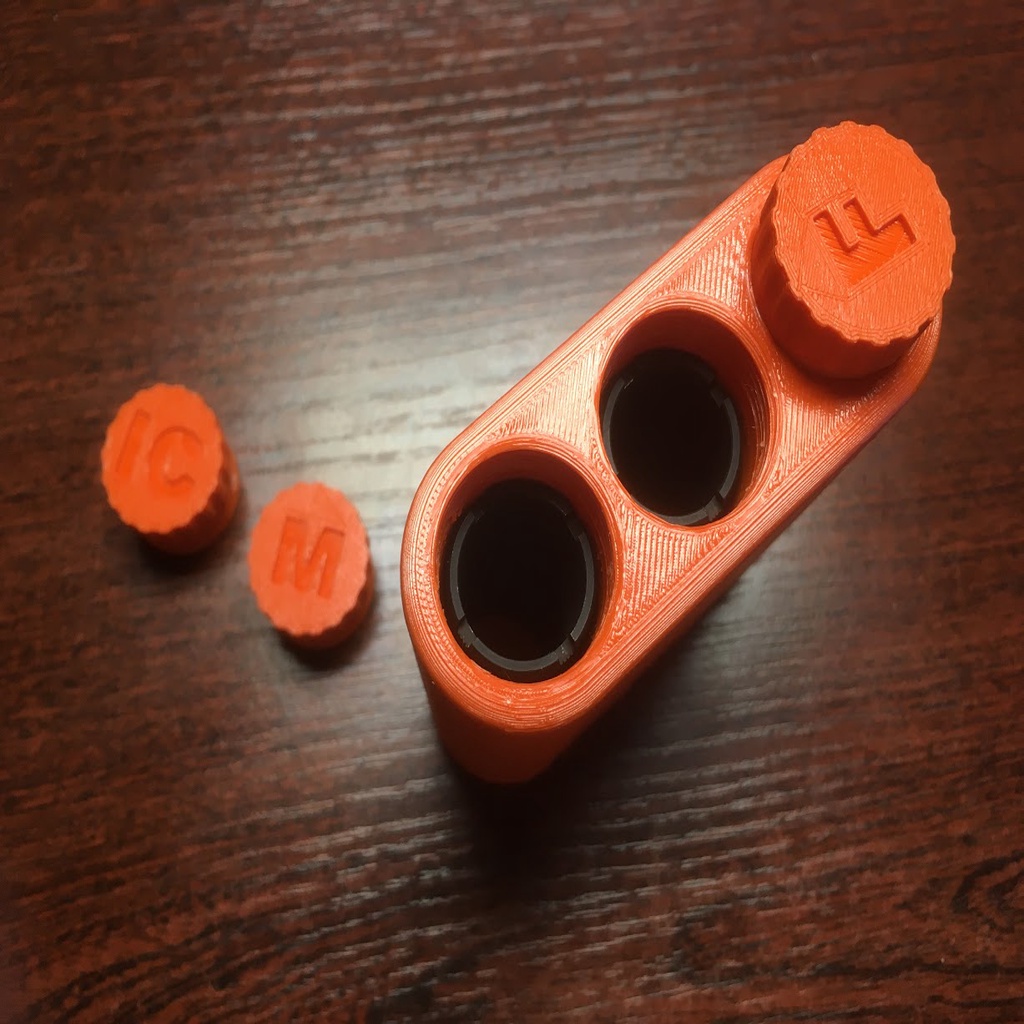
How to print To build this thing there is one tricky step. Main working elements in wrench are four m3x6 screws. This screws need to be installed during printing. So in my case, I printed with 0.2 layer thickness. After slicing I have opened gcode with text editor and looked up for end of layer number 30 printing. I sliced my model with Cura so I just looked up for LAYER:30 line. After this comment I inserted two gcodes: G0 Z100 - rise printing head to 100mm on Z M0 - pause till user clicks And after that saved file and ran print. When printer finishes layer 30 it will stop and you can install screws. Then click on printer encoder and it continues printing. That's it for box part. Also there is one hint for cap. I couldn't reduce size on Fusion 360 because it breaks thread. So I modified model on slicer to make cap fit easy in box. In my case, I scaled down each cap to 96% on both X and Y. But you may need to determine best scale on your own. Link to Fusion 360 project - https://a360.co/2COtjj4
With this file you will be able to print Chokes box with wrench with your 3D printer. Click on the button and save the file on your computer to work, edit or customize your design. You can also find more 3D designs for printers on Chokes box with wrench.