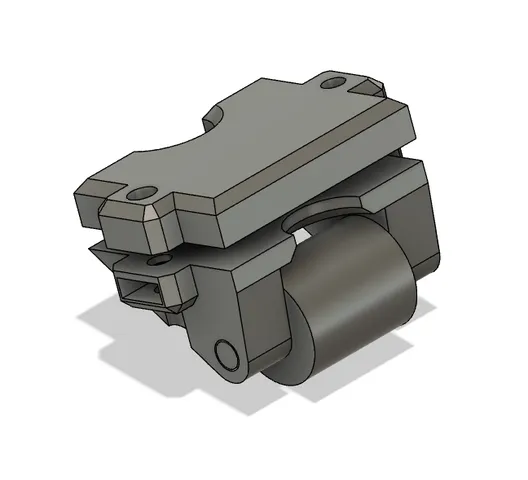
Chisel Honing guide
prusaprinters
The goal of the project was to make a fully print-in-place tool so no hardware is required but clamping the chisel was never sturdy enough. Not sure one the exact size of the screws used, when the outer diameter of the threads was measured it is about a 3/32" or 2.60mm screw with respective nuts. The nuts are a press fit but can be put into place by hand with a hard surface to push against. The wheel part is designed to be print-in-place so when the model is loaded into the a slicer you must keep the parts together so that the wheel doesn't become another moveable part. (In Prusa Slicer when the model is loaded in select “yes” on the popup to keep the parts as one.) When printing a smaller layer height will help with tolerances but 0.2mm works just fine for me. Add a support enforcer shown in the image for the wheel and use the same orientation for the parts. Once the print is complete you have to remove the supports, then the wheel will need to be broken free which can be difficult but do able by hand. To free up the wheel more, spin in around for a little and then add some Vaseline to the bearing surfaces to help with the friction and keep the bearings from melting.For a 20 degree sharpening edge the edge: measure 1.85" from where the top of the chisel (will be on the bottom when sharpening) meats the stone to the edge of the guide. Other angles with there respective lengths are as follows:Degree Length(in)20 1.8525 1.4230 1.1335 0.91
With this file you will be able to print Chisel Honing guide with your 3D printer. Click on the button and save the file on your computer to work, edit or customize your design. You can also find more 3D designs for printers on Chisel Honing guide.
