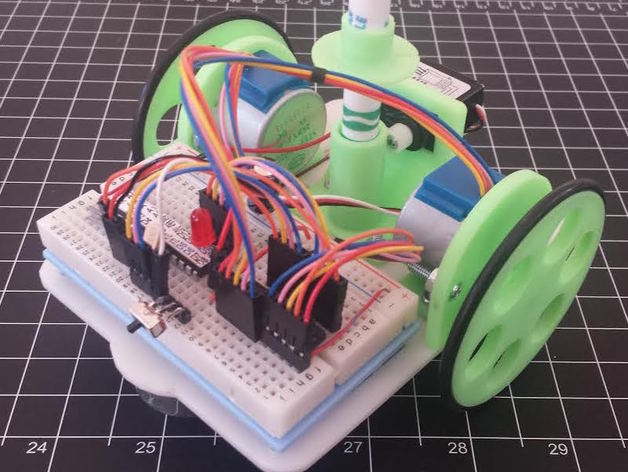
Chassis for Drawing Bot with Batt Holders
thingiverse
I'm experimenting with another version of the Arduino Drawing Bot from MakersBox. Both the Pro Trinket from Adafruit and my homemade Arduino setup work perfectly with 6V, so I figured it's the ideal moment to integrate my battery packs (http://www.thingiverse.com/thing:1096639) into the project. I opted for the original larger design over the newer slimmer model because it puts less strain on the printed plastic and gives me the extra space under the bot that I need. To test soldering to stainless steel, I connected the leads of my 6V pack using a soldering iron, but pressure-fit jumpers are all you really need for a solderless build. The end result is a more compact bot than my previous model (http://www.thingiverse.com/thing:1287264) with identical functionality. Considering applications beyond drawing, a smaller robot might just navigate through mazes more easily. Both the original and modified designs work incredibly well, and full credit goes to MakersBox for their brilliant design. Post-Printing Mounting the ball caster using countersunk M3 screws is highly recommended so you can position your breadboard with dual-sided tape on a flat surface.
With this file you will be able to print Chassis for Drawing Bot with Batt Holders with your 3D printer. Click on the button and save the file on your computer to work, edit or customize your design. You can also find more 3D designs for printers on Chassis for Drawing Bot with Batt Holders.
