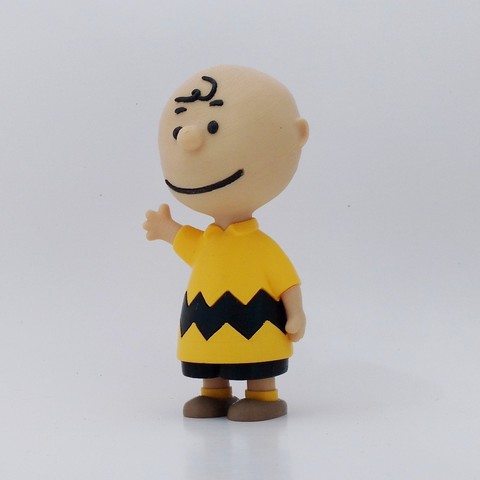
Charlie Brown
cults3d
Charlie Brown, the beloved character from Charles Schulz's Peanuts comic strip, exudes gentleness, insecurity, and a lovable charm that captivates all who know him. Despite his determination and unwavering hope, Charlie Brown often finds himself facing setbacks due to self-doubt, external interference, or simply bad luck. Charlie Brown is a true testament to the power of resilience, as he consistently proves that even in the face of adversity, one can remain optimistic and determined. His character serves as a reminder that it's not about winning or losing, but rather about how we respond to life's challenges with courage and heart. In terms of printing, no supports are required for this model. If you have access to the correct filament colors, painting is also unnecessary. The model stands at an impressive 140mm tall, making it a statement piece for any desk or shelf. To print Charlie Brown, follow these settings: * Printer: FlashForge Creator X * Rafts: Doesn't Matter * Supports: No * Resolution: .2mm * Infill: 10% For assembly, refer to the notes below for helpful tips and tricks. Building Charlie Brown is a breeze, thanks to his minimal piece design. Colors: * Black: c_hair, c_eyebrows, c_eyes, c_mouth, c_stripes, c_pants * Beige or Flesh: c_head_top, c_head_bottom, c_arm_left, c_arm_right, c_legs * Brown: c_shoes * Yellow: c_shirt_top, c_shirt_bottom, c_socks Printing and Assembly Tips: 1. As with most of my models, no supports are required. 2. Be sure to clean any first layer squish if you have issues joining parts. The pieces should fit together smoothly when printed cleanly or with a slight first layer squish. 3. I did not require any rafts or brims for any of the parts. Assembly Tips: 1. When inserting the eyebrows, ensure they are pointing towards the nose. If you encounter difficulties, simply flip them over and insert them with the flat side facing out. 2. The left/right eyes are interchangeable. You can adjust their position to achieve a more natural look. 3. Due to the model's design, the left arm may not fit perfectly into the shirt. To resolve this, glue the arm to the sleeve and add an extra dab of glue where it meets the stripe. 4. Refer to the assembly diagram for step-by-step instructions on how to put Charlie Brown together. The model is designed to be glued, so be sure to use a strong adhesive.
With this file you will be able to print Charlie Brown with your 3D printer. Click on the button and save the file on your computer to work, edit or customize your design. You can also find more 3D designs for printers on Charlie Brown.
