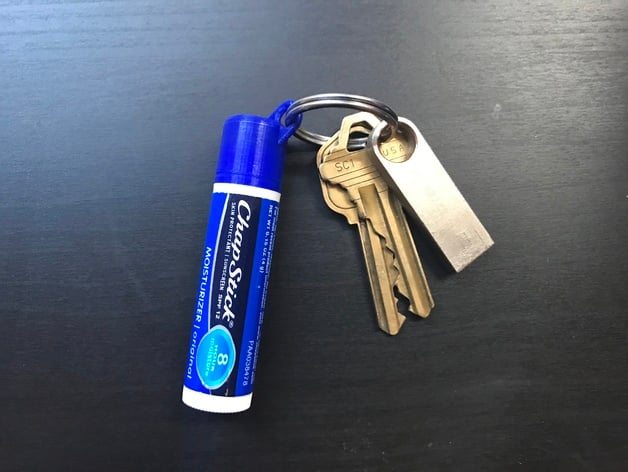
Chapstick Keychain Cap
thingiverse
Because I lose tubes of chapstick faster than I can buy them. Update: People are having trouble printing this, so I've made some changes to version 2. The entire cap is slightly larger, and the keyring hole is much more solid. Now the top of the cap fits flush with the keyring hole, making it easy to print flat. Print Settings: Printer Brand: RepRap Printer: Plastic Dragon Rafts: No Supports: No Notes: I recommend using "chapstick_keychain_cap_v2" because it will be easier to print and more durable. Extrusion Width: Set your extrusion width to exactly 0.6mm, which is also known as 'line width' in Cura. You should use Slic3r or Cura 2.3 (older versions can't do single walls). Set your wall thickness to 1.2mm too. If you don't set these correctly, the print will be a mess. See the attached photo for what this should look like in Cura. Print Orientation: You have two choices when printing this: if you print it right-side-up (the top of the cap pointed at the ceiling), it will turn out best. The top will have a nice finish and the keyring hole will be smooth. However, it might pop off the bed or require bridging (unless you use supports). The other option is to print it upside-down (with the top of the cap on the bed). It won't stick as well, but you won't need any bridging. Size: The cap should fit snugly at first, almost too tight to get on. After a bit, it will loosen up and fit just right. If it's too loose, scale the print down a bit until it fits perfectly.
With this file you will be able to print Chapstick Keychain Cap with your 3D printer. Click on the button and save the file on your computer to work, edit or customize your design. You can also find more 3D designs for printers on Chapstick Keychain Cap.
