chandelier
pinshape
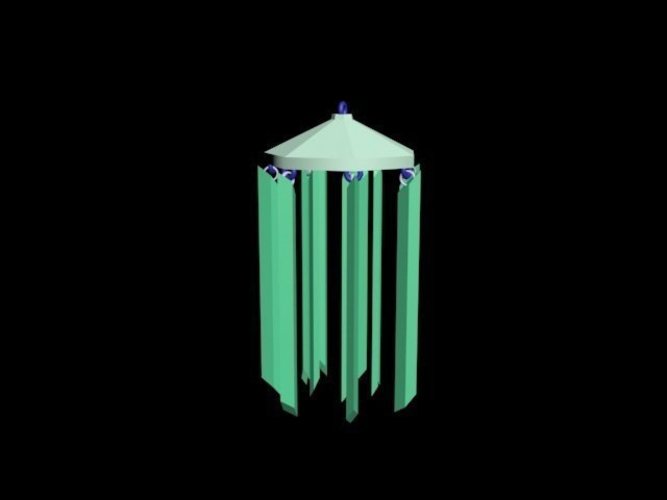
Here is the rewritten text: Chandelier Blade Creation A long, slender box was carefully crafted by shaping and tilting its sides to form a sleek blade-like shape reminiscent of a chandelier. The addition of a Thorus ring at one end adds a touch of elegance. Creating the Chandelier Head A low-polygon cylinder was designed with precision, featuring a protruding middle vertex that serves as the centerpiece. A series of Thorus rings were carefully crafted around every edge, adding a delicate flair to this intricate design. Printing Precautions When printing the chandelier blade, it's essential to consider the orientation and size of the print job. To avoid potential issues, I suggest printing 14 blades in total: 7 standard-sized and 7 either larger or smaller. Attach the Thorus ring with a sturdy rope or wire for added stability. Printing Challenges When printing vertical, some problems may arise if the blade is too narrow. This can cause the print to become crooked. To avoid this, I recommend printing the blades laying down or ensuring they're not printed at an excessively small size. Chandelier Head Design Considerations The design of the chandelier head requires special care due to its fragile nature and intricate details. The Thorus rings surrounding the cylinder may prove difficult to clean, so it's essential to handle this delicate component with precision. Enjoy Your Masterpiece Once your 3D printing project is complete, take a moment to appreciate the beauty and intricacy of your handmade chandelier creation.
With this file you will be able to print chandelier with your 3D printer. Click on the button and save the file on your computer to work, edit or customize your design. You can also find more 3D designs for printers on chandelier.
