Chameleon Runcam Micro Mount
thingiverse
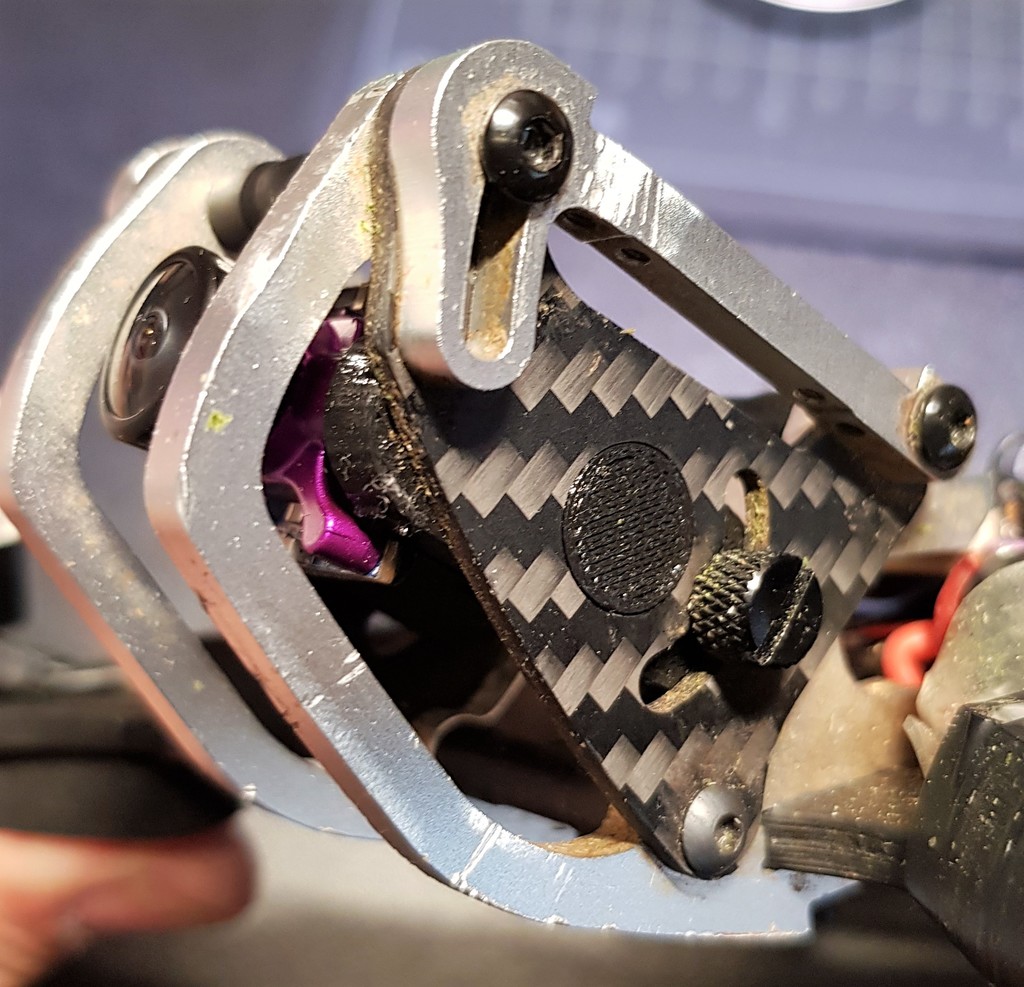
Mounting the Chameleon Runcam Micro to your drone is a straightforward process that requires minimal tools and expertise. Begin by locating the camera mount on the underside of the drone, which is typically positioned near the center of the aircraft. To secure the Chameleon Runcam Micro, grasp the camera's mounting bracket with one hand while using the other hand to insert the provided screws into the corresponding holes on the drone's mount. Turn the screws clockwise until they are snugly seated, ensuring a tight and stable connection between the camera and the drone. Next, adjust the Chameleon Runcam Micro to your desired angle by loosening the thumb screw located at the base of the camera. This will allow you to position the lens for optimal viewing without compromising the structural integrity of the mount. Once you have secured the Chameleon Runcam Micro in place, connect the camera's power cable to a compatible battery or power source, taking care not to damage any surrounding components. With the Chameleon Runcam Micro properly mounted and powered, you are now ready to capture high-quality video footage from your drone.
With this file you will be able to print Chameleon Runcam Micro Mount with your 3D printer. Click on the button and save the file on your computer to work, edit or customize your design. You can also find more 3D designs for printers on Chameleon Runcam Micro Mount.