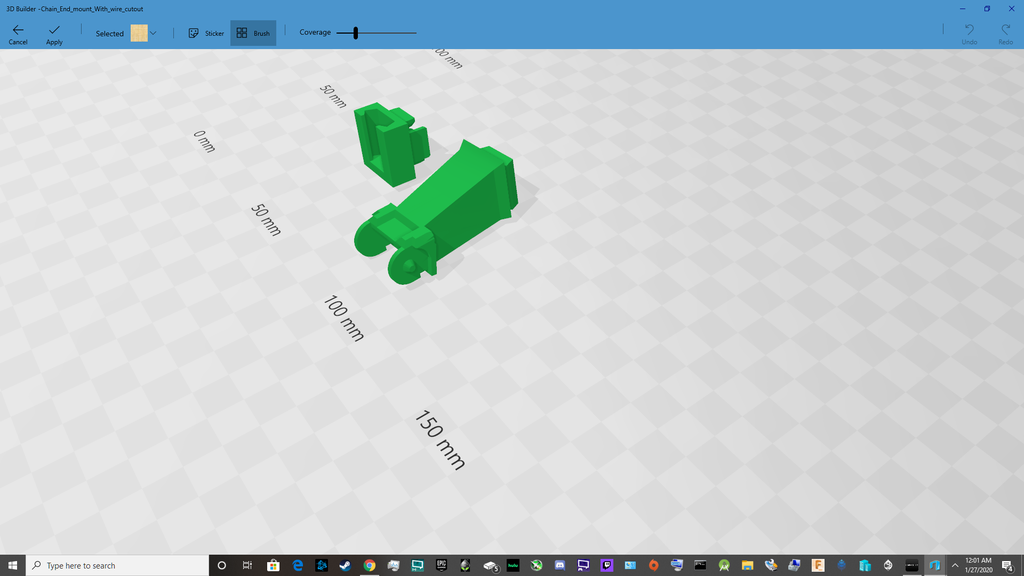
Chain Top Rail Mount
thingiverse
Mounting a chain to the end of the top rail on your Ender 3 is a task that requires some precision and creativity. To begin, you'll need to locate the perfect spot for attaching the chain to the rail. Consider the length of the chain and the space available at the top of the printer. Next, you'll need to decide on the attachment method. You can use screws or glue to secure the chain in place. Make sure that your chosen method will be able to withstand the stress and movement of the printer. Once you've decided on an attachment method, it's time to start attaching the chain to the rail. Begin by carefully placing the first link of the chain over the top of the rail. Then, use your chosen attachment method to secure the link in place. As you continue to attach each link of the chain to the rail, make sure that they are evenly spaced and securely attached. This will ensure a smooth and even flow of the chain as it moves along the rail. Finally, test out the chain by moving it back and forth along the rail. Make any necessary adjustments to ensure that it is properly secured and functioning smoothly.
With this file you will be able to print Chain Top Rail Mount with your 3D printer. Click on the button and save the file on your computer to work, edit or customize your design. You can also find more 3D designs for printers on Chain Top Rail Mount.
