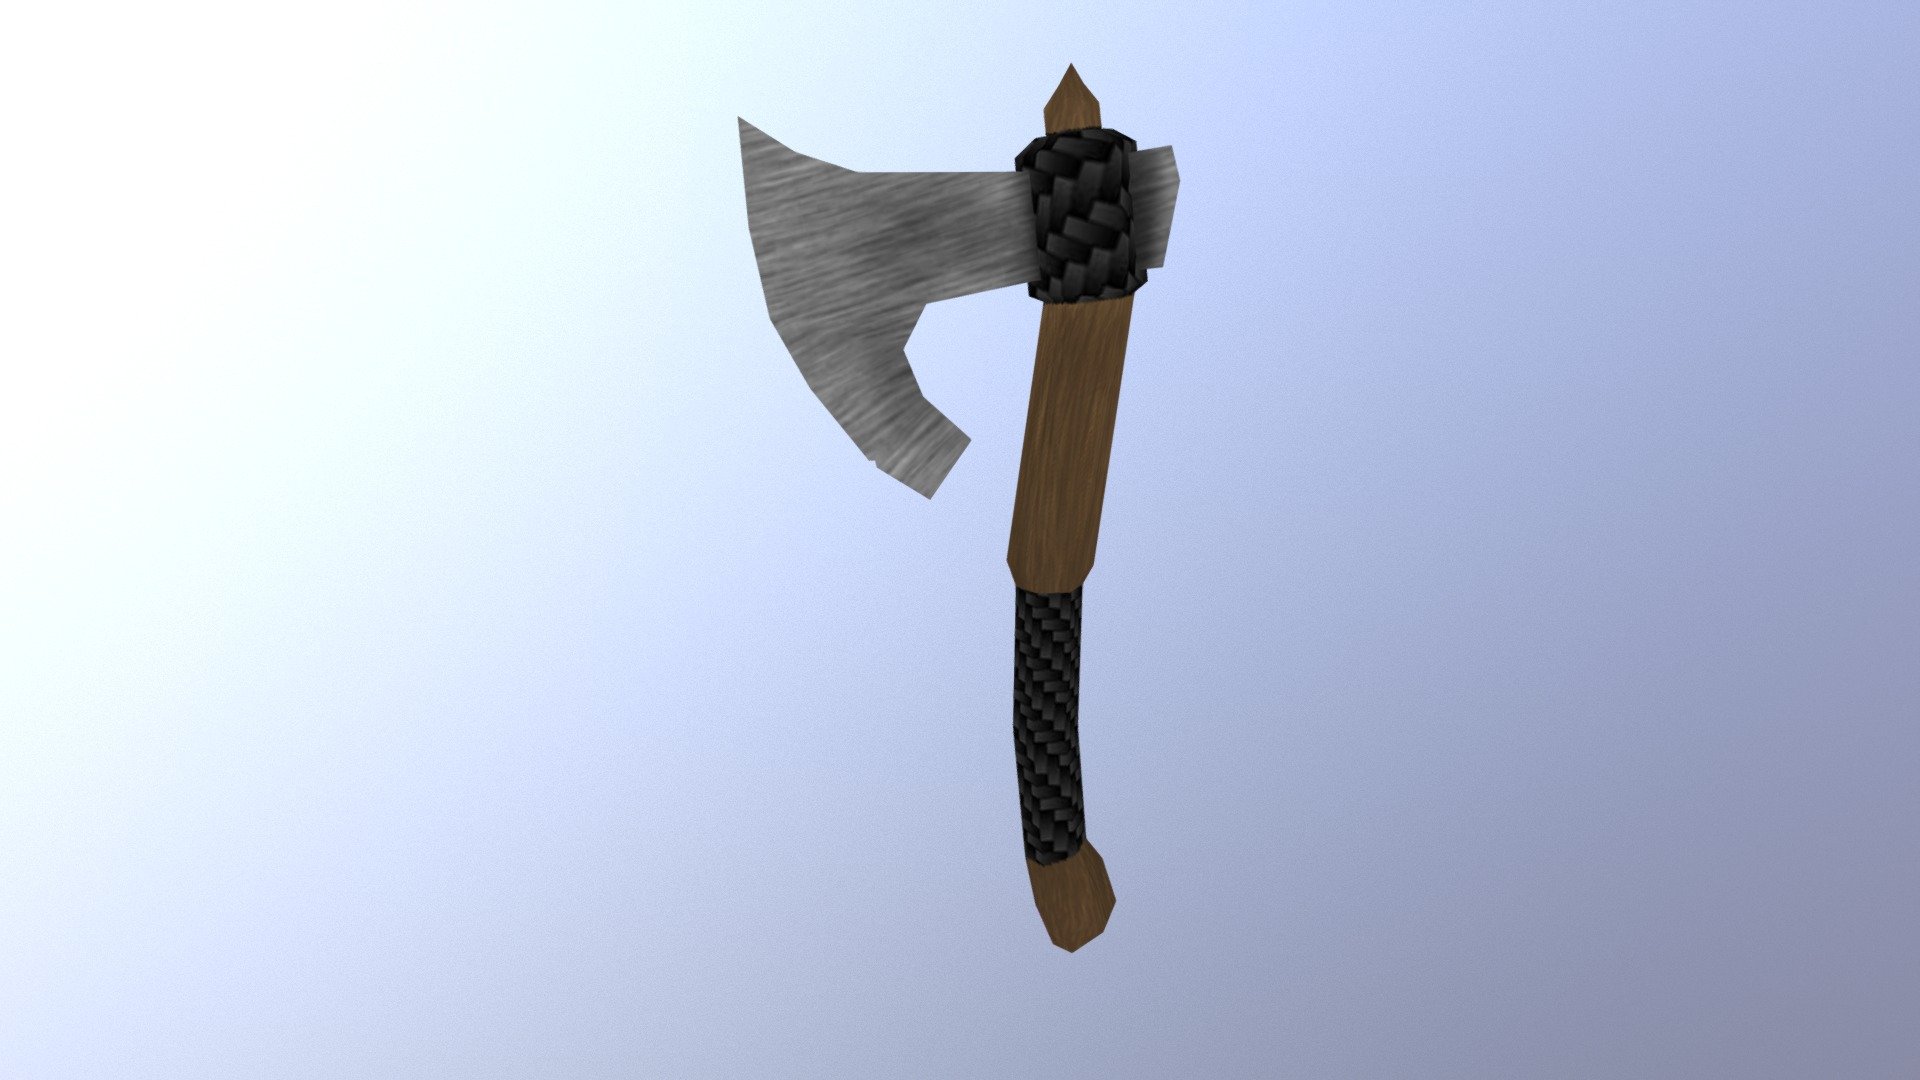
CGCOOKIES - Texture Painting an Ax
sketchfab
Creating a Simple Textured Image in Blender Step 1: Setting Up the Scene Open up Blender and select the default cube object. We're going to use this as our base mesh for our textured image. Delete any unnecessary objects, like the camera or light, that you won't be using. Step 2: Creating a New Texture Navigate to the texture tab in the materials panel. Click on the new button at the top of the window and choose the "image" option from the menu that appears. This will create a new texture with default settings. Step 3: Loading an Image into Blender Click on the "load image" button at the bottom of the texture editor to load in your desired image. You can use any image you like, but for this exercise we'll be using a simple gray background. Step 4: Applying the Texture Select the cube object and then navigate back to the materials panel. Click on the "material" tab at the top of the window and select the texture we created in step 2 from the drop-down menu. Step 5: Adjusting Texture Settings Now that our texture is applied, let's adjust some settings to get the look we want. In the texture editor, click on the "repeat" button to turn off the repeat function. This will prevent the texture from repeating itself over and over again. Step 6: Final Touches With our texture applied and settings adjusted, we're almost done! Take a final look at your textured image and make any last-minute adjustments as needed. That's it for this simple texturing exercise. With these basic steps you should be able to create a nice-looking textured image in Blender using your own images.
With this file you will be able to print CGCOOKIES - Texture Painting an Ax with your 3D printer. Click on the button and save the file on your computer to work, edit or customize your design. You can also find more 3D designs for printers on CGCOOKIES - Texture Painting an Ax.
