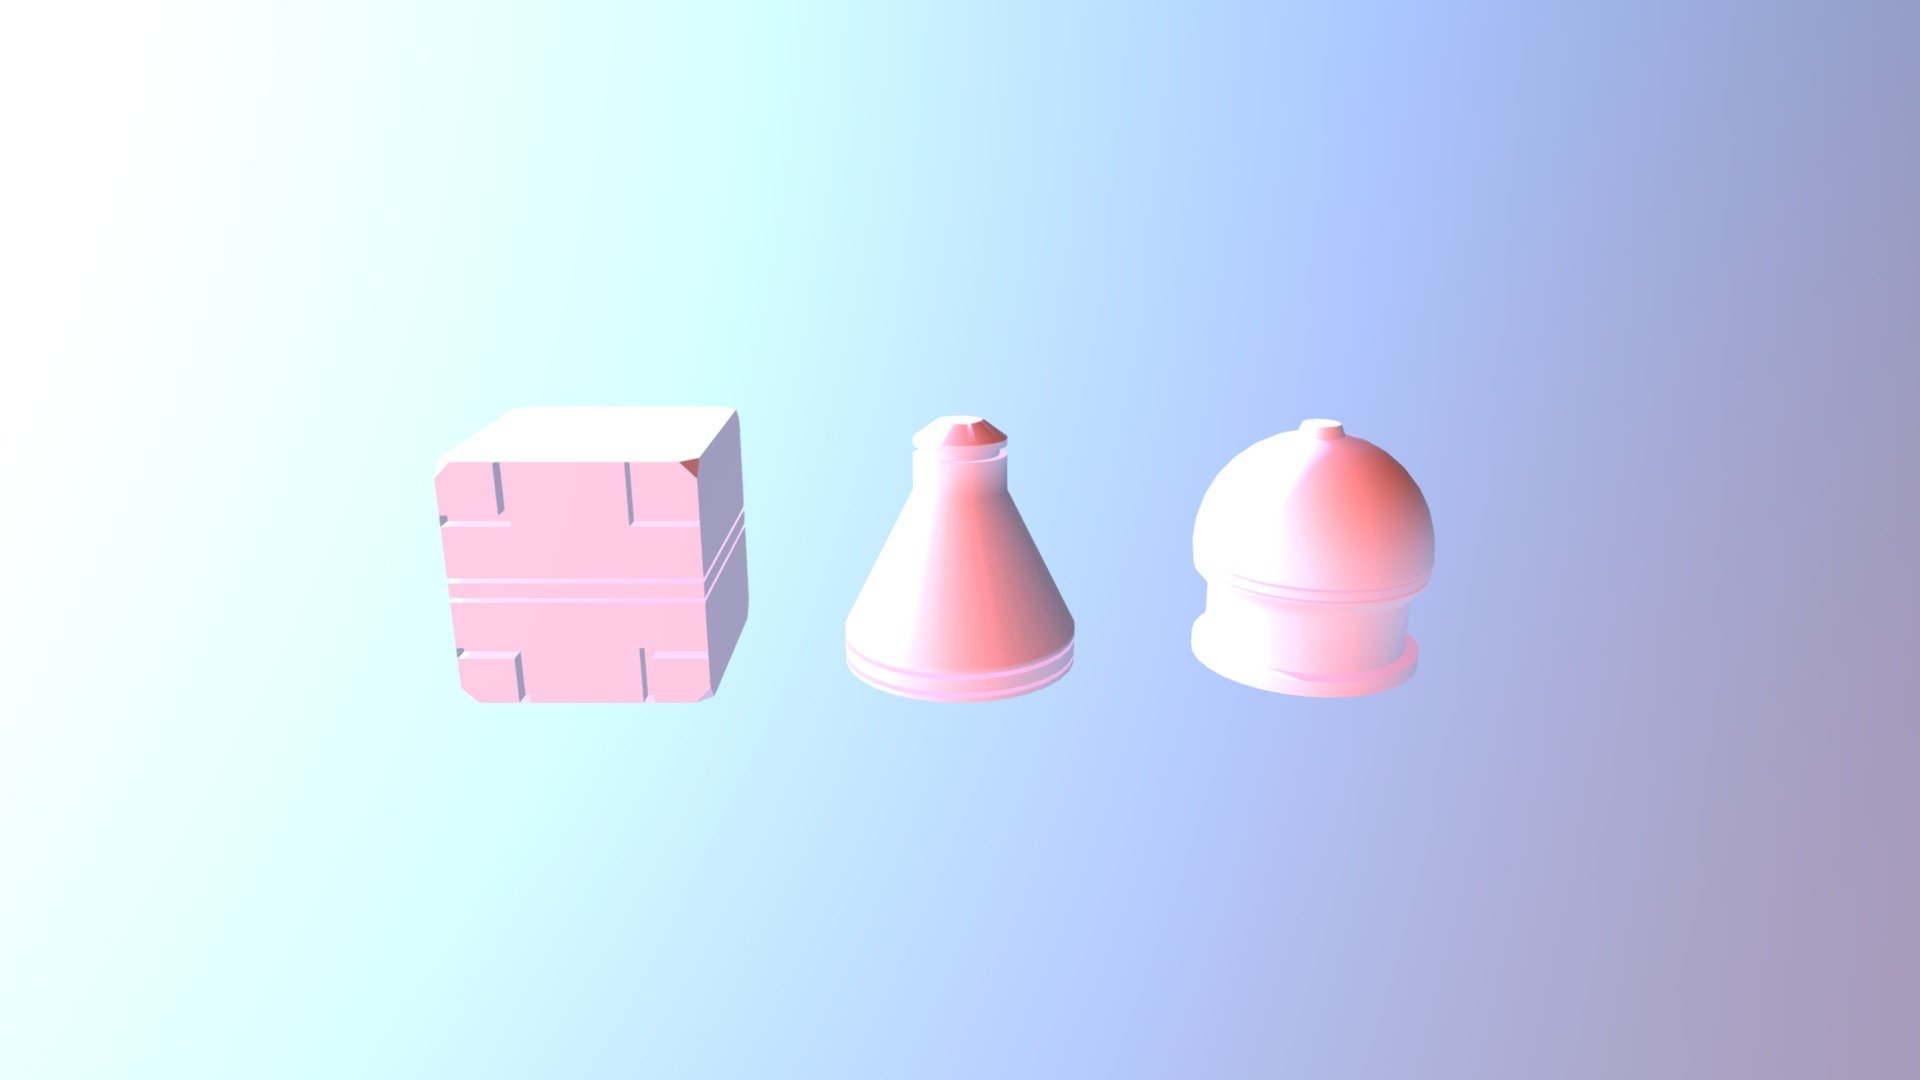
(CGCookie)Mesh-modeling Fundamentals Exercise01
sketchfab
Create a Simple Mesh Using Rhino's Extrude Tool In this exercise, we'll learn how to create a simple mesh using Rhino's extrude tool. This will give us hands-on experience working with meshes and preparing them for 3D printing. Step 1: Create a New Document Begin by launching Rhino and creating a new document. Set the units to inches and the precision to high. We'll be working in 2D, so it's essential to have precise measurements. Step 2: Draw a Profile Draw a profile using Rhino's drawing tools. For this exercise, we'll draw a simple rectangle with rounded corners. Make sure to use the correct units for the dimension. Step 3: Extrude the Profile With the profile drawn, select it and go to the Extrusion tool in the Rhino toolbar. Choose a direction for the extrusion, such as up or down. This will create a solid mesh from the profile. Step 4: Refine the Mesh Once we have our initial mesh, we can refine it by using various tools within Rhino. We'll use the Loop Cut tool to add more detail and smooth out any irregularities. Step 5: Prepare for 3D Printing With our refined mesh in hand, we're now ready to prepare it for 3D printing. This includes checking the model for any errors or inconsistencies that could affect print quality.
With this file you will be able to print (CGCookie)Mesh-modeling Fundamentals Exercise01 with your 3D printer. Click on the button and save the file on your computer to work, edit or customize your design. You can also find more 3D designs for printers on (CGCookie)Mesh-modeling Fundamentals Exercise01.
