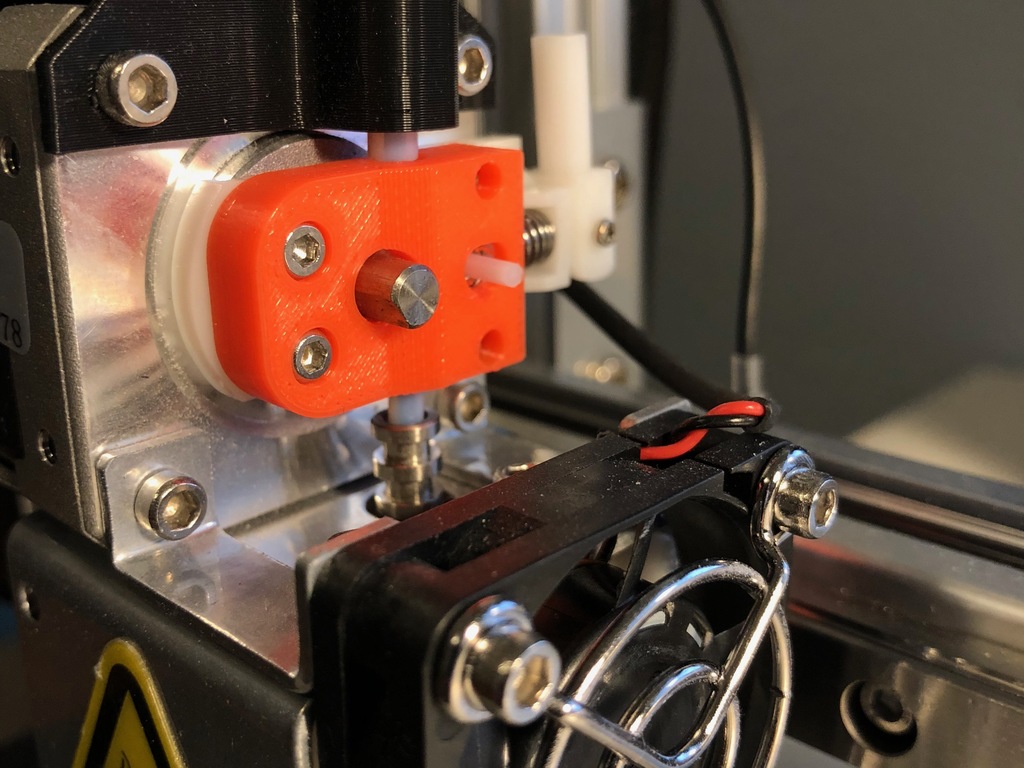
Cetus Extruder Guide
thingiverse
Here's a comprehensive guide to the Replacement Cetus Mk2 Extruder. The Cetus Mk2 Extruder is an essential component of your 3D printing setup, and when it requires replacement, you'll need this detailed manual to ensure a smooth transition. In this guide, we'll walk you through every step necessary for replacing the extruder on your Cetus Mk2, from preparation to completion. Step 1: Prepare Your Workspace Begin by clearing your workspace of any clutter or obstructions. This will give you ample room to work comfortably and avoid any potential hazards. Ensure that your printer is securely positioned on a flat surface and that all cables are neatly organized and out of the way. Step 2: Remove the Old Extruder To access the old extruder, you'll need to remove the existing one from the printer's hotend assembly. This involves disconnecting the thermistor wire and gently pulling the extruder off its mounting bracket. Be cautious not to damage any nearby components during this process. Step 3: Inspect and Clean the Hotend Assembly Once the old extruder is removed, take a moment to inspect the hotend assembly for any debris or residue that may have accumulated over time. Use compressed air or a soft brush to gently remove any loose particles, ensuring the area is clean before moving forward. Step 4: Install the New Extruder With the hotend assembly cleared of any obstructions, you're ready to install the new extruder. Align the mounting bracket with the corresponding holes on the printer's frame and secure it firmly in place using the provided screws. Make sure not to overtighten, as this can damage the surrounding components. Step 5: Reconnect the Thermistor Wire Now that the new extruder is installed, reconnect the thermistor wire to its designated port. Ensure a secure connection by gently tightening the wire's terminal before moving on to the next step. Step 6: Calibrate Your Printer With the new extruder in place, it's essential to calibrate your printer to ensure optimal performance. This involves adjusting the extruder's position and temperature settings to match those of the original extruder. Consult your printer's user manual for specific calibration procedures. Step 7: Test Your Printer The final step is to test your printer with the new extruder to verify its functionality. Run a few test prints to ensure that the extruder is correctly calibrated and functioning as expected. If any issues arise, refer back to this guide or consult the user manual for troubleshooting advice. By following these steps, you'll be able to successfully replace the Cetus Mk2 Extruder with confidence. Remember to always refer to your printer's user manual for specific instructions and guidelines tailored to your particular model.
With this file you will be able to print Cetus Extruder Guide with your 3D printer. Click on the button and save the file on your computer to work, edit or customize your design. You can also find more 3D designs for printers on Cetus Extruder Guide.
