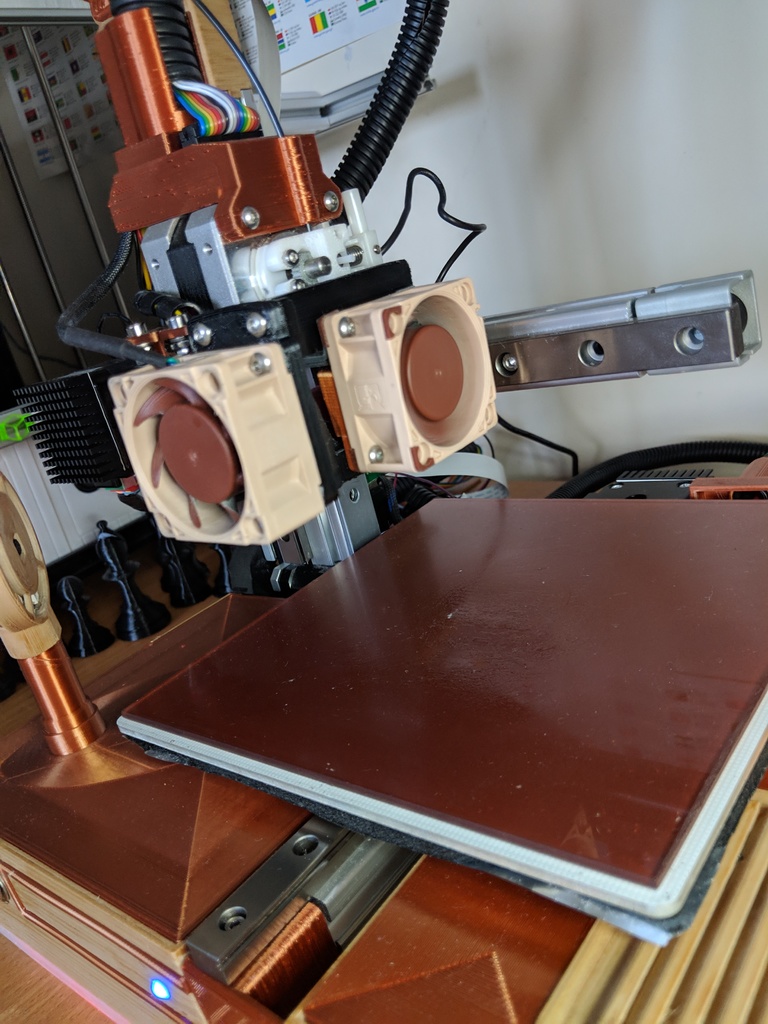
Cetus dual fan - PWM controlled fan - TINYFAB CPU
thingiverse
I've modified the setup for my Cetus 3D printer using the TinyFab CPU, and I'm getting great results from the PWM-controlled fan. In contrast to my previous setup where the fan was always on, this new design allows for more flexibility with the PWM control. However, it did require some redesigning of the parts attached to the fan element of the hotend, which involved some soldering. It's essential to note that I've used a third-party power supply for the heated bed at 24v, and I've connected the 5V source required for the PWM signal directly to this supply. The constant ground and 3.3v signals came from the CPU itself. As of August 8th, 2019, I corrected a mistake in the PDF instructions where an arrow was pointing to pin 14 instead of pin 16. Hopefully, this has been resolved. On March 18th, 2019, I finalized the fan mounts and shroud design. The fan shroud can be printed without supports if you print the wider part on the surface. The fan mount is also designed to be printed upside down with no supports needed. Additionally, I revised the fan duct for the throat, which can be printed with the right surface facing up and the two arms straight up - again, no supports required. On February 21st, 2019, I added a smaller design for the setup, which will be shared in separate files. On May 21st, 2018, I created a PDF instruction document for the wiring process. In a recent update on May 25th, 2018, I refined the fan shroud by shrinking the top hole to focus the air flow towards the tip of the nozzle. I'm thrilled with the results I'm getting from this setup, courtesy of Cetus, TinyFab CPU, S3D, and PartMe.
With this file you will be able to print Cetus dual fan - PWM controlled fan - TINYFAB CPU with your 3D printer. Click on the button and save the file on your computer to work, edit or customize your design. You can also find more 3D designs for printers on Cetus dual fan - PWM controlled fan - TINYFAB CPU.
