Cetus 3D Extruder
thingiverse
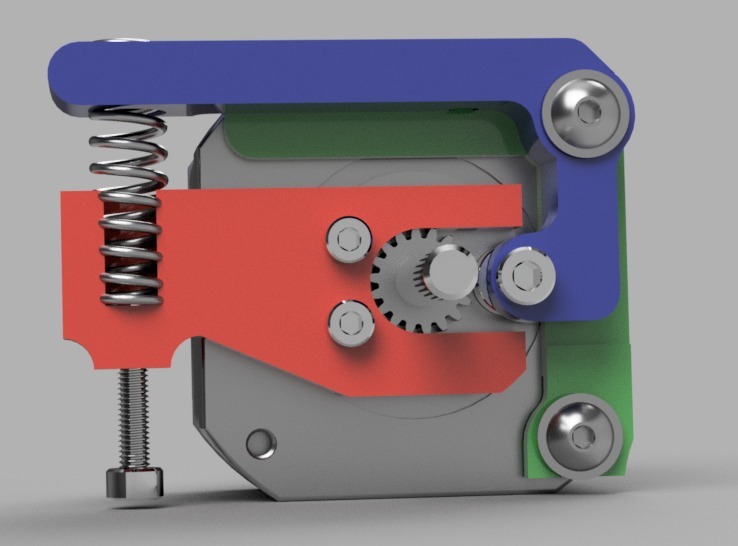
I was frustrated with the original Cetus3D extruder design, so I had to disassemble it to ensure the filament was feeding properly. This new design allows for adjustable filament feed tension, a quick release of the filament and an open design that enables viewing the filament during printing. The spring has a 3:1 advantage over the pressure bearing, making it more effective at managing filament flow. I have tested this design with PLA and PC-MAX filaments but have not yet tried ABS or flexible filaments. To build this new extruder design, you will need to print four specific parts: A new extruder PCB enclosure that moves the mounting from the face of the extruder motor to the holes on top. This can be secured using the screws that were used to mount the board to the NEMA motor. A spacer attached by two screws to the face of the extruder motor, providing a smooth surface for the lever arm to rotate against. It is recommended to smooth the surface facing outward. I printed this part in Polymaker PC-MAX filament. An open filament guide with spring holder. A screw can be threaded into the downward-facing hole and a small 3mm screw and washer inserted below the spring, providing tension adjustment. This part was also printed in Polymaker PC-MAX filament. A lever arm to hold the pressure bearing and provide quick release. Install the lever arm loosely before installing the spring. I printed this part in Polymaker PC-MAX filament as well. Additional parts required for assembly include a miniature steel bearing, a screw to hold the bearing on the lever arm, a screw to mount the lever arm, two 3mm washers, and a small screw with washer for spring tension adjustment.
With this file you will be able to print Cetus 3D Extruder with your 3D printer. Click on the button and save the file on your computer to work, edit or customize your design. You can also find more 3D designs for printers on Cetus 3D Extruder.
