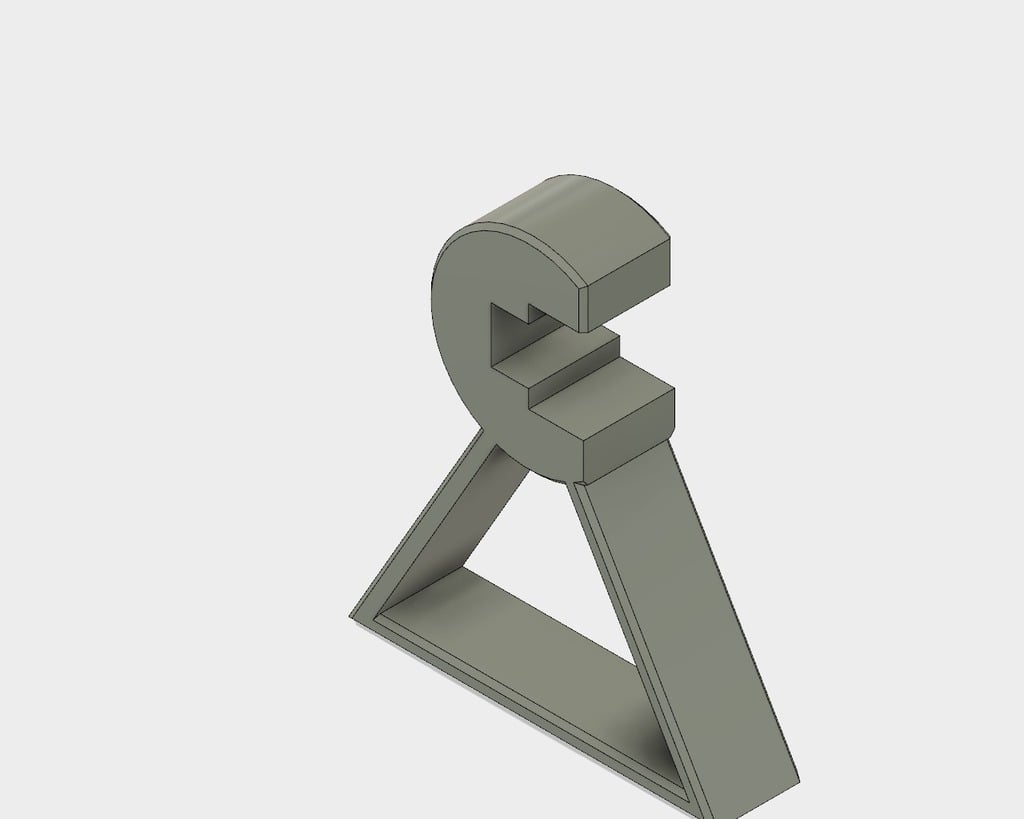
Cetus 3D Calibration stand
thingiverse
When I was struggling to recalibrate my Cetus 3D Print's Y-arm in the Z-direction, I knew something had to be done. That's when I decided to design these custom stands. You'll need to print them twice before they're ready for use. To set them up, follow these steps: - Unplug your printer and let it cool down - Remove the extruder assembly from the build plate - Place the build plate in the middle of the x-axis - Loosen the bolts that hold the Y-arm in place (you may also need to loosen the linear rail's bolts) - Attach the stands to the arm and position them at the far edges - Ensure the stands are firmly resting on the build plate - Tighten all the bolts securely. You can download my Fusion 360 model here: http://a360.co/2rz3j42
With this file you will be able to print Cetus 3D Calibration stand with your 3D printer. Click on the button and save the file on your computer to work, edit or customize your design. You can also find more 3D designs for printers on Cetus 3D Calibration stand.
