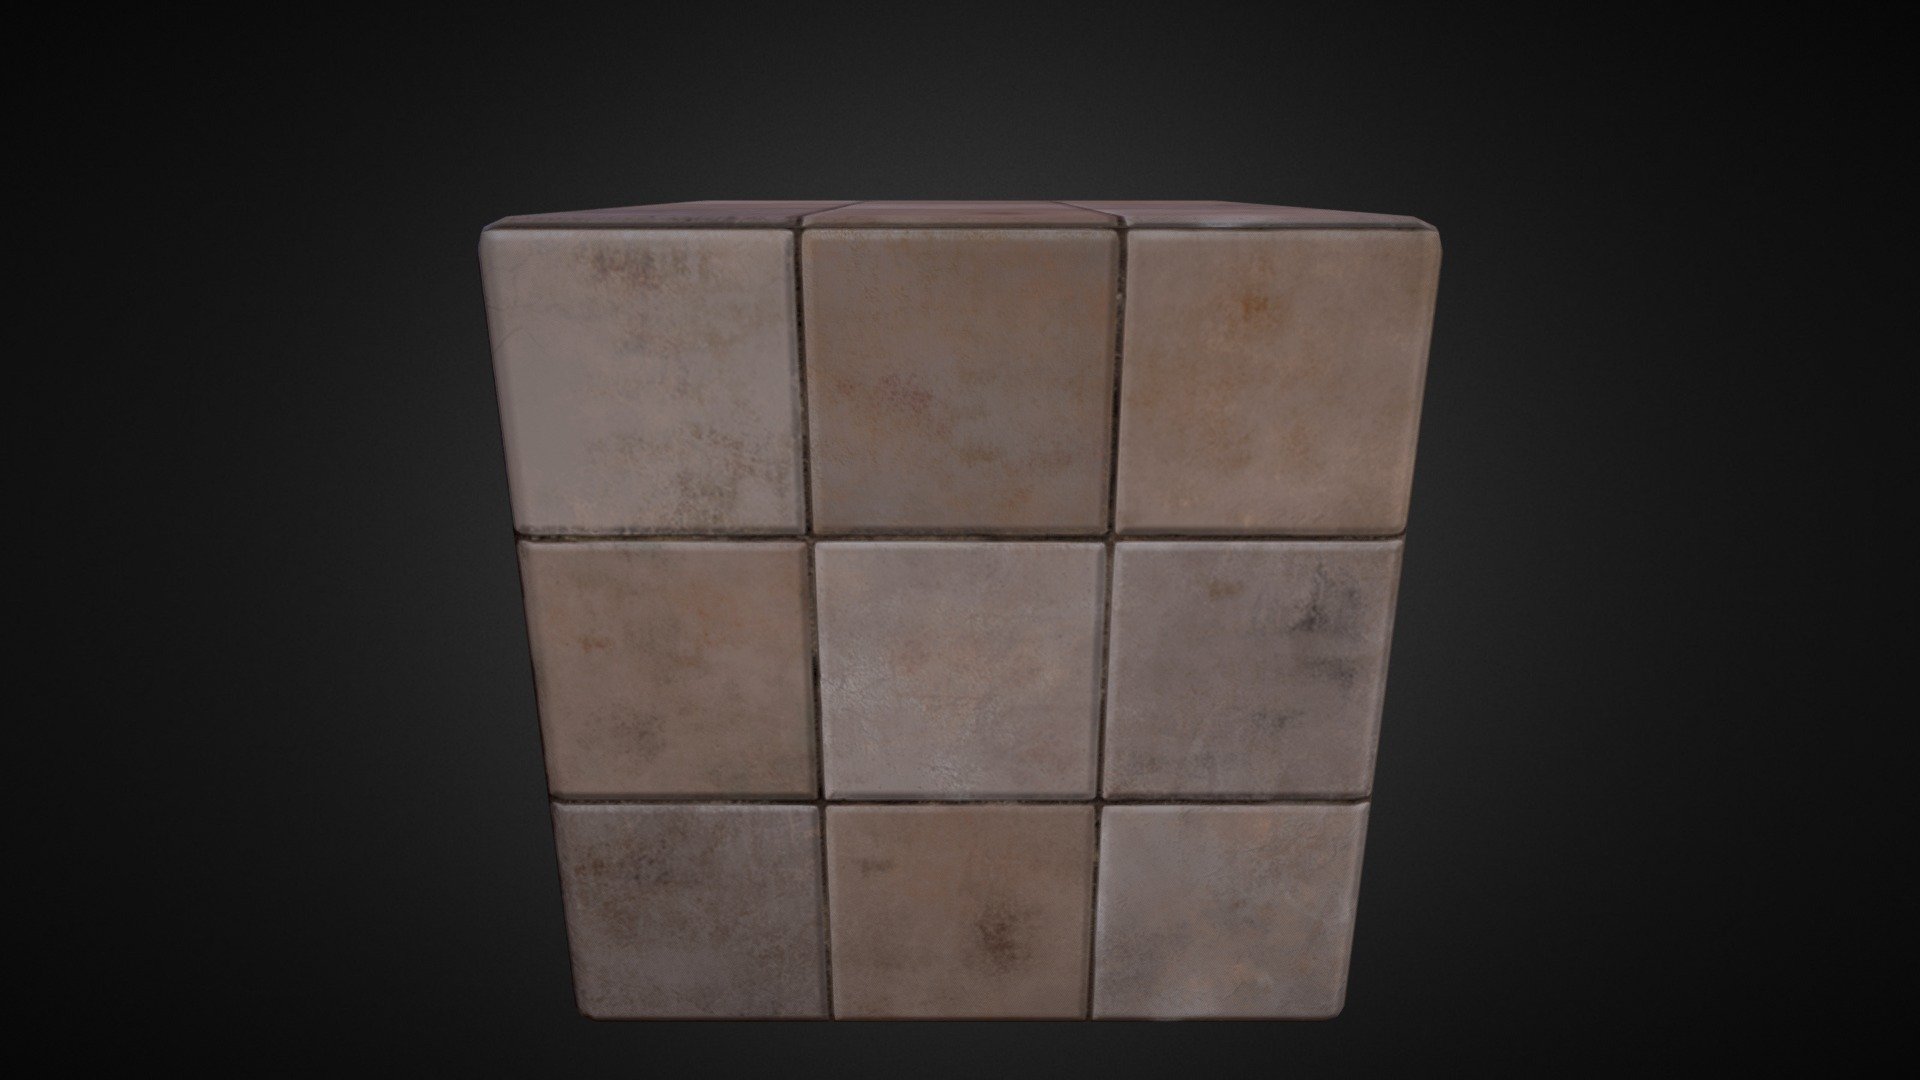
ceramic_tiles
sketchfab
Crafting a Hand-Painted Look in Adobe Photoshop CS6 Achieve an authentic hand-painted texture in Adobe Photoshop CS6 by harnessing the power of layers and blending modes. This artistic effect can be achieved through a combination of subtle brushstrokes, nuanced color transitions, and strategic layer manipulation. Begin by creating a new document in Photoshop CS6 with a resolution of 300 pixels per inch (PPI). Next, select the Brush Tool and choose a soft-bristled brush with a medium size. Set the foreground color to a warm, earthy tone and begin painting gentle strokes across the canvas. Varying the pressure on your stylus will help create natural-looking texture. To add depth and dimension to your hand-painted look, introduce additional layers. Duplicate the background layer and apply a subtle Gaussian Blur effect using the Filter menu. Then, lower the opacity of this blurred layer to around 20%. Now, create a new layer and fill it with a contrasting color. Use a soft brush to paint bold strokes across the canvas, focusing on areas where you want to draw attention. Merge this layer with the background by clicking on the "Merge Down" button. To fine-tune your hand-painted texture, experiment with different blending modes. Try applying the Multiply or Color Dodge mode to specific layers or areas of the image. This will help create a more dynamic and visually appealing effect. Finally, refine your artwork by adjusting the levels and contrast using the Image menu. With these simple yet powerful techniques, you'll be able to craft a stunning hand-painted texture in Adobe Photoshop CS6 that rivals traditional artistry.
With this file you will be able to print ceramic_tiles with your 3D printer. Click on the button and save the file on your computer to work, edit or customize your design. You can also find more 3D designs for printers on ceramic_tiles.
