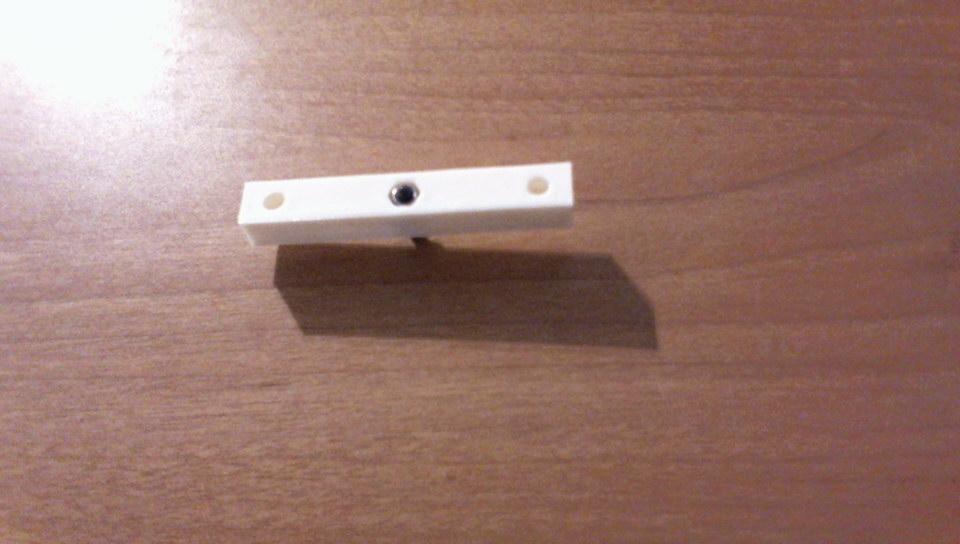
Centering Tool
thingiverse
Centering holes for round or square bars up to 45 mm in width is crucial before assembling them together. To achieve this, file down the edges that form on the pieces in contact with the bed beforehand. To assemble the necessary components, you'll need six M5 x 30 mm screws, six M5 self-locking nuts, twelve M5 washers, one M4 self-locking nut, one M4 regular nut, one M4 washer, and a 20 mm M4 pin. Follow these steps to complete the assembly: after filing down the edges of your prints thoroughly, insert the self-locking nuts into their designated seats. Next, assemble the pin so that it extends about 2 mm from the surface, then secure it in place using the M4 nut and washer. Finally, insert the M5 screws with the washers positioned between the screw and the printed pieces, ensuring a tight fit throughout.
With this file you will be able to print Centering Tool with your 3D printer. Click on the button and save the file on your computer to work, edit or customize your design. You can also find more 3D designs for printers on Centering Tool.
