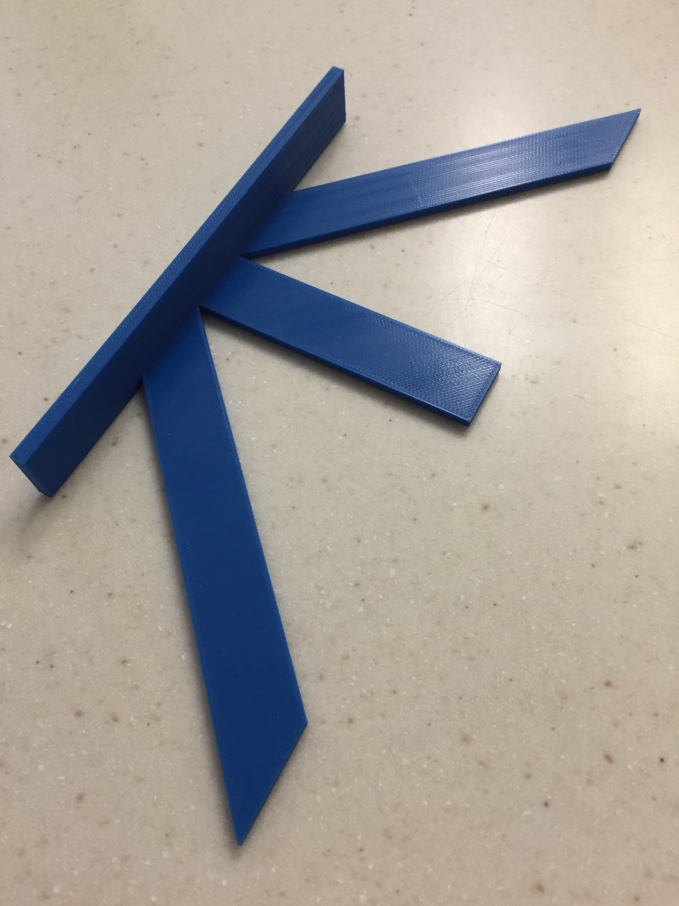
Center Line Finder Jig
thingiverse
A simple tool for finding the center line of a board or stud. Works on boards up to 6" in width. The pictures show the steps to create the center line finding geometry. 1. Place fence against the edge of a board. 2. Draw a horizontal line on across the top and bottom of the middle guide. 3. Draw a line on the inside of the 2 angled guides. 4. Flip the fence to the other edge of the board. 5. Line up the horizontal guide between the previous horizontal lines drawn. 6. Draw a line on the inside of the 2 angled guides crossing the existing lines. 7. Draw a vertical line through the X's made by the angled lines to get your center line. The tool is scaled and ready for printing. It will fit on a 10" square print bed. You can scale it down to 70% and still use it on a 2X4.
With this file you will be able to print Center Line Finder Jig with your 3D printer. Click on the button and save the file on your computer to work, edit or customize your design. You can also find more 3D designs for printers on Center Line Finder Jig.
