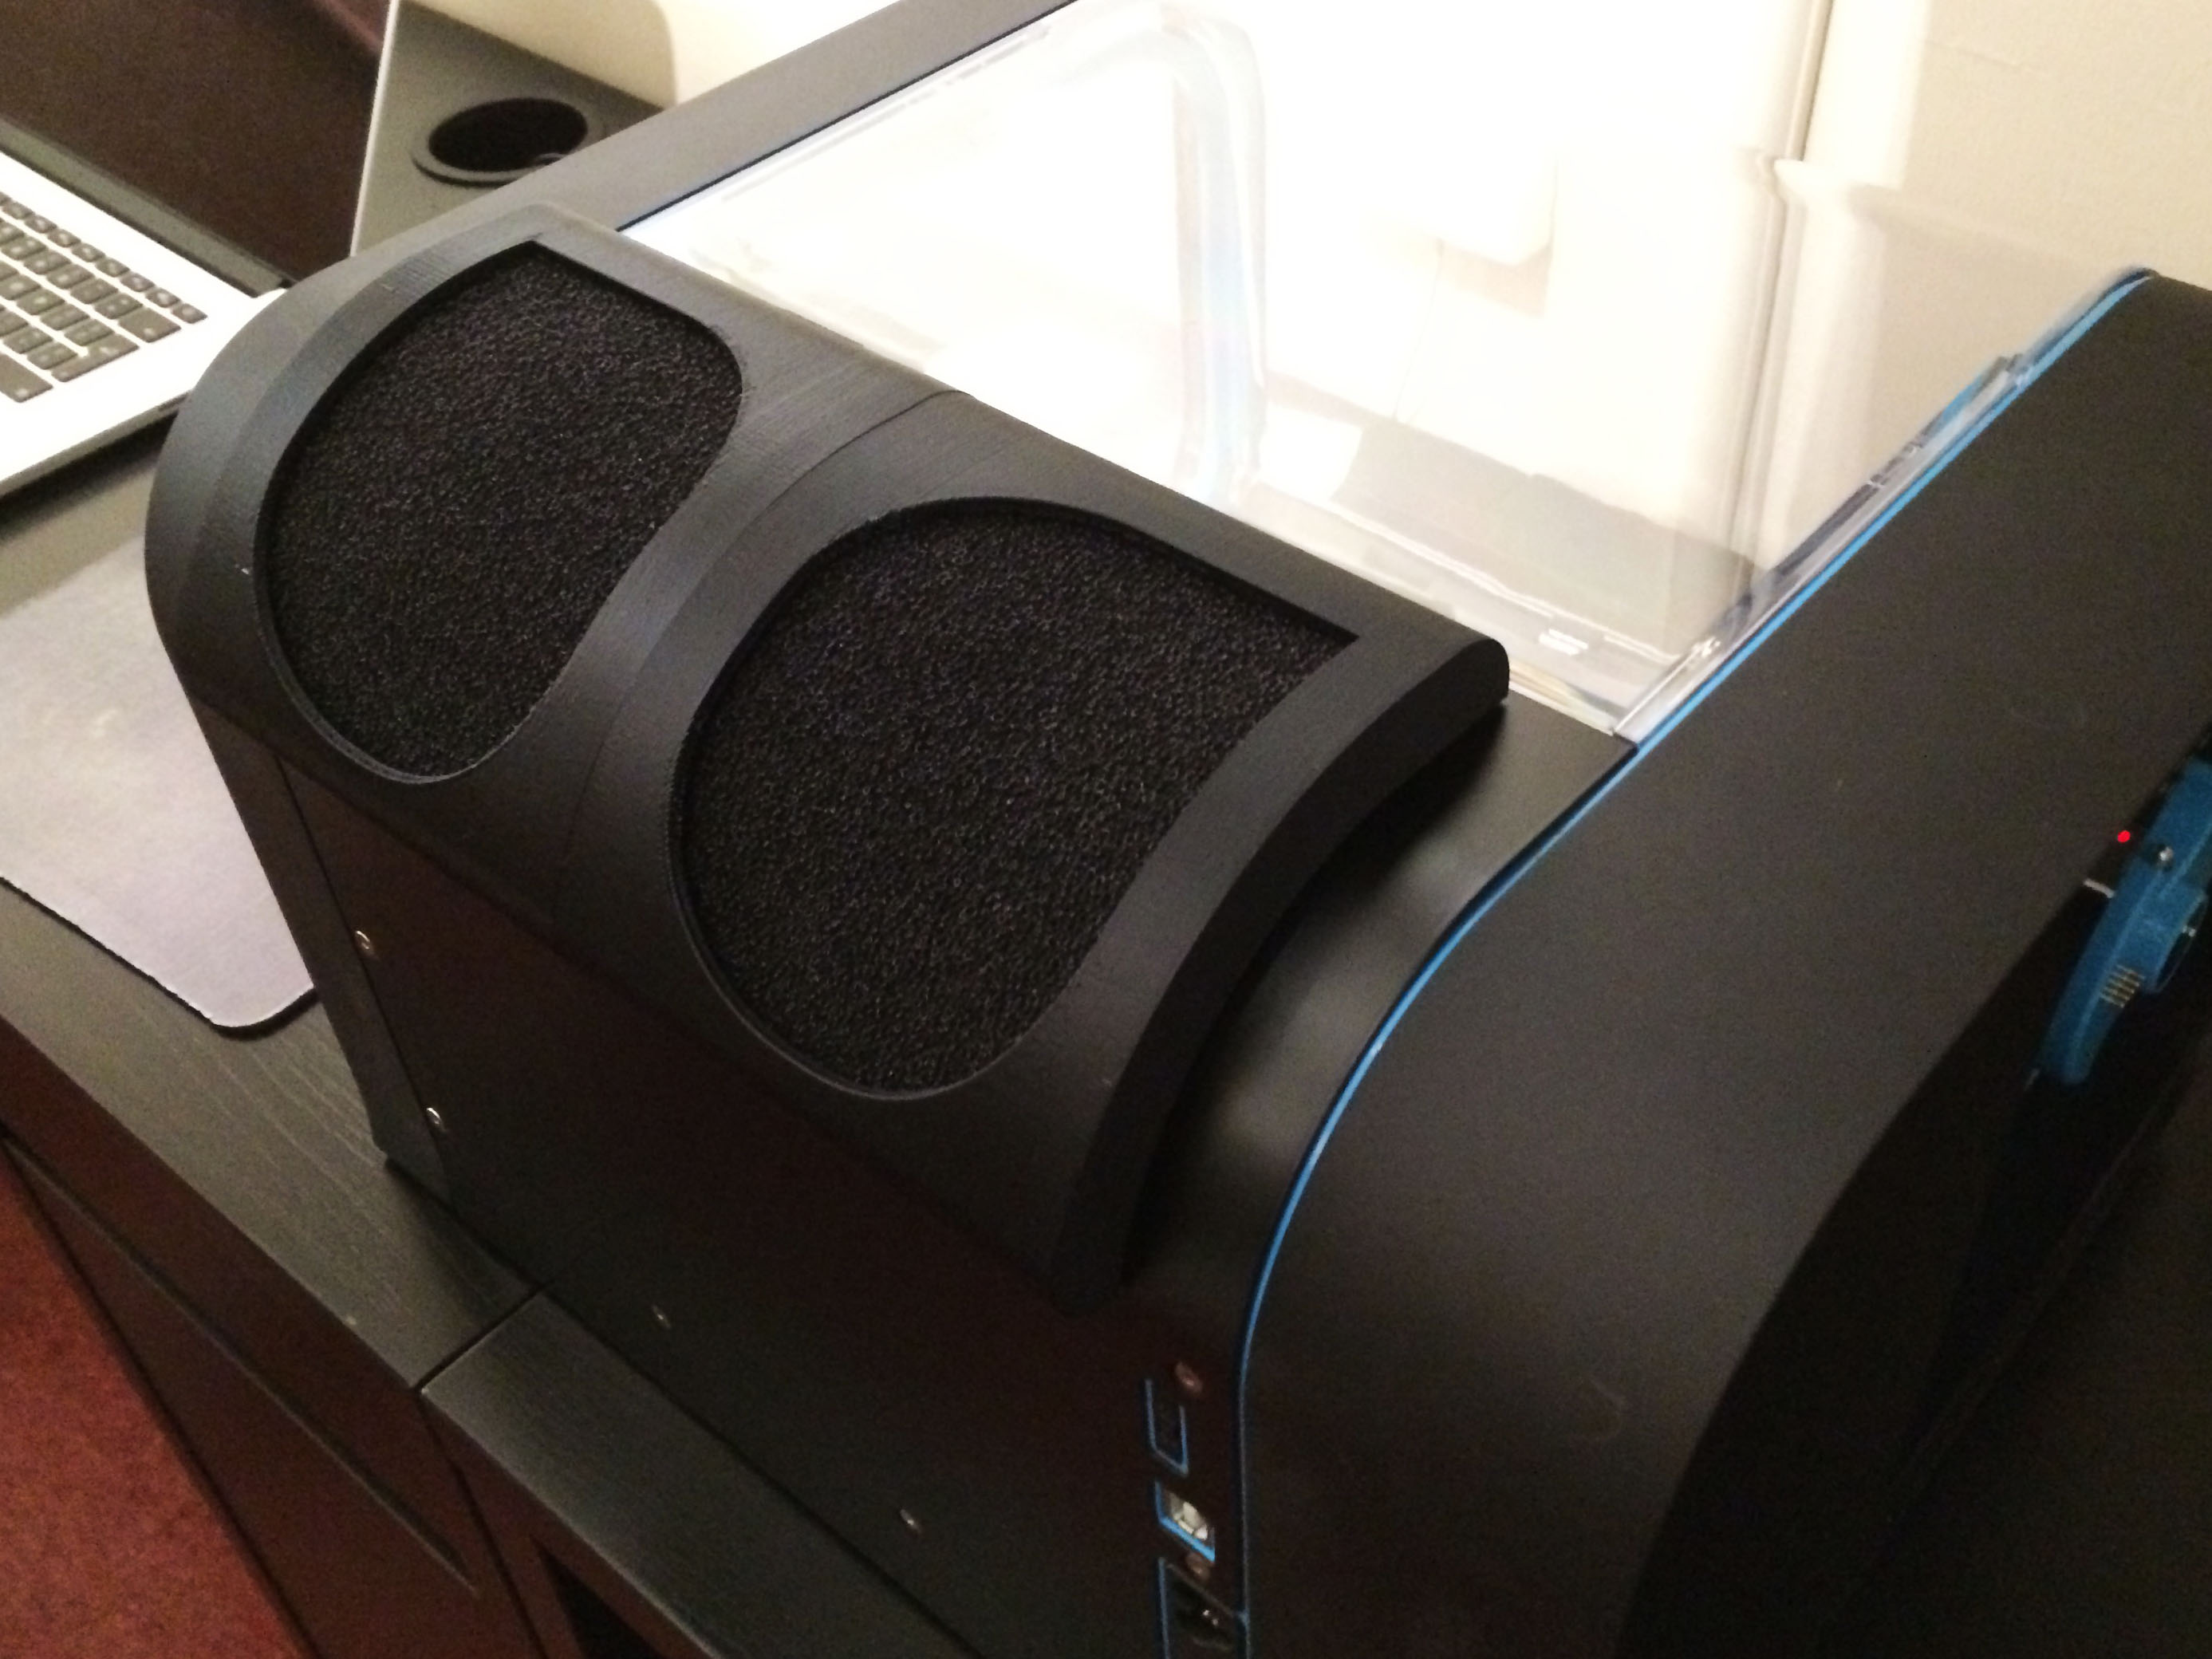
CEL Robox Filter Enclosure V1
myminifactory
Two-part enclosure designed to integrate an Activated Carbon filter into the CEL Robox system. To assemble, simply slide the two parts together and apply a small amount of adhesive if needed. Next, insert 12.7mm wide padded magnetic tape into the recessed area, followed by 12mm thick Activated Carbon Foam. Mounting the enclosure to the Robox is effortless. The top two pins easily fit into the vent holes, causing the enclosure to flex slightly and locate the bottom two pins in place. Although it holds securely on its own, the magnetic tape provides an added pull-down force, creating a tight seal. This project is currently under development, but I have successfully integrated this enclosure with my Robox system, achieving excellent results. The enclosure was printed in two pieces at 300 micron layer height, requiring approximately two hours per piece to complete. Unfortunately, I encountered an error when attempting to print with limited support - the part must be oriented vertically, as shown in the accompanying photo, and this configuration does not fit within the Robox's print volume... a simple oversight! To successfully print on the Robox, the enclosure must be laid flat on its side, necessitating additional support material. As this project remains a work in progress, I may revise it to include a three-part design at a later stage, allowing for improved print orientation directly within the Robox's volume.
With this file you will be able to print CEL Robox Filter Enclosure V1 with your 3D printer. Click on the button and save the file on your computer to work, edit or customize your design. You can also find more 3D designs for printers on CEL Robox Filter Enclosure V1.
