Ceiling Hook
thingiverse
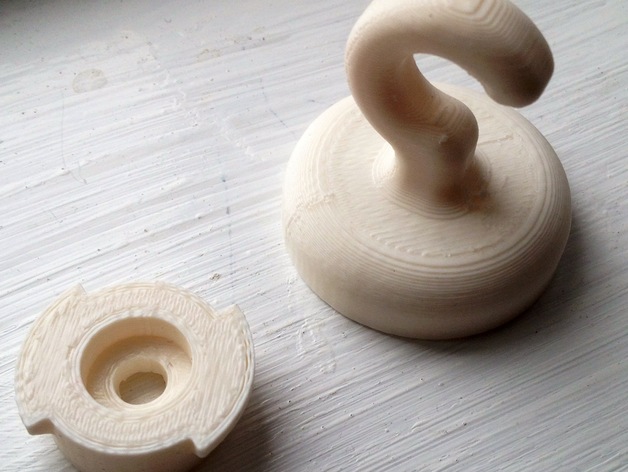
This two-piece ceiling hook assembly requires mounting the anchor with a screw through its center hole and pushing on the hook while twisting it 90 degrees to lock. A line on the anchor indicates the hook's orientation. It works best with a drywall/plaster anchor, but can also be screwed directly into joists or any other surface. The holes accommodate No.8-12 screws, but can fit larger ones too. The model was designed in Autodesk Fusion 360 and meshmixer for a Replicator 2 printer; the 'hook_stronger' variant is thicker. To print, lay the hook on its side to create stronger outer shell layers. Anchor should be printed with its small rim touching the bed to prevent warping. Print at .2mm resolution, three shells, and 25% infill for strength, which takes about an hour for both parts. Use makerware support and rafts for printing. Remove support material from the hook base using a wood chisel. The parts may initially not fit, but screwing the anchor into scrap wood and adjusting the hook will solve that. The rim on the anchor's base is designed to accommodate a drywall/plaster anchor, which should be flush with the ceiling after installation. Test the 'stronger' variant's size using an included print if desired. It currently supports 14 globe bulbs hanging over a dining room table, but weight capacity is unknown.
With this file you will be able to print Ceiling Hook with your 3D printer. Click on the button and save the file on your computer to work, edit or customize your design. You can also find more 3D designs for printers on Ceiling Hook.
