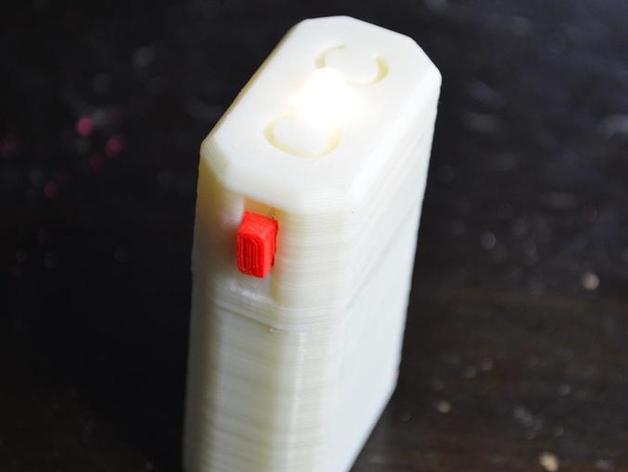
CC's printable LED flashlight
thingiverse
Print your 8-year-old daughter's glow-in-the-dark ABS flashlight using a simple LED design with minimal non-printable parts. After printing, ensure a tight fit for the cap on the battery case; you may need to file or sand the pieces to achieve the right fit. To complete the project, gather these non-printable parts: a 5mm white 3.3v LED, two conductive metal springs (approximately 6mm in diameter and 20mm long), a piece of aluminum foil, and two AA batteries. Proceed with assembly by inserting the LED into the cap's center hole and securing it with one of the springs. File or sand down the switch piece for easy sliding action within the cap's slot. Clip the longer wire to fit snugly into the bottom switch hole, ensuring proper movement. Use superglue to secure the switch tab in place. Add the second spring and foil at the bottom of the battery case, then insert batteries with opposite poles facing. Finally, attach the cap to the case, placing the positive battery pole nearest the switch. Your daughter's LED flashlight should now work perfectly with the switch!
With this file you will be able to print CC's printable LED flashlight with your 3D printer. Click on the button and save the file on your computer to work, edit or customize your design. You can also find more 3D designs for printers on CC's printable LED flashlight.
