CATASTRONAUT
thingiverse
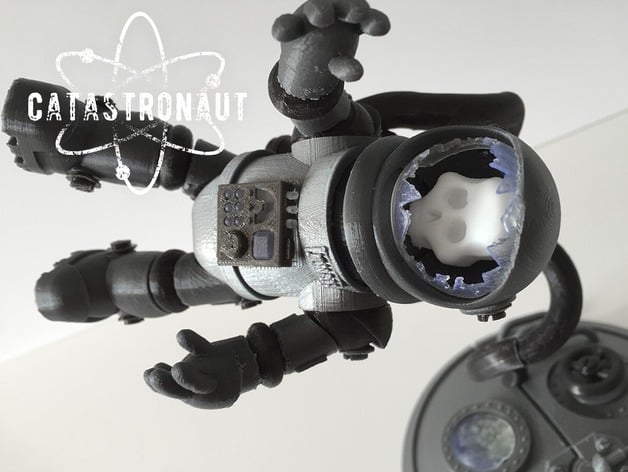
NEW: WATCH THE VIDEO OF HOW CATASTRONAUT WAS CREATED: https://www.youtube.com/watch?v=KWEL20pHax8 Many speak of the legendary CAPTAIN JASON: Space explorer, hero. His numerous daring missions are passed down to each new generation of Space Ensign - each aspiring to be one-tenth of the Astronaut the legend of Jason became... But what did happen to him? This model finally depicts the unfortunate downfall of the space icon, in all of its unhappy glory. MISSION NOTES: DESIGNED TO PRINT IN HIGH RESOLUTION WITH SUPPORTS CREATED FOR MINIMUM 150mm x 150mm PRINT AREA Component parts click together to build the figure Basic movable joints Can be made in 4 colors (suggest Black, Silver, White and Clear) Can also work in one color Figure can stand alone (Display Stand is optional) Holes built-in for addition of atmospheric mini electric lighting (not included) Air-hose pieces can be configured in many ways for different display Good luck, Space Ensign. Instructions You can learn more at http://www.thewebsiteisanightmare.com I'm an illustrator and Art Director working in New York. I've experimented with using 3D printers on the job, but only to run out simple models. This is my first serious attempt at making a custom 3D model kit. It took several months and a lot of learning! It was designed to be built at HIGH RESOLUTION - I haven't tried to print this at low res, so I don't know how the joints will work at that quality. Its designed to be clicked together, and allow for some poseability from the figure. I created it with colors in mind - but ultimately it can be anything you like!. The clear parts ' have to be clear - they can be printed in any color and it will still work just fine. I created the 3D model using Tinkercad - which is a fantastic program to start learning how to create a 3D model. With its simple tools I was able to make everything you see. When I started designing it, I didn't even have a 3D printer of my own! I used a commercial print company to run off a test model - this was all in one color, but I wanted to learn how the parts would fit together (or not at all as it turned out for version1!) I learned a lot about how a model may work on-screen, but when you actually make it for real there can be a need for adjustments or different thinking. Later when I eventually got a printer of my own, I learned yet more about the orientation of the model parts and how that can affect printing. Also supports, and how to get the best out of them - hopefully all of my learning should be transferred into the model, and as long as you use SUPPORTS and HIGH RESOLUTION to print, it should come out just fine when you put it together. But keep some sandpaper and tools on hand! I can't predict how your print may come out, (as I often couldn't for my own) so you may have to expect some fine-tuning. I'll be creating a video showing a little more about how the model came about - you'll be able to find it via my website at http://www.thewebsiteisanightmare.com
With this file you will be able to print CATASTRONAUT with your 3D printer. Click on the button and save the file on your computer to work, edit or customize your design. You can also find more 3D designs for printers on CATASTRONAUT.
