Catan Magnetic Bases - 5mm Spherical Neodymium with tile platfor
pinshape
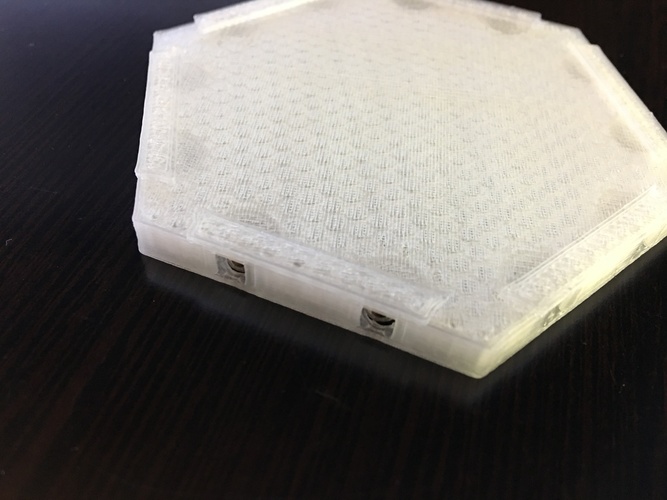
Summary This is the Settlers of Catan magnetic base updated to fit 5mm 'bucky' balls. I've also redesigned the main platform to include the 'road' and 'settlement' indentations, as well as an indentation where you can place a modified tile piece to fit. Print Settings Printer Brand: SeeMeCNC Printer: Rostock MAX Rafts: No Supports: No Resolution: 0.2 Infill: 30% Post-Printing Installing the Magnets Press the magnets into the holes at the bottom. Use a tool like a screwdriver to gently press them in. Once a magnet snaps into place, it should fit into a chamber that lets it rotate freely without escaping. This allows the magnets to align with those of other base pieces. Modified Tile Piece To fit a tile piece on top, you'll need to modify the tile pieces from these links and similar types: http://www.thingiverse.com/thing:1238980 http://www.thingiverse.com/thing:1648047 Simply clip off 5.5mm from the bottom of each tile to exclude road portions. See an image I've included showing a modified tile piece. You decide whether to permanently glue each tile piece onto the base. How I Designed This I didn't start with the original piece, but rather remade it using onshape, which I recently discovered. Find my design here: https://cad.onshape.com/documents/640dca9cbaa3dfa526432886/e/8f23ac6997d2898f411208a0
With this file you will be able to print Catan Magnetic Bases - 5mm Spherical Neodymium with tile platfor with your 3D printer. Click on the button and save the file on your computer to work, edit or customize your design. You can also find more 3D designs for printers on Catan Magnetic Bases - 5mm Spherical Neodymium with tile platfor.