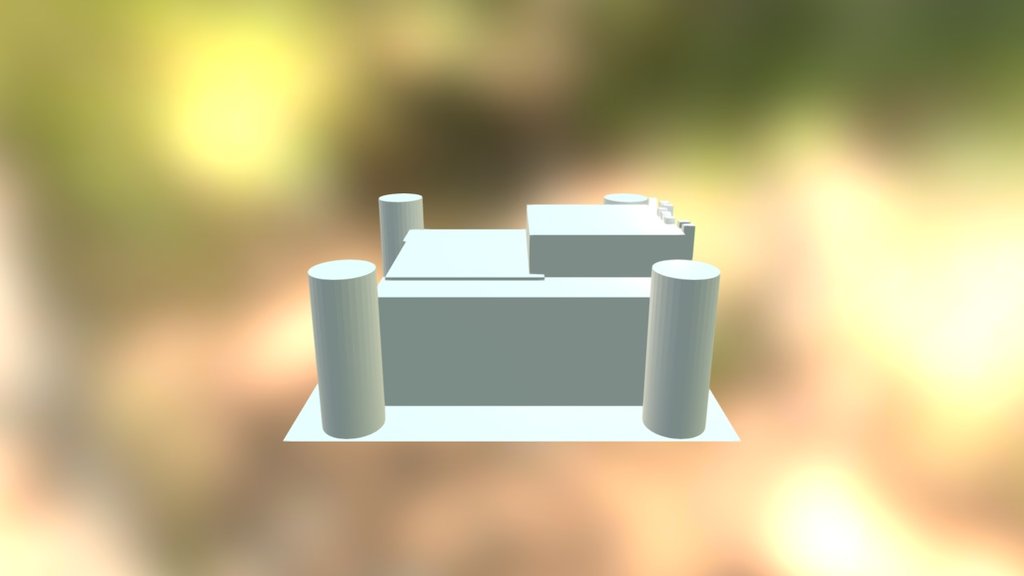
Castle
sketchfab
Building an uncomplicated fortress in Blender requires only basic modeling skills. Start by creating a new project in Blender and setting up your units to meters. Next, switch to edit mode and create a new cube. Scale it down to about one meter in each direction and then move it to the origin point. This will be the base of our castle. To add walls, select all edges of the cube by pressing Ctrl + RMB (right-click) and then extrude them upwards by 1.5 meters. You can also use the loop cut tool to create more complex shapes. Now, let's build a gate. Select one edge of the cube and use the knife tool to split it in half. Then, move the top part down and merge it with the bottom part at the midpoint. This will create an entrance that is wide enough for our characters to pass through. For the roof, select all edges again and extrude them upwards by 0.5 meters. You can also use the bevel tool to give it a more rustic look. Finally, add some windows and doors to your castle by selecting the edges of the cube and using the knife tool to split them in half. Then, move the top part down and merge it with the bottom part at the midpoint. Your simple fortress is now complete! You can add more details like towers or a moat if you want.
With this file you will be able to print Castle with your 3D printer. Click on the button and save the file on your computer to work, edit or customize your design. You can also find more 3D designs for printers on Castle.
