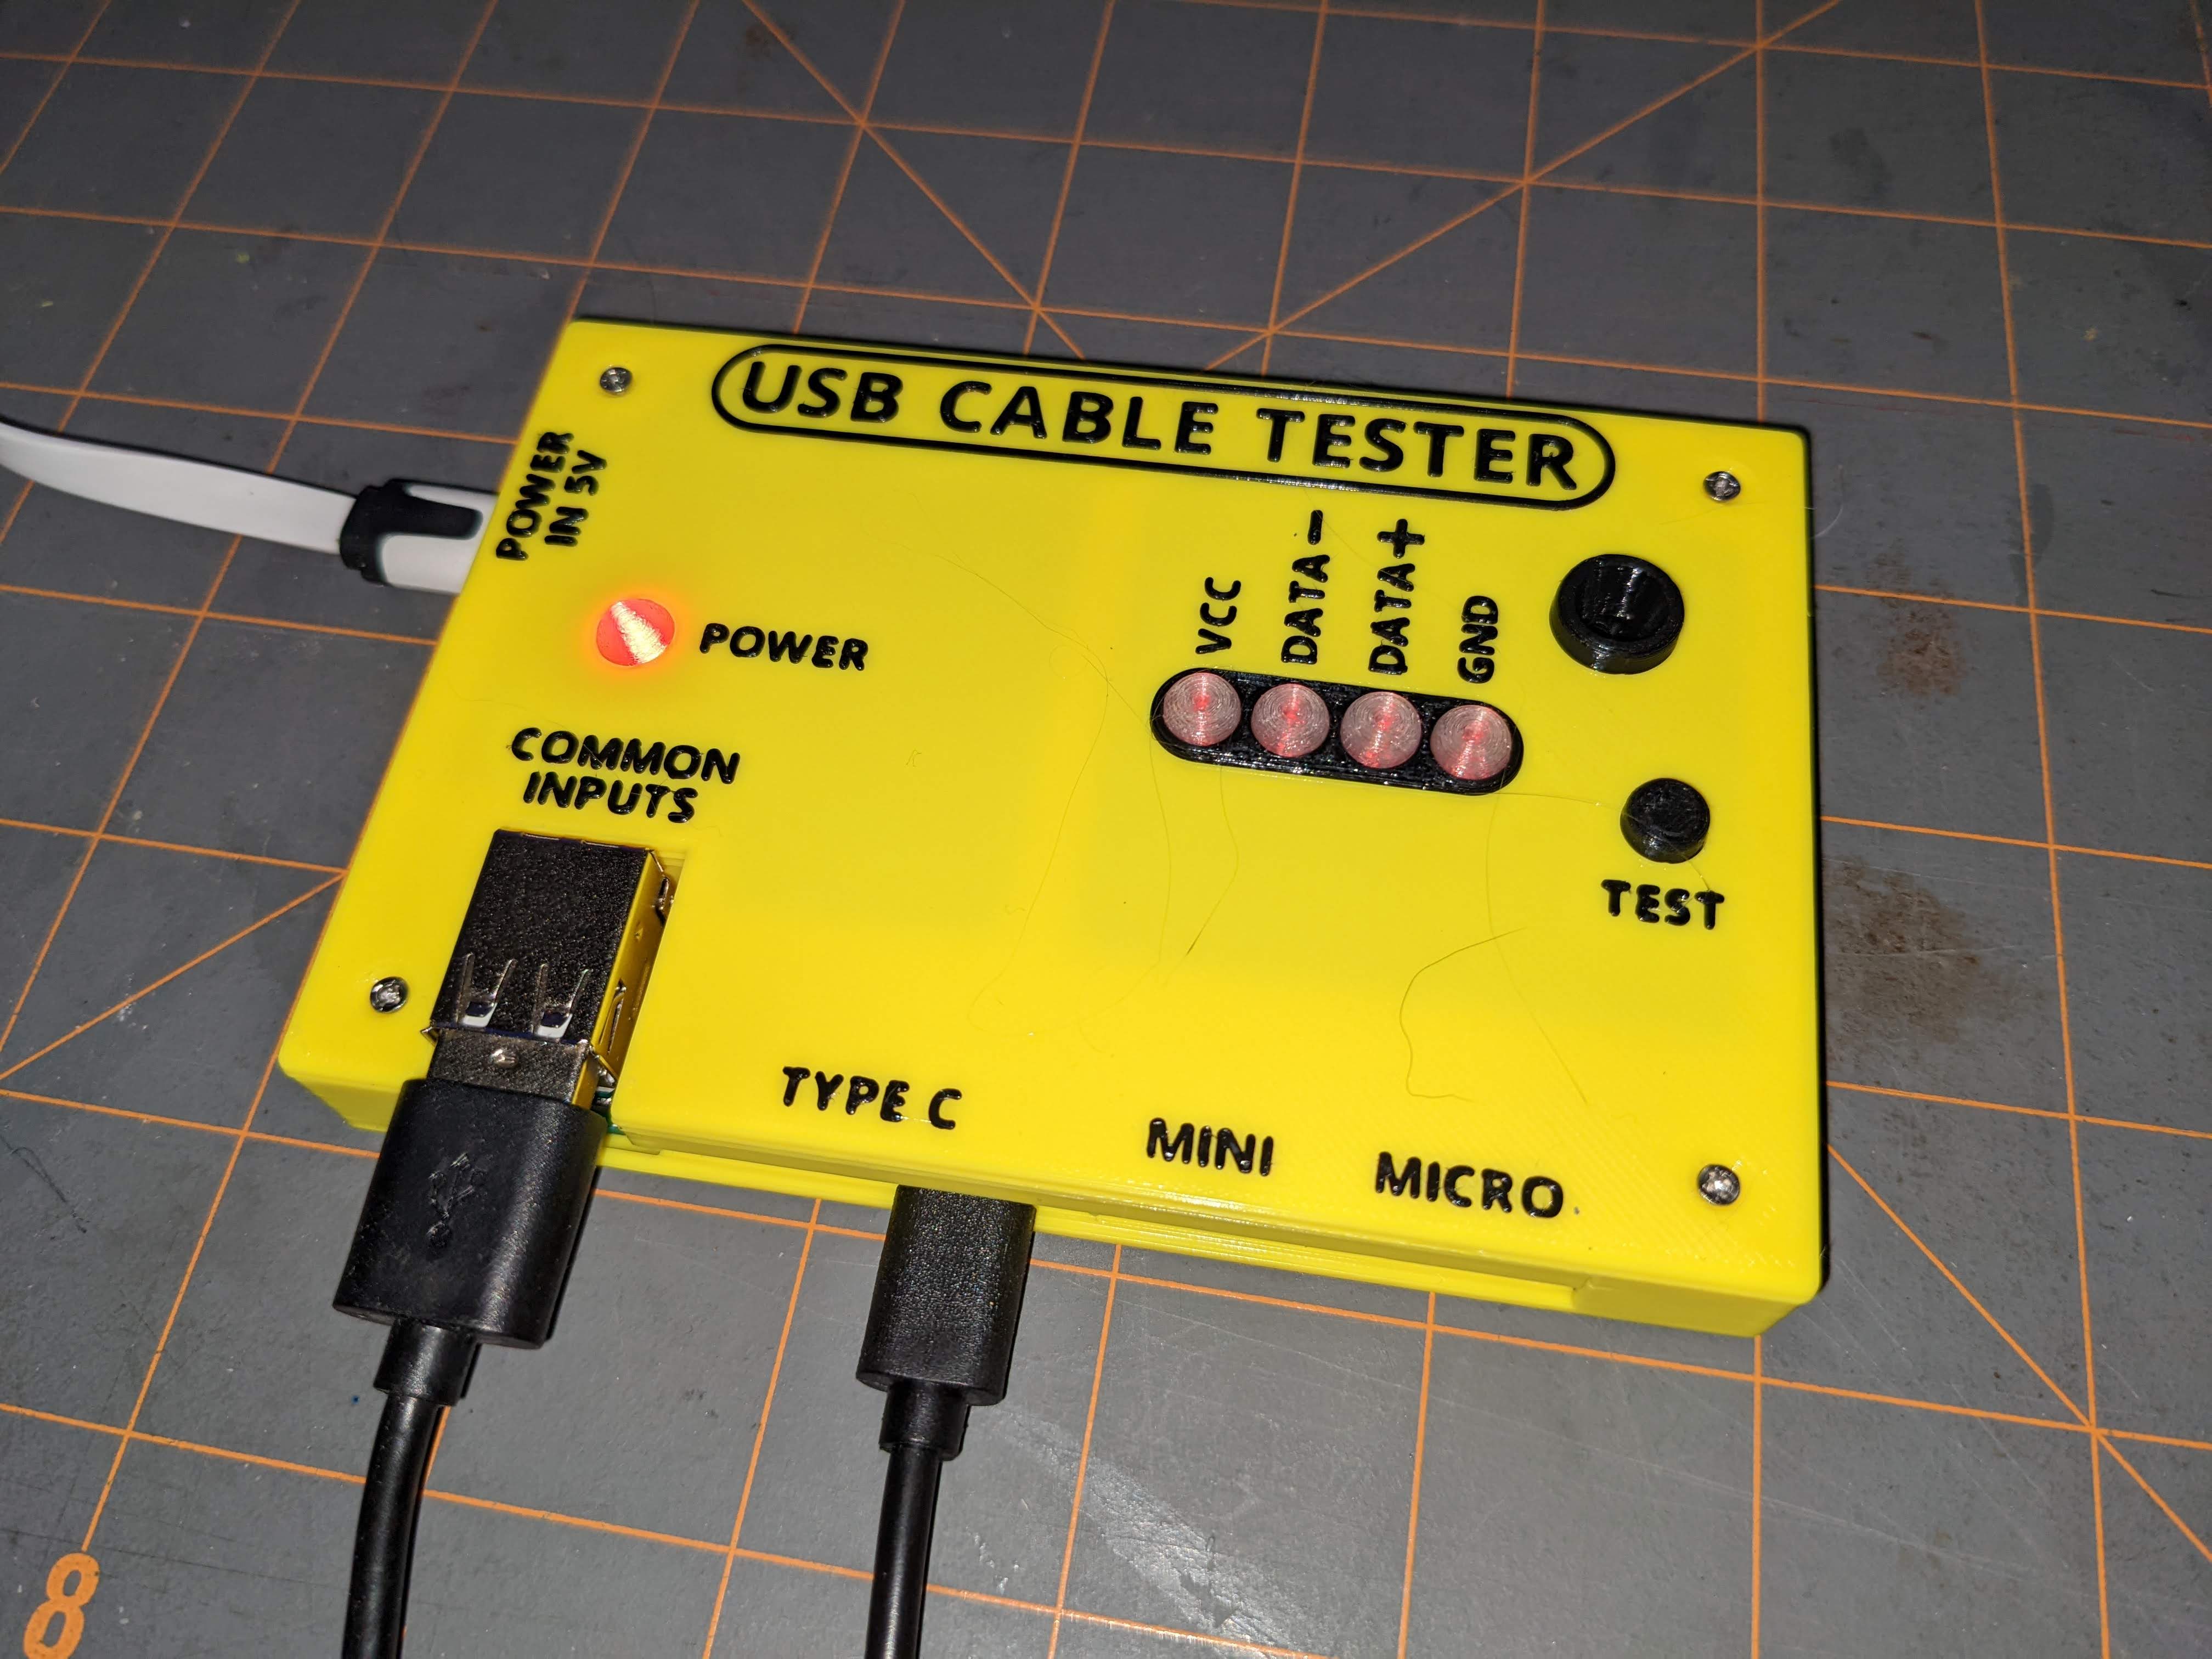
Case for USB Cable Tester
prusaprinters
<p>This case is for a USB cable testing board, typically sold under a listing like this :</p><ul><li>USB Cable Tester, Data Wire Test Fixture Precise Type-C/Mini USB/Micro-USB USB Cable Triad Tester</li></ul><p>This particular board (see photos) seems to be sold by a variety of vendors, but judging from the seller photos they are all the same or similar, and they are never sold with a case. In addition, the instructions (printed on the back of the board) are only in Chinese - fortunately a number of buyers have translated these for English speakers, and I have included my own PDF version based on those translations. The PDF version is in very small print, intentionally small enough to tape to the bottom of the case.</p><p>Note that the board requires the addition of a standard 5V USB power supply with a micro cable connection - these are NOT included with the board purchase.</p><p>My case design turned out to be a bit more elaborate than I initially thought would be needed, but was required both by the layout of the board components, and my design goal of being able to 3D print the case labels via filament switching.</p><p>The design consists of these pieces :</p><ul><li><strong>Bottom</strong> of the case</li><li><strong>Top</strong> of the case</li><li><strong>Top Plate</strong> - a cover for the top with relevant labels</li><li><strong>Indicator</strong> - a “shroud” for the test indicator lights</li><li><strong>Beeper</strong> - [optional] a sort of “speaker grill” for the test beeper</li><li><strong>Test Button</strong> - provides access to the test/restart button</li><li><strong>Power Lens</strong> - covers the LED power on light</li><li><strong>Indicator Lens</strong> - [4 required] “light pipes” to bring the LED test light illumination to the top of the case</li></ul><p>The power LED is uncomfortably bright, so I added the <strong>Power Lens</strong> piece. </p><p>I tested the case both with and without the <strong>Indicator Lenses</strong>. It works either way, but the lenses are a definite improvement.</p><h4>Assembly</h4><p>The case us designed to be fastened together using 8 screws (Philips flat-head self-tapping, M2 x 8), four in the top and four in the bottom. </p><p><strong>Assembly 1</strong> : Start by placing the circuit board inside the <strong>Bottom</strong> piece, and then place the <strong>Top</strong> piece on top of the circuit board. While squeezing the pieces together at each of the four corners, fasten with a screw from the bottom.</p><p><strong>Assembly 2</strong> : Press fit the four <strong>Indicator Lens</strong> pieces into the <strong>Indicator</strong> piece.</p><p><strong>Assembly 3</strong> : Next, insert the <strong>Indicator</strong>, <strong>Beeper,</strong> <strong>Test Button, </strong> and <strong>Power Lens</strong> pieces into the <strong>Top Plate</strong> while holding the plate upside down. Note that the <strong>Beeper</strong> piece is inserted with the large “lip” on the inside of the case. Then place <strong>Assembly 1</strong> on top of the plate, and while holding all of the pieces together flip right side up. Make sure the power light is properly positioned, and that the <strong>Indicator</strong>, <strong>Beeper</strong> and <strong>Test Button</strong> pieces are properly positioned. Make sure the <strong>Test Button</strong> operates properly. Fasten the <strong>Top Plate</strong> on with four screws from the top.</p><p> </p><h4>Print Instructions</h4><p>Print the parts in PLA using the 3mf or gcode files provided. In general, I used 4 - 5 perimeters and 0% fill.</p><p>The top and bottom parts must be printed with the large flat side down.</p><p>I recommend using a bit of glue stick when printing the smaller pieces.</p><p>The <strong>Top Plate</strong> is designed to print in two colors with filament switching.</p><p>I printed the <strong>Lens</strong> pieces in transparent filament, but likely any light colored filament would work.</p><p> </p><h4>CAD</h4><p>The OnShape 3D CAD files for this are here :</p><p><a href="https://cad.onshape.com/documents/88bf81b6d964ed5cdbe6a0a5/w/1d35ad1e3d0a4e6c4da7f7ec/e/d3891b3b920a9871cb1e44fa">https://cad.onshape.com/documents/88bf81b6d964ed5cdbe6a0a5/w/1d35ad1e3d0a4e6c4da7f7ec/e/d3891b3b920a9871cb1e44fa</a></p><p> </p>
With this file you will be able to print Case for USB Cable Tester with your 3D printer. Click on the button and save the file on your computer to work, edit or customize your design. You can also find more 3D designs for printers on Case for USB Cable Tester.
