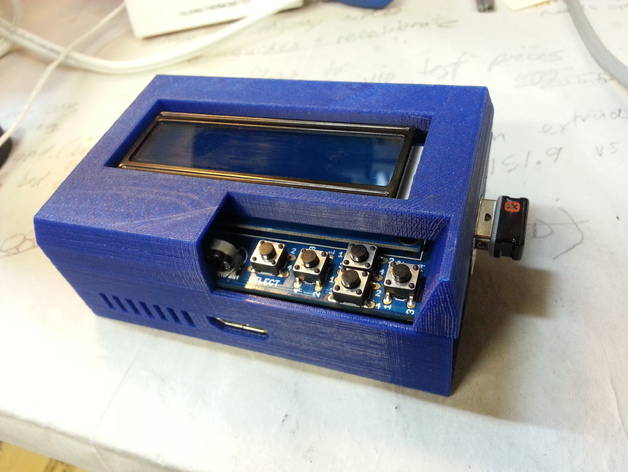
Case for Raspberry Pi with Adafruit LCD display
thingiverse
Based on Anoved's revision of Jeremy Blum's design, with significant updates incorporated: The right side finger bevel now provides effortless access to the right button, thanks in part to watching Jeremy Blum's informative YouTube video. A gap between the 2 halves near the circular connectors has been expertly closed, showcasing Anoved's attention to detail. Adjustments were made to optimize the HDMI bevels for improved usability and aesthetic appeal. The LCD from above now enjoys a snugger fit, thanks in part to Anoved's clever design choice that reduced the case size by 2 mm on the right side. Meanwhile, the button opening has been precision-crafted to fit neatly over the IC and offer added protection for the contrast pot, securing it in place. To assemble this design: Begin by carefully attaching the 2 halves of the case, which remain loosely connected until reinforced with additional holding power from tape.
With this file you will be able to print Case for Raspberry Pi with Adafruit LCD display with your 3D printer. Click on the button and save the file on your computer to work, edit or customize your design. You can also find more 3D designs for printers on Case for Raspberry Pi with Adafruit LCD display.
