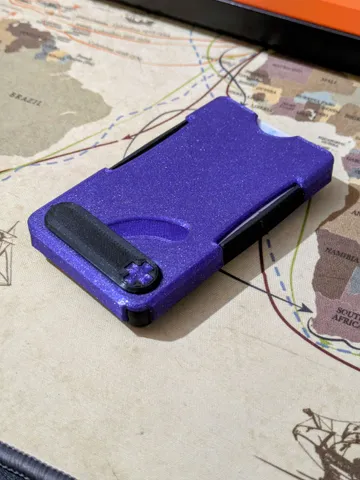
Cascade Card Wallet Remix (Print-in-parts)
prusaprinters
Important • Model has zero tolerance, I wanted to avoid use of glue or screws so that it's very easy to put together (you might have to use pliers or something similar).• Make sure to set up wall ordering outside to inside, so far I haven't had issues with parts not fitting.• Sometimes cards are hard to pull out or fall out too easy, and it seems to be related to the front plate, but I haven't been able to figure out the exact issue, so if you do please let me know, thanksPrint the Strap Lock Top part as shown below, because that's the side that will be facing outwardsWhen printing the front plate rotate the part so that the bridging is done with the shortest route.In my case I could only achieve the right rotation (z-90) by increasing Bottom Layers just enough to get to bridge layer, so keep that in mind.Bad ❌ ↓ Good ✅ ↓ Assembly Steps:Step 1:Step 2:Step 3:If you are assembling the one with the elastic money strap, make sure to put the strap on the back plate first. (instructions after this step)Elastic money strap instructions:Pull the strap through on both sides Put one side under the back plate to hold the tension, then pull the other one over the teeth on the Strap Lock Bottom part Now pull the strap that was underneath over the other end and lock it in place with the Strap Lock Top part Make sure its tight enough and you are done! Go back to step 3 From the original model ↓Printing :I recommend printing in PETG (PLA tends to lose the tension with the cards over time)Nozzle : 0.4mmlayer height : 0.2mm
With this file you will be able to print Cascade Card Wallet Remix (Print-in-parts) with your 3D printer. Click on the button and save the file on your computer to work, edit or customize your design. You can also find more 3D designs for printers on Cascade Card Wallet Remix (Print-in-parts).
