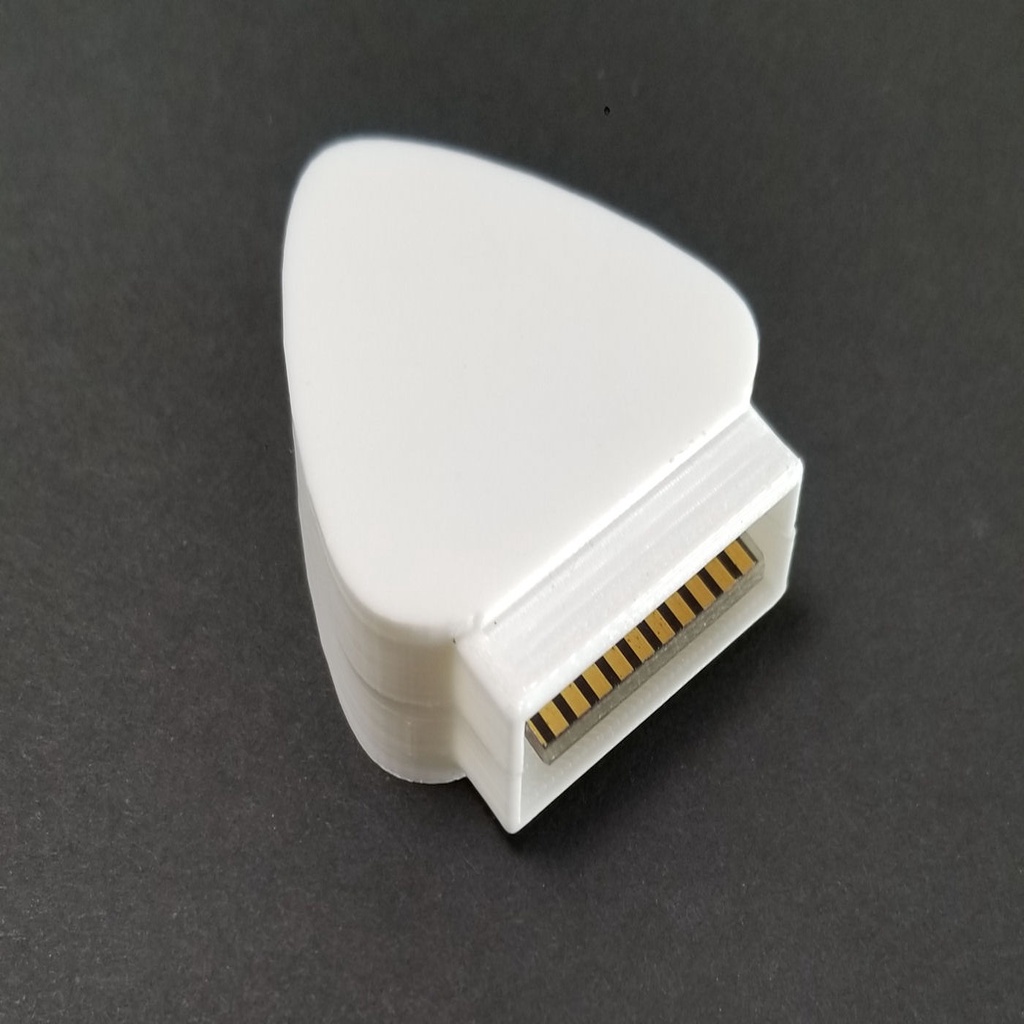
Cartridge - Cricut Paper Cutting Machine George Cartridge
thingiverse
This guide shows how to make a Cricut Paper Cutting Machine George Cartridge. The George Cartridge is the basic cartridge that most Cricut Paper Cutting machines come with, but sometimes it gets lost, making the machine inoperable. You can buy a new one from Cricut or follow these steps to make your own. To create this cartridge, you'll need to 3D print the outer casing using PLA and craft the small PC board by removing the finger area from an old PC ISA Card. Since ISA-style cards are now obsolete, they should be easy to find. Cut the board down to 28 mm by 20 mm using a Hacksaw, which will leave you with 10 fingers on each side of the board. Using the photo provided, solder jumpers on both sides of the board, allowing the cartridge to work when plugged in either way. Before assembling it with the shell, test the PC board with your Cricut to ensure everything is working correctly. If needed, refer to photos of an actual George Cartridge for clarification. Next, use Super Glue to attach the PC board to the slot within the shell. Make sure the board lies flush against the end of the casing and then join the two halves together using glue. Be careful not to get any glue on the fingers and wait until it's dry before inserting the cartridge into your Cricut machine.
With this file you will be able to print Cartridge - Cricut Paper Cutting Machine George Cartridge with your 3D printer. Click on the button and save the file on your computer to work, edit or customize your design. You can also find more 3D designs for printers on Cartridge - Cricut Paper Cutting Machine George Cartridge.
