Cartoon Armchair
sketchfab
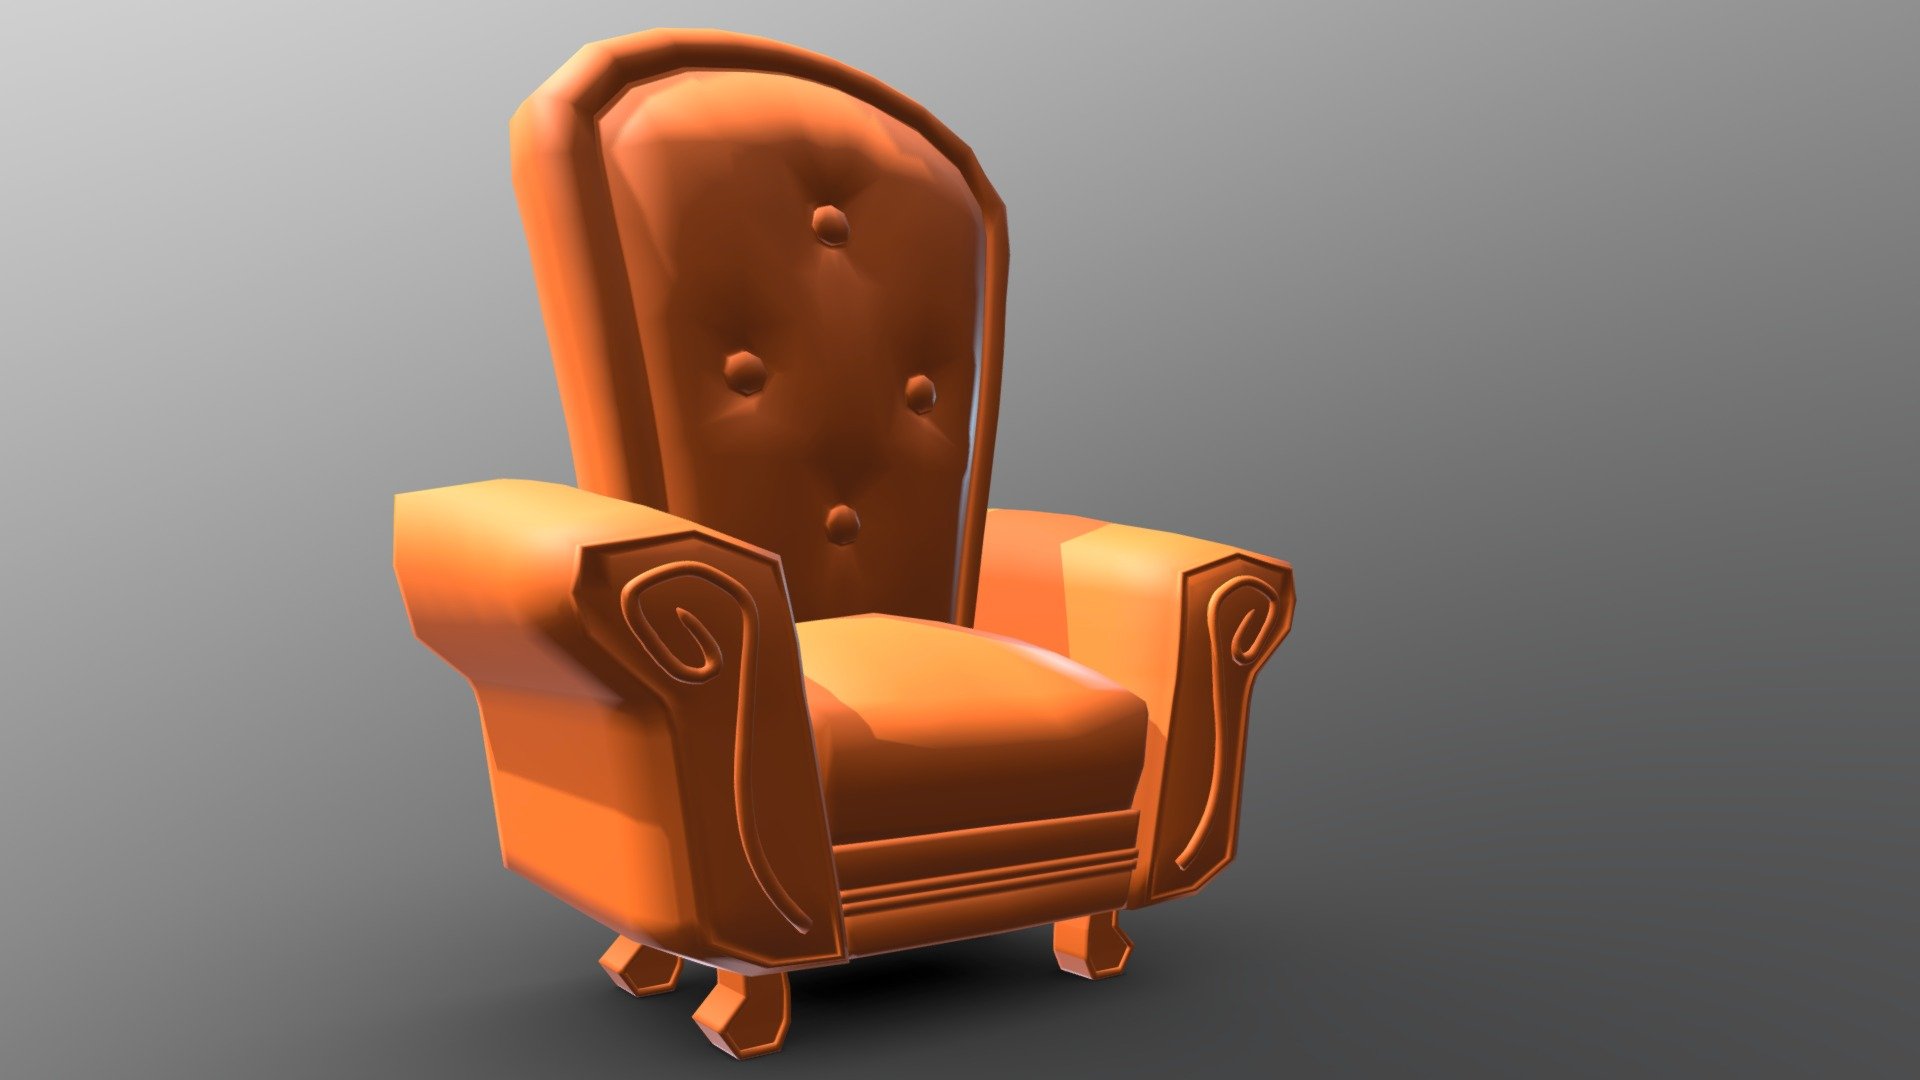
Modeling a cartoon-style armchair in Blender 2.8 involves several key steps to achieve the desired look. First, create a new project and set up your workspace by adding a perspective view with an orthographic camera. Next, navigate to the Modeling workspace and create a basic shape for the chair's body using the Extrude tool. Use the Loop Cut and Slide tool to create the curved lines of the armchair's backrest and seat. Switch to Edit Mode and use the Knife Tool to separate the backrest from the rest of the body. Then, use the Subdivision Surface modifier to add detail to the chair's shape. To add texture and visual interest, apply a Noise modifier to the backrest and seat. Use the Material Settings panel to create a color scheme that matches your cartoon style. To complete the armchair model, add cushions and other details using Extrude and Loop Cut tools. Finally, render the scene in the Rendering workspace to see how your cartoon-style armchair looks.
With this file you will be able to print Cartoon Armchair with your 3D printer. Click on the button and save the file on your computer to work, edit or customize your design. You can also find more 3D designs for printers on Cartoon Armchair.