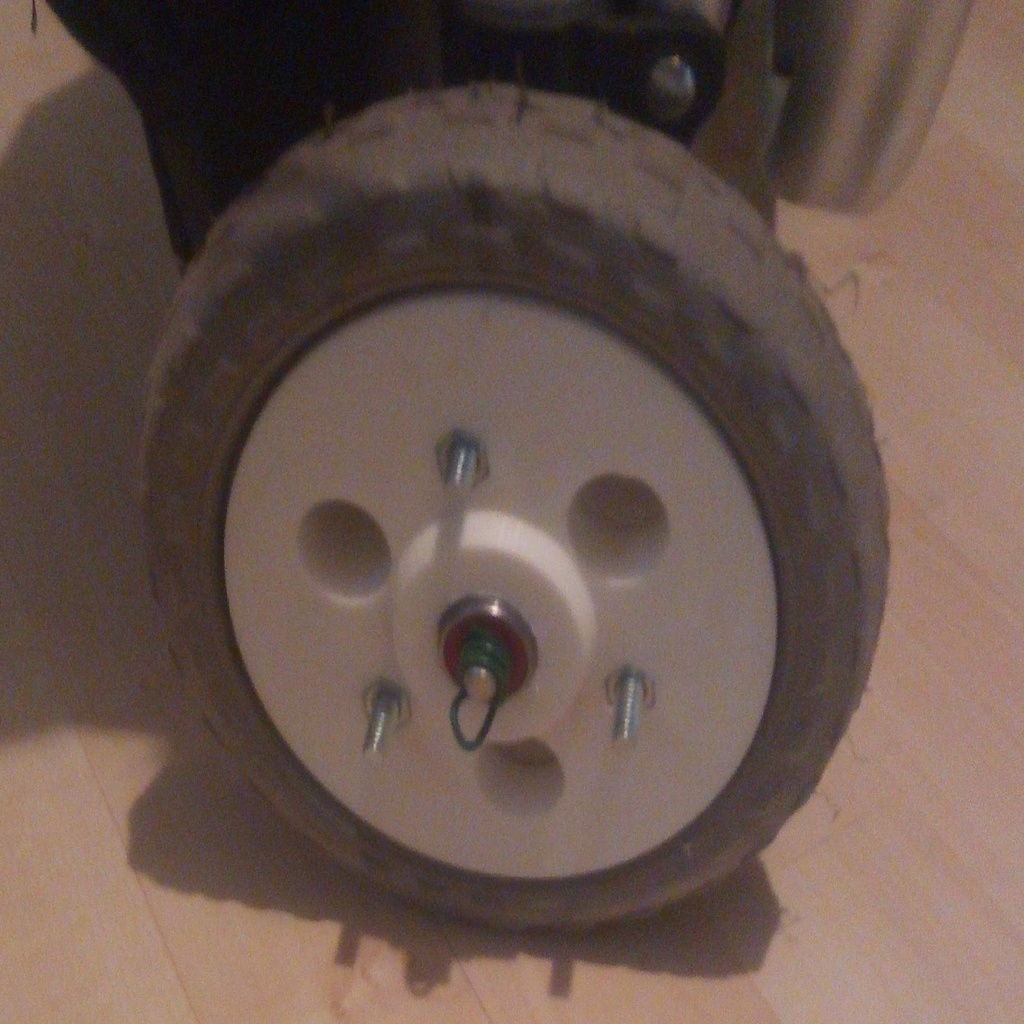
Cart wheels using bearings
thingiverse
I created this project to enhance the longevity of my cart's wheels by utilizing the foam tire that came with it. It essentially sandwiches the tire using 3 bolts and employs 2 bearings (per wheel) to minimize noise and maximize ease of movement. To accomplish this, you will need the following items: - A cart with 1/4 inch wheel shafts. I used this one: https://www.walmart.ca/en/ip/mainstays-deluxe-shopping-cart/6000195942919 - 4 skateboard bearings, which I utilized (22mm OD, 8mm ID, 7mm width): Bones Bearings Bones Reds Precision Skate Bearings - 6 Bolts - 1/4 inch diameter, 1-1/2 inch long (you may be able to use 1 inch long) - 6 Nuts - 1/4 inch hole diameter, 11mm hex, fit to bolts - Screwdriver - Robertson (square head) for Bolts - Hacksaw or manual hand Jigsaw to cut apart old wheels and extract foam tires - Pliers and/or drill to remove hub cap from old wheels - Garden wire to use as new hub cap for wheels (simply wrap it around the slot on the end of each shaft) - Clamps to hold new tire halves together while screwing bolts in place, as well as to fit bearings in place (alternatively, a hammer and a wood block or press/drill press can be used) - Appropriate safety gear for cutting/drilling Note that one half has slots for bolts, while the other has slots for nuts. Firstly, you need to drill into or pry off the hub cap for each wheel and remove the clip holding it in place. Once you have the wheel off, cut the spokes using a hacksaw or manual jig saw. This can be done by removing the blade and feeding it through the spoke hole, then reconnecting it if you have a U-shaped hacksaw or jig saw. Go around the wheel, cutting each spoke, then carefully cut the edge of the plastic wheel in two places across from each other so that you can remove the rim, leaving only the foam tire. Print 2 of each half-wheel and use clamps or a hammer and a wood block or press/drill press to seat the bearings in place. Next, place one pair of the half-wheels around the tire, using bolts to align the holes. Use clamps to hold the two halves together and tighten the bolts to their respective nuts, each placed in the appropriate slots to prevent them from moving. Once you have both wheels finished, place them on the shaft of the cart and use garden wire to hold them in place, similar to the hub cap clip. This can be done by wrapping the wire around the slot in the shaft where the clip was seated and continuing to wrap until it prevents the wheel from falling off. This has worked well for me, but if you feel insecure using this method, you can try designing a clip to replace it or using an appropriately sized C-clip. If you enjoyed this project, be sure to check out my other cart modification: https://www.thingiverse.com/thing:3317065 By utilizing this design, you agree not to hold me accountable in any way. You acknowledge that you shall not hold me responsible for any losses, financial or otherwise, to yourself or others, should it fail in any way. If you appreciate the design, consider tipping me or donating at paypal.me/ShrinkRayme. Thank you!
With this file you will be able to print Cart wheels using bearings with your 3D printer. Click on the button and save the file on your computer to work, edit or customize your design. You can also find more 3D designs for printers on Cart wheels using bearings.
