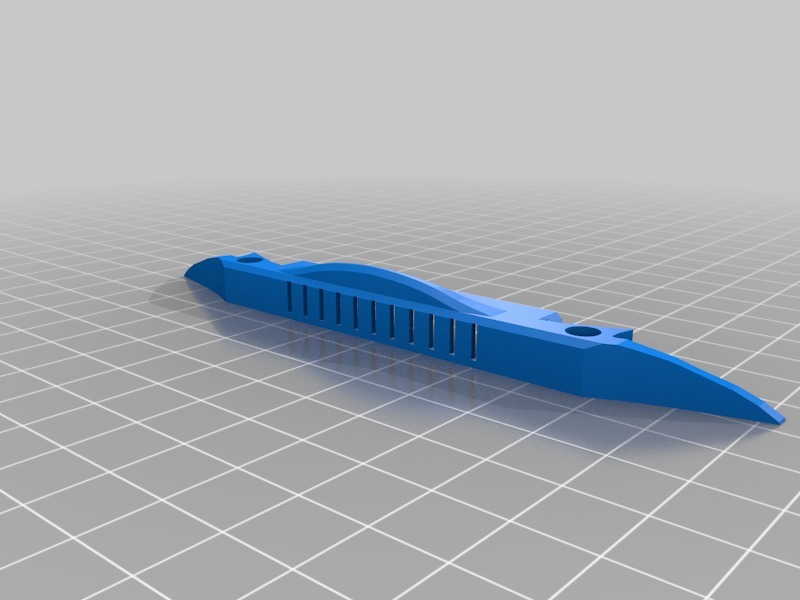
Cart Cap, L2 and R2 actuators
thingiverse
To be mounted on a Freeplay CM3, you'll also need buttons. I opted for Adafruit's 8mm soft touch switches, which can be found here: https://www.adafruit.com/product/3101. Drill holes that are about 1-2mm in diameter just inside the screw posts where the leads will pass through. Then, solder a pair of wires to one side of the board, leaving about 4 inches of light-gauge wire. Feed the wires through the holes you drilled and secure the buttons to the GBA case's shoulders using super glue or hot glue. Finally, connect the buttons to the board as desired - I used direct soldering, but if you have headers that fit, use those instead. This project was designed in TinkerCAD, and you can modify it here: https://www.tinkercad.com/things/572gS1WYGHi.
With this file you will be able to print Cart Cap, L2 and R2 actuators with your 3D printer. Click on the button and save the file on your computer to work, edit or customize your design. You can also find more 3D designs for printers on Cart Cap, L2 and R2 actuators.
