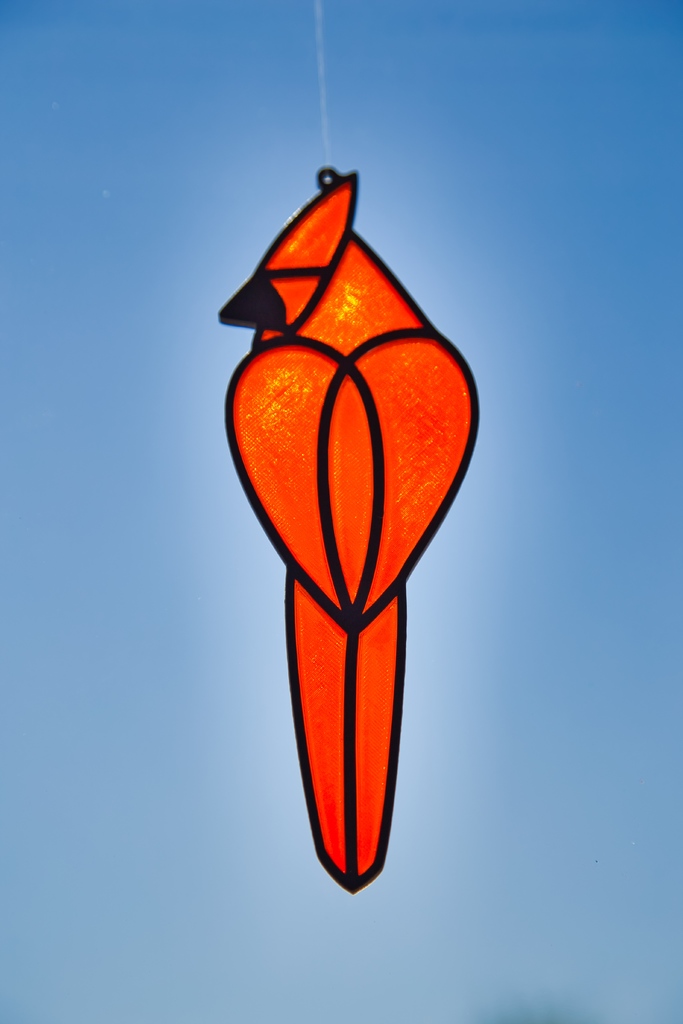
Cardinal - Stained Glass Suncatcher
thingiverse
A creative way to showcase 3D printing and add some decorative flair to your windows! Print the outline in black or a dark metallic-looking filament, then print the "stained glass" with various translucent filament colors. Material: PLA seems to hold up well after a year of being exposed to direct sunlight in a hot climate without any detectable color fade. PETG works just as well too. Printing Tips: - Infill: Experiment with different infill patterns and percentages to create unique effects. For this example, I used 100% infill. - Layer height - I found that using a 0.3mm layer height produces clearer results than a 0.2mm layer height; try experimenting for different looks. I also used three perimeters and three top and bottom layers. - Scale the z-height to generate different material thicknesses of the stained glass panels, creating various shades of colors (try anywhere between 50% and 150%). Assembly and Finishing: No glue is needed as the parts normally snap into place; if necessary, tap on the parts with the back of a screwdriver. Occasionally, you may need to use the end of a slotted screwdriver and a small tap to seat all corners and edges properly. Use thin fishing line and a suction cup to complete the project! An extra tip: Sometimes the back (top when printing) of the "stained glass" panels can appear stringy-looking - try using a heat gun after assembly for a quick clean-up.
With this file you will be able to print Cardinal - Stained Glass Suncatcher with your 3D printer. Click on the button and save the file on your computer to work, edit or customize your design. You can also find more 3D designs for printers on Cardinal - Stained Glass Suncatcher.
