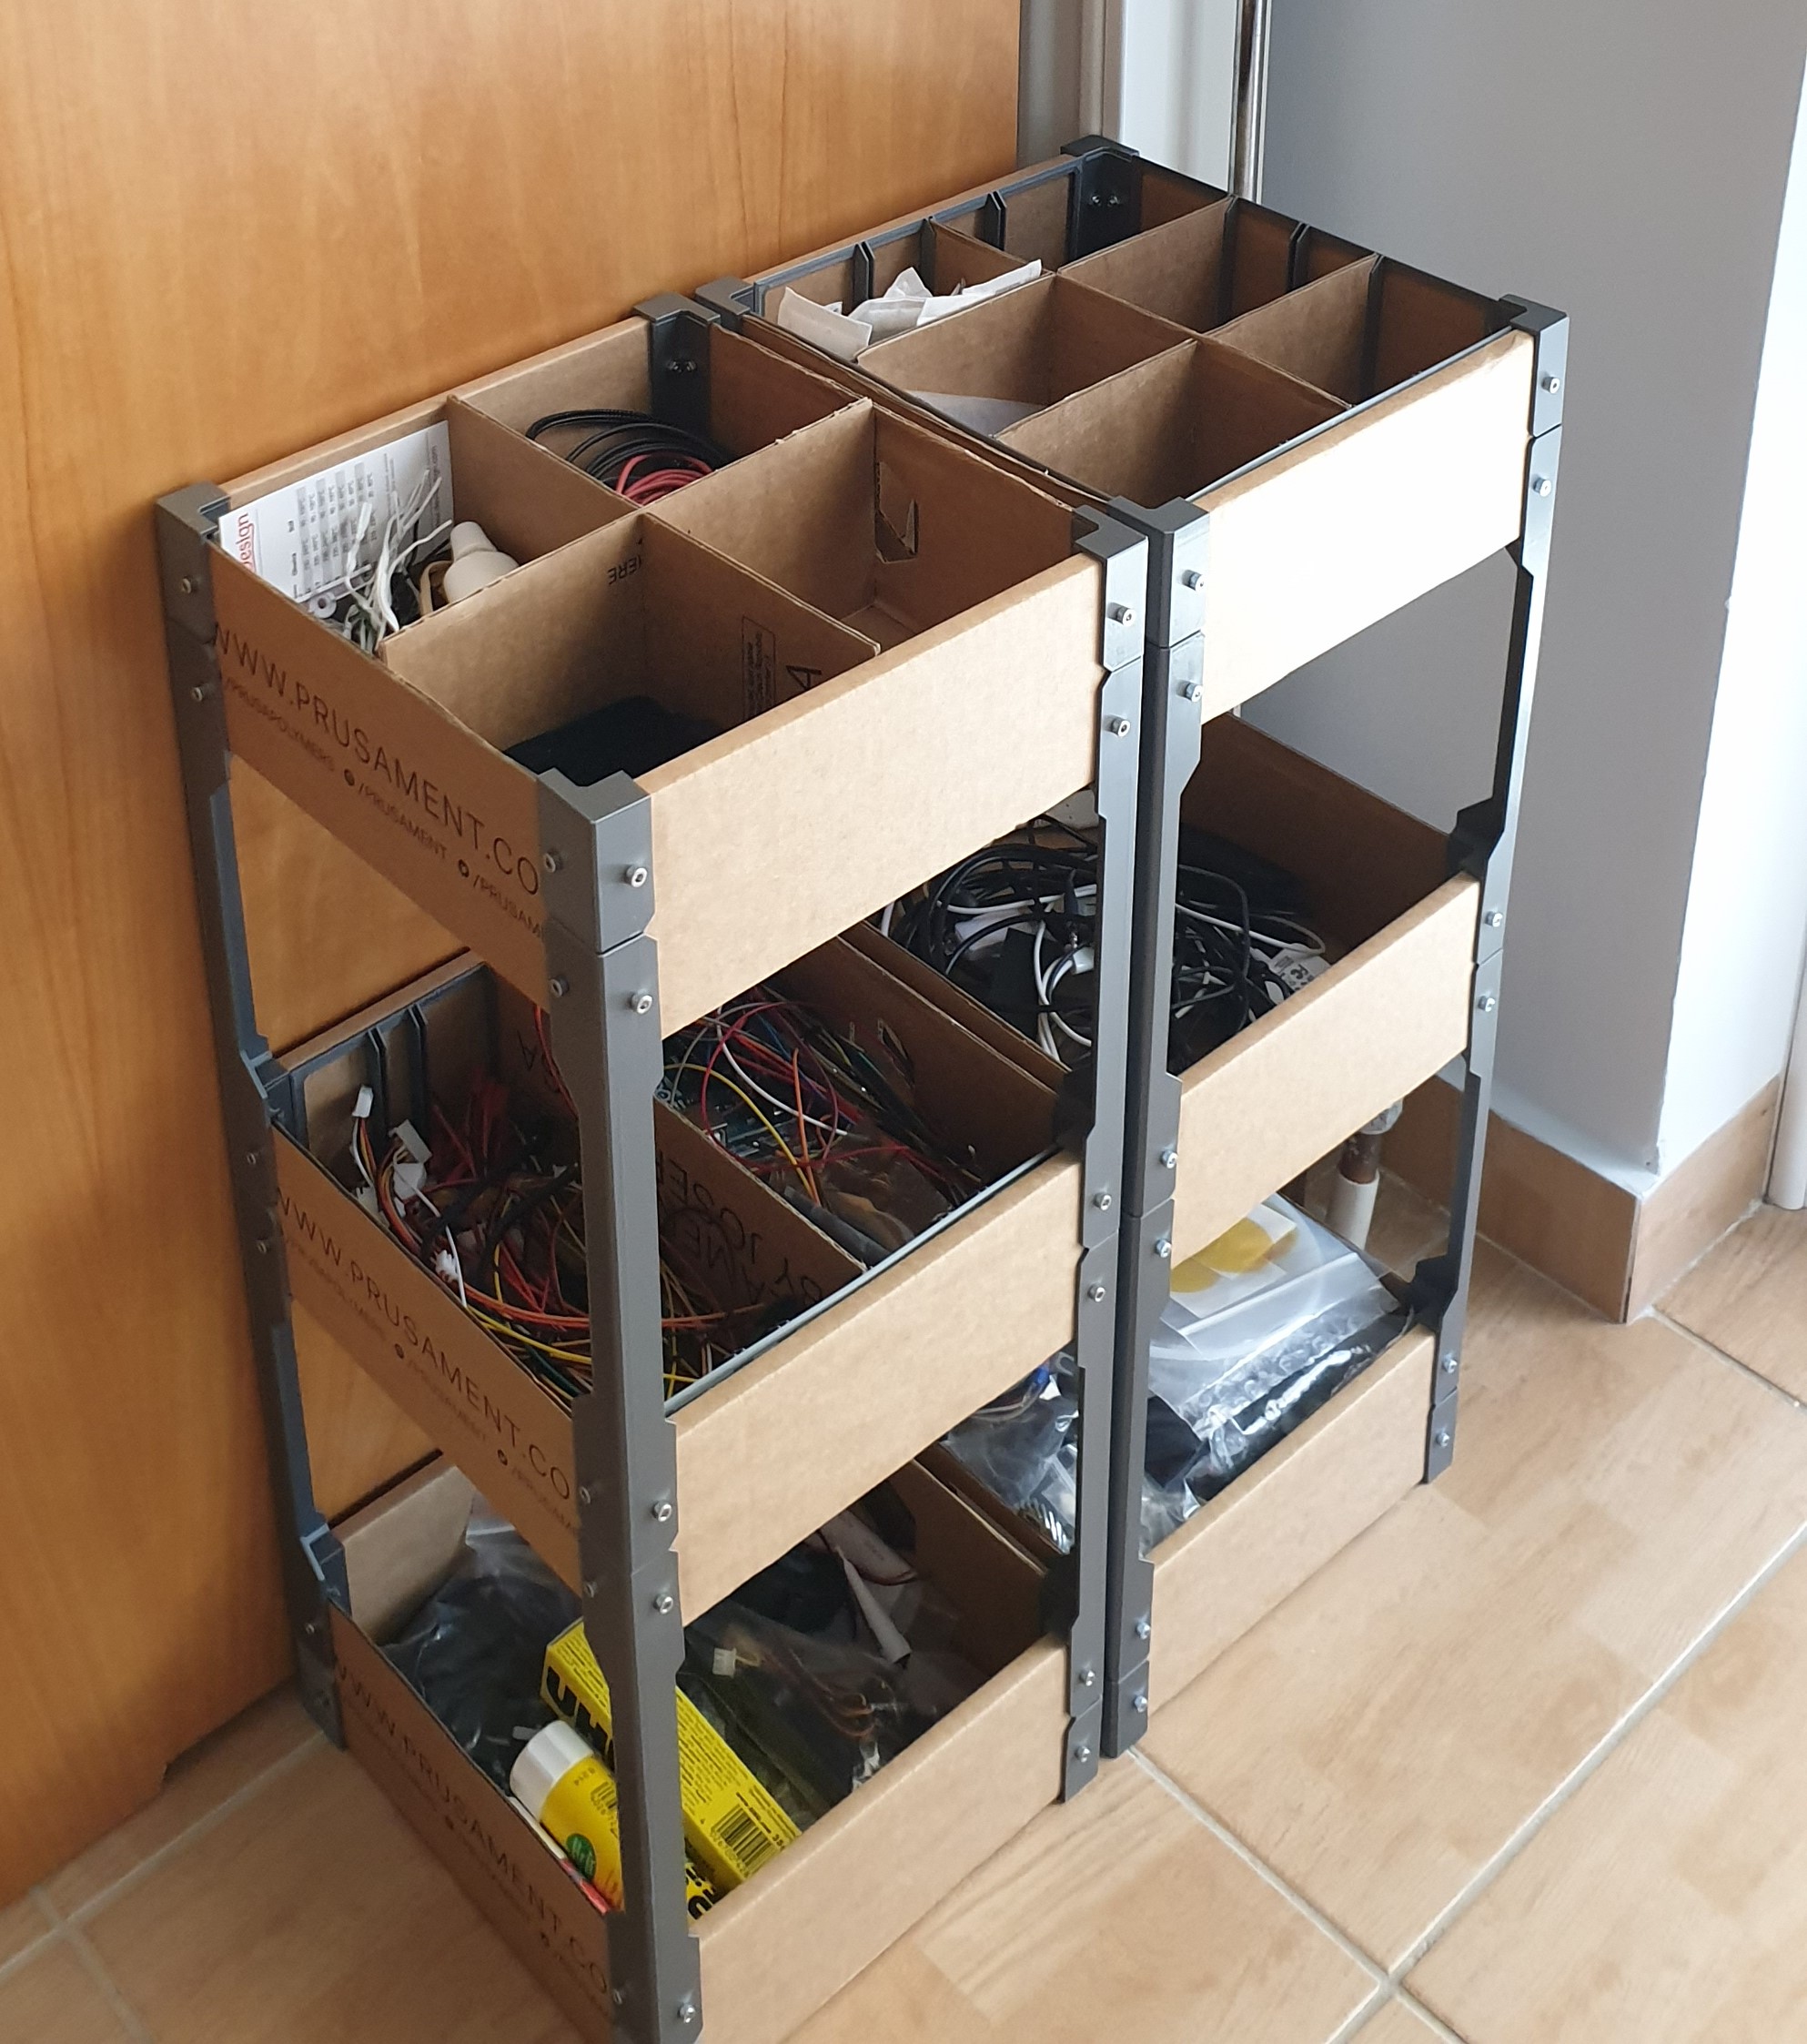
cardboard shelves
prusaprinters
<p>cardboard shelves from up-cycled cardboard boxes.<br/> organize your stuff with up-cycled cardboard boxes in a construction similar to dexion.</p> <h3>assembling time, approximately 1h30m (for 3 shelves)</h3><p><b>what you will need to buy (approximately 3€) </b></p> <p><b>bolts</b><br/> 24 x M3x15mm<br/> 24 x M3x10mm</p> <p><b>nuts</b></p> <h3>48 x M3</h3> <p><b>what tools to use</b></p> <p>Allen key #2.5mm<br/> cutter blade<br/> drill driver</p> <h3>drill #2.5mm</h3> <p><b>3d printed parts</b></p> <p>12 x inside-column.stl<br/> 8 x outside-column.stl<br/> 4 x outside-end-column-1.stl</p> <h3>4 x outside-end-column-2.stl</h3> <p>first the cuts<br/> cut the top covers from the rest of the boxes with a blade cutter.</p> <p>then begin assembling your shelves from lower to higher layer.<br/> the columns you are going to print have two different sides. place the wide bottom side of the outside-end-column with the wide side of the cardboard box (see attached picture).<br/> hold it steady and make a hole with the drill driver. place the inside column with the square side facing down (see attached picture).<br/> the box has 4 sides. 2 of them are thicker than the others.<br/> use the longer bolts (15mm) for thicker sides and shorter bolts (10mm) for thinner sides.<br/> screw with the appropriate bolt each side holding the nut with your other hand.<br/> tighten the bolts alternately, left 1mm space for each bolt.<br/> so the steps are the following:</p> <ol> <li>place the outside 3d printed part to the appropriate side</li> <li>make the first hole to the thinner wall</li> <li>place the inside 3d printed part</li> <li>screw (but not tight) with the short bolt (10mm) and place the nut</li> <li>make the second hole to the thicker wall</li> <li>screw (but not tight) with the longer bolt (15mm) and place the nut</li> <li>tighten them alternately</li> </ol><p>for the other half of the box you will follow the same steps ignoring the step "place the inside 3d printed part" because you already have it.</p> <ol> <li> place the outside 3d printed part to the appropriate side</li> <li> make the first hole to the thinner wall</li> <li> screw (but not tight) with the short bolt (10mm) and place the nut</li> <li> make the second hole to the thicker wall</li> <li> screw (but not tight) with the longer bolt (15mm) and place the nut</li> <li> tighten them alternately</li> </ol><p><b>optional</b><br/> you could separate the box(es) into smaller sections with or without printing divider holders stls (see attached photos).<br/> if you decide to print them (it is more stable) you must print the following:</p> <p>3 x divider holder small.stl<br/> 1 x divider holder large.stl</p> <p>the large piece goes to the side with the hexagon hole.</p> <p>mark, depending the number and the size of the smaller boxes you want to create and cut the cardboard with the cutter.<br/> (see attached file dividers for cardboard holders.dxf)</p> <h3>Print instructions</h3><p>nozzle temperature: 210<br/> filament: Prusa PLA<br/> bed temperature: 50<br/> layer height: 0,2mm<br/> perimeters: 3<br/> infill: 100%<br/> infill speed: 150%<br/> solid infill: 150%</p> <p>you could start from 2 shelves and go as high as the cardboard boxes you have.</p> <p>for shelves with 3 cardboard boxes (like in the attached pictures) you will need to print the following files:</p> <p>12 x inside-column.stl<br/> 8 x outside-column.stl<br/> 4 x outside-end-column-1.stl<br/> 4 x outside-end-column-2.stl</p> <p>if you have mk3s you could use the gcode I have included twice</p> <p><b>optional</b></p> <p>if you want to place the dividers you could print the following files:</p> <p>3 x divider holder small.stl<br/> 1 x divider holder large.stl</p> <p>for divider dimensions you can check the following file:</p> <p>dividers for cardboard holders.dxf</p>
With this file you will be able to print cardboard shelves with your 3D printer. Click on the button and save the file on your computer to work, edit or customize your design. You can also find more 3D designs for printers on cardboard shelves.
