Card Wallet "Quallet"
prusaprinters
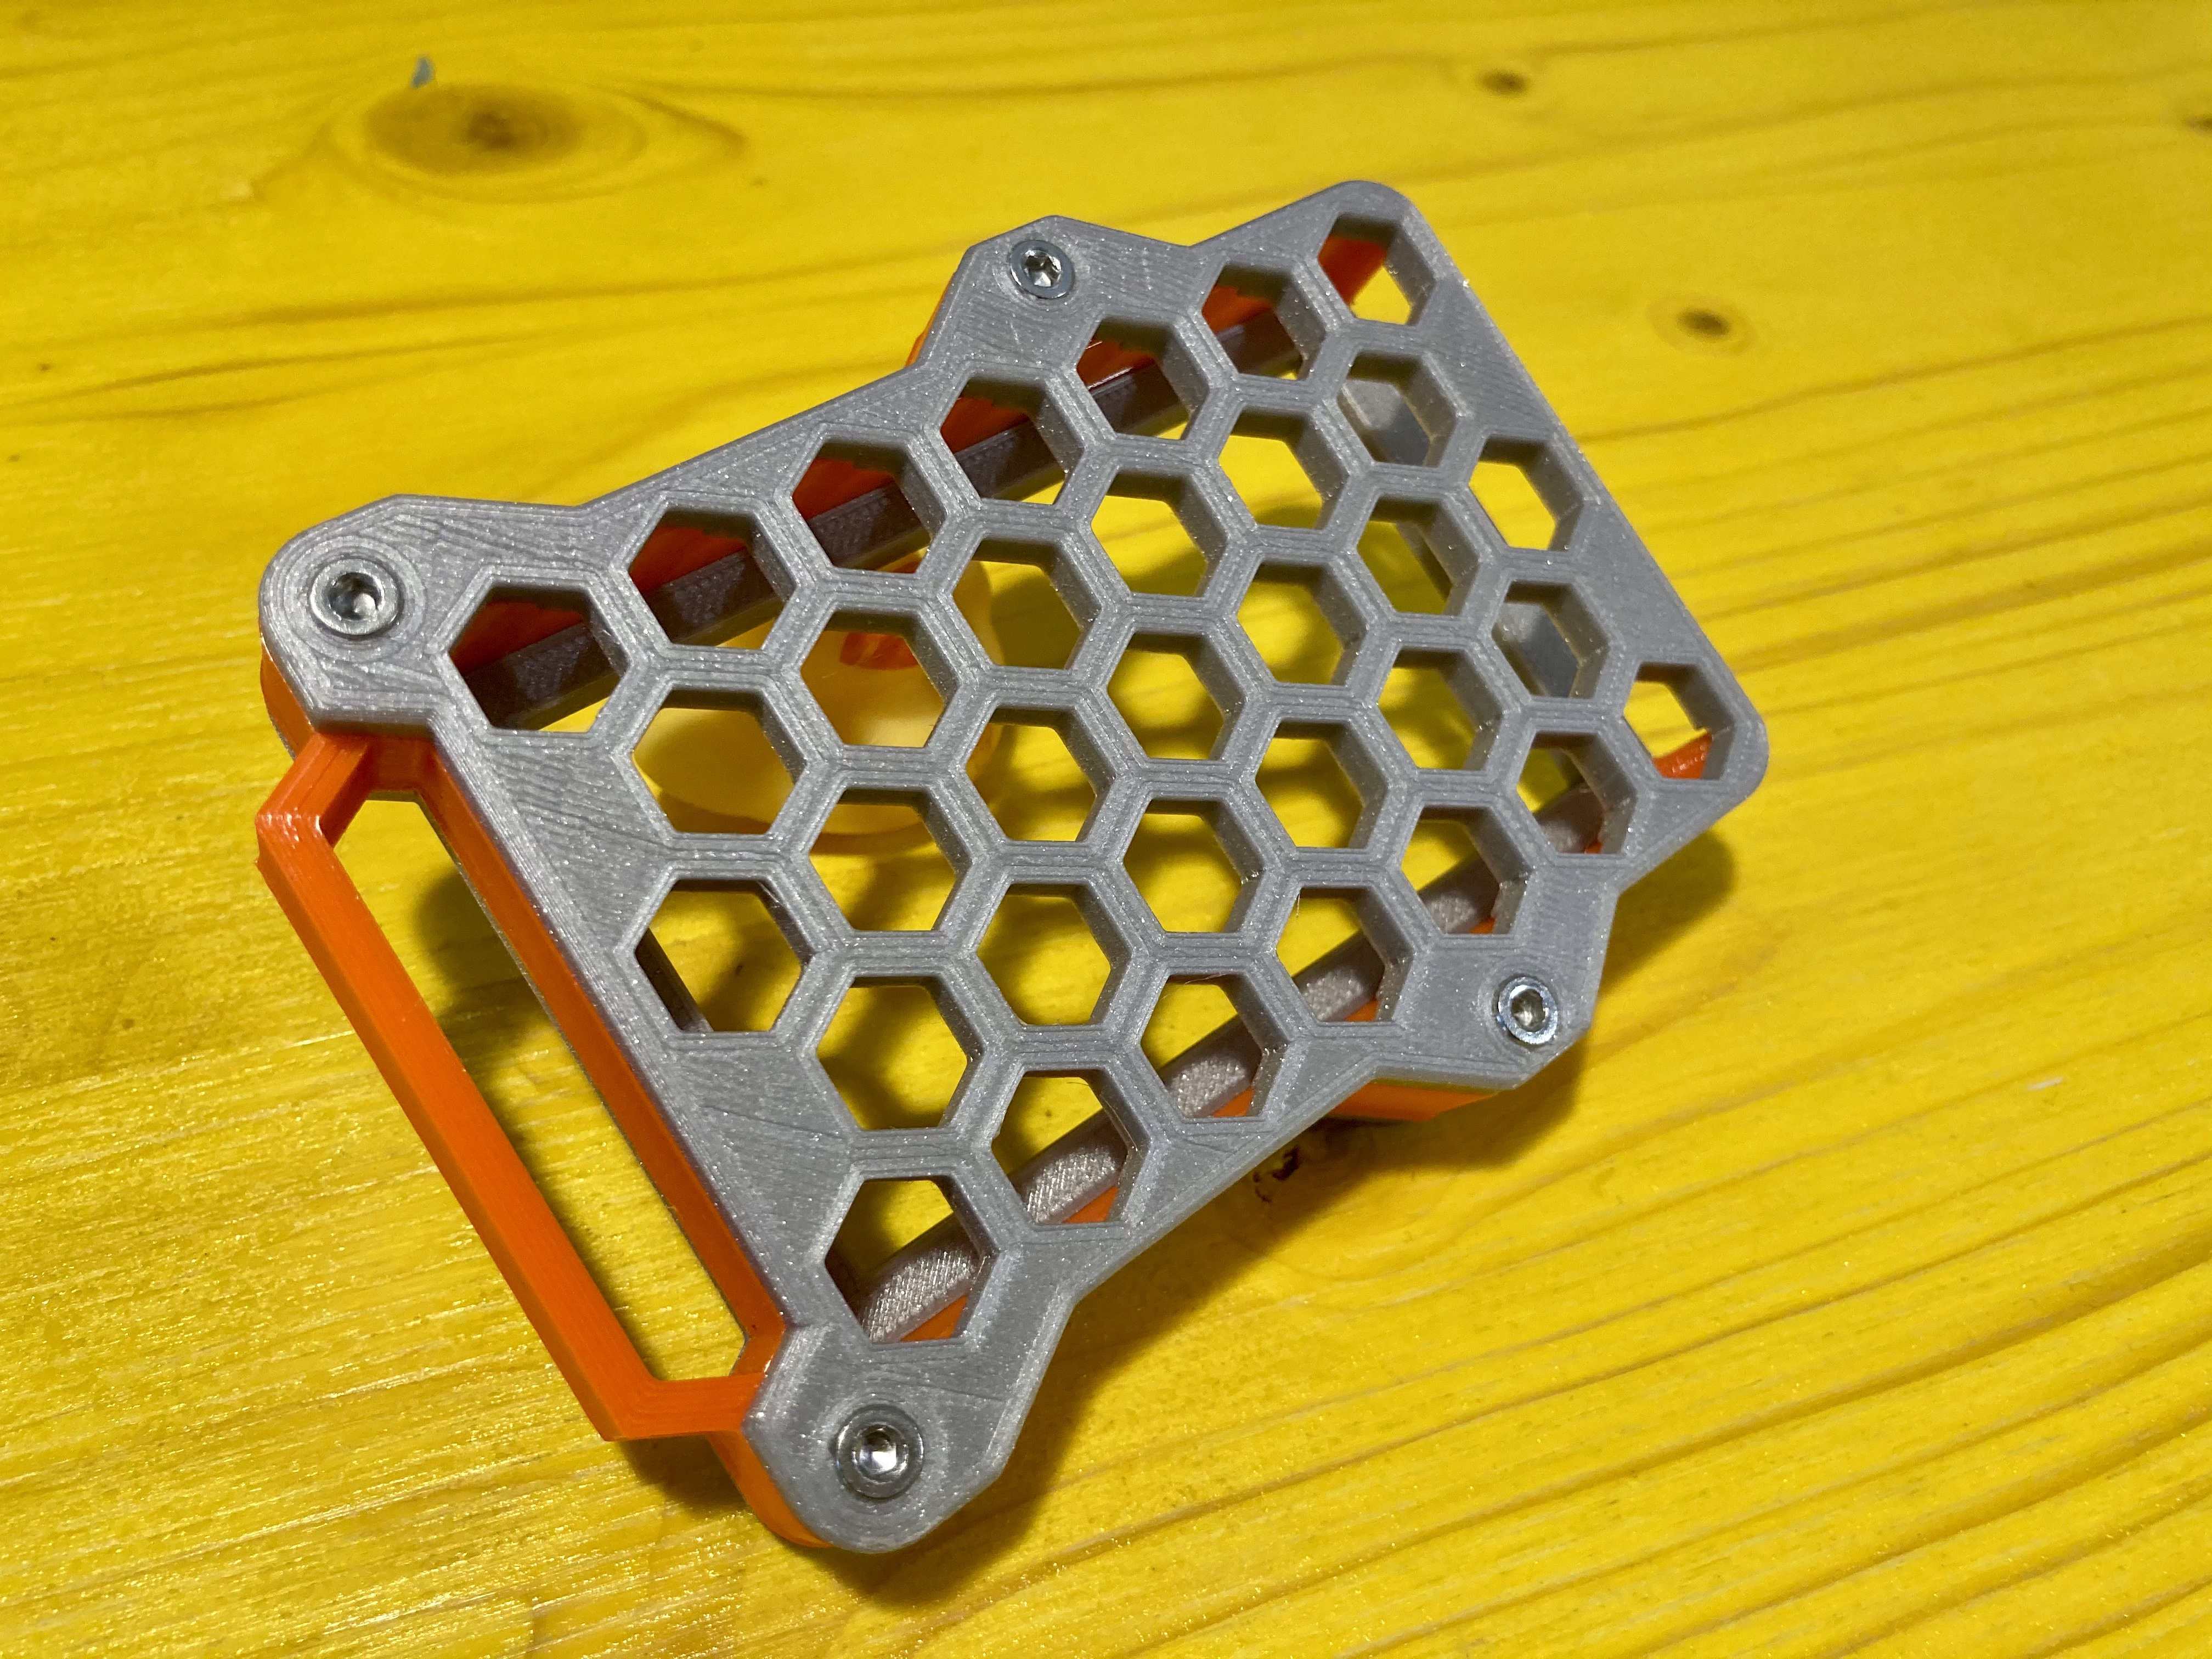
<p>So I like minimalist CC-wallets, but I don't like to pay for them. This is what I came up with! </p><p>Grey parts (Top and Bottom Plate) are PLA, orange part (Retainer) is made from PETG (for flexibillity). You'll also need four M3-screws and nuts (socket head, but button head should work too) . You can scale the retainer in the z-axis to make it fit your stack of cards (or length of screws).</p><p>To eject cards you use the window in the top plate to push them out. To insert a card when there are other cards inside, push one out half way and then insert the other. It's easier that way. If the retainer is 10mm high, you can fit around 9 cards.</p><p>I have plans to add functionality with other plates in the furure, but until then consider yourselfs beta-testers. So if anything breaks, let me know!</p><p><strong>Print instructions:</strong></p><p>Retainer: PETG</p><ul><li>Scale Z to fit your cards or screws</li><li>3 perimeters are recommended so there is no infill in the bendy area </li></ul><p>Plates: PLA</p><ul><li>Printed with supports on the build Plate</li><li>Oriented so that the countersunk holes face down!+</li><li>Adjust support settings! Make sure the support in the holes doesnt fuse with walls. This way a screwdriver can be used to pop it out from the other side.</li></ul><p><strong>Tips for assembly:</strong></p><ul><li>Use a longer screw at first to press the nut in (carefully!), then use the correct size</li><li>Retainer thickness should be card-stack size + 2mm + tolerances (1mm)</li></ul><p>If you enjoy my design, let me know!</p>
With this file you will be able to print Card Wallet "Quallet" with your 3D printer. Click on the button and save the file on your computer to work, edit or customize your design. You can also find more 3D designs for printers on Card Wallet "Quallet".