Carbon skeleton MHQ arms
thingiverse
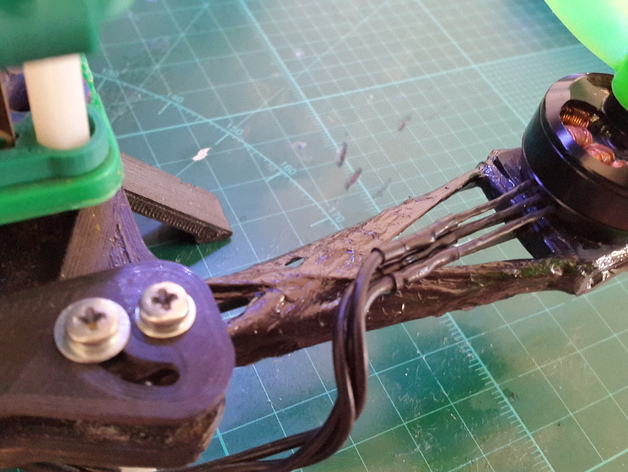
You create strong, lightweight carbon fiber parts by printing only mounting components using a 3D component carbon fiber technique. Carbon fiber tow is fixed in a proper fixing structure and connected to the printed part. Details of the process can be found in my Instructables tutorial. Print Settings: Printer Brand: Ultimaker Printer Model: Ultimaker 2 Rafts: None Supports: None Infill: 100% Post-Printing Instructions: 1. Glue carbon rods, 1.2mm in diameter, into the printed part as supports for winding the carbon fiber. 2. Glue 1x3mm profiles to the fixing structure and let the super glue cure completely. Be careful, as it reacts with epoxy, causing smoke and damaging the joints. 3. Connect one end of the carbon fiber to the fixing structure to help tighten the first rows of fibers. 4. Mix epoxy resin. 5. Apply epoxy every 4-6 rounds, ensuring a tight bond. Complete X structures from multiple angles, including the top surface. 6. Allow the assembly to cure for at least 24 hours before sanding any excess material.
With this file you will be able to print Carbon skeleton MHQ arms with your 3D printer. Click on the button and save the file on your computer to work, edit or customize your design. You can also find more 3D designs for printers on Carbon skeleton MHQ arms.