Car radio antenna ^^ / M5 spacer
pinshape
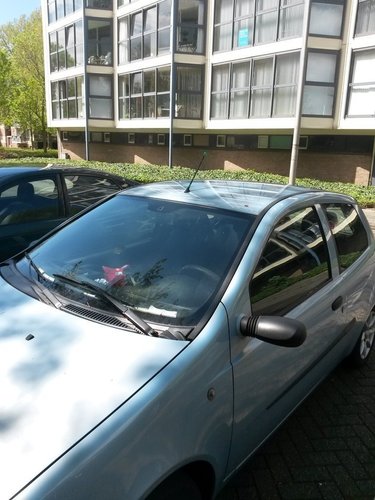
Summary Last week, I headed out to a car wash but neglected to remove my radio antenna, which promptly broke down. The repair bill for the antenna was £5, so I decided to take matters into my own hands and try making my own antenna. I picked up a metre of M5 threaded rod and divided it into four pieces - that way, I'd have some spares on hand for the next time it happened. When I connected the rod to my radio, it worked beautifully once again; although, the makeshift setup looked pretty rough. So, I figured it was high time to create something a bit more aesthetically pleasing. Next up, I crafted a pipe (with an inner diameter of 4.6mm and an outer diameter of 5.4mm) using SolidWorks. Then, I started experimenting with Slic3r's spiral vase settings. After some trial and error, I finally managed to find the right settings to make the female M5 thread fit snugly over my rod. The settings I employed included: - Nozzle size: 0.8 (my nozzle is actually a bit smaller at 0.4, but that's the only way I could achieve a layer thickness of 0.75) - Layer thickness: 0.75 - Speed: very low (7mm/s) - Perimeters: 1 - Fan speed: a constant 70% And for material settings: - Filament diameter: 1.75 - Extrusion multiplier: 2.21, as I needed at least double the amount of material to compensate for the layer thickness and width I was aiming for. To get the object to fit my M5 threaded rod, I scaled it up to 144% normal size in the end. The result? A "female" M5 threaded-rod that worked a treat. And to prove that my setup wasn't one-off, I also printed the "male" M5 threaded-rod by scaling my pipe down to 61%, and it worked beautifully too.
With this file you will be able to print Car radio antenna ^^ / M5 spacer with your 3D printer. Click on the button and save the file on your computer to work, edit or customize your design. You can also find more 3D designs for printers on Car radio antenna ^^ / M5 spacer.