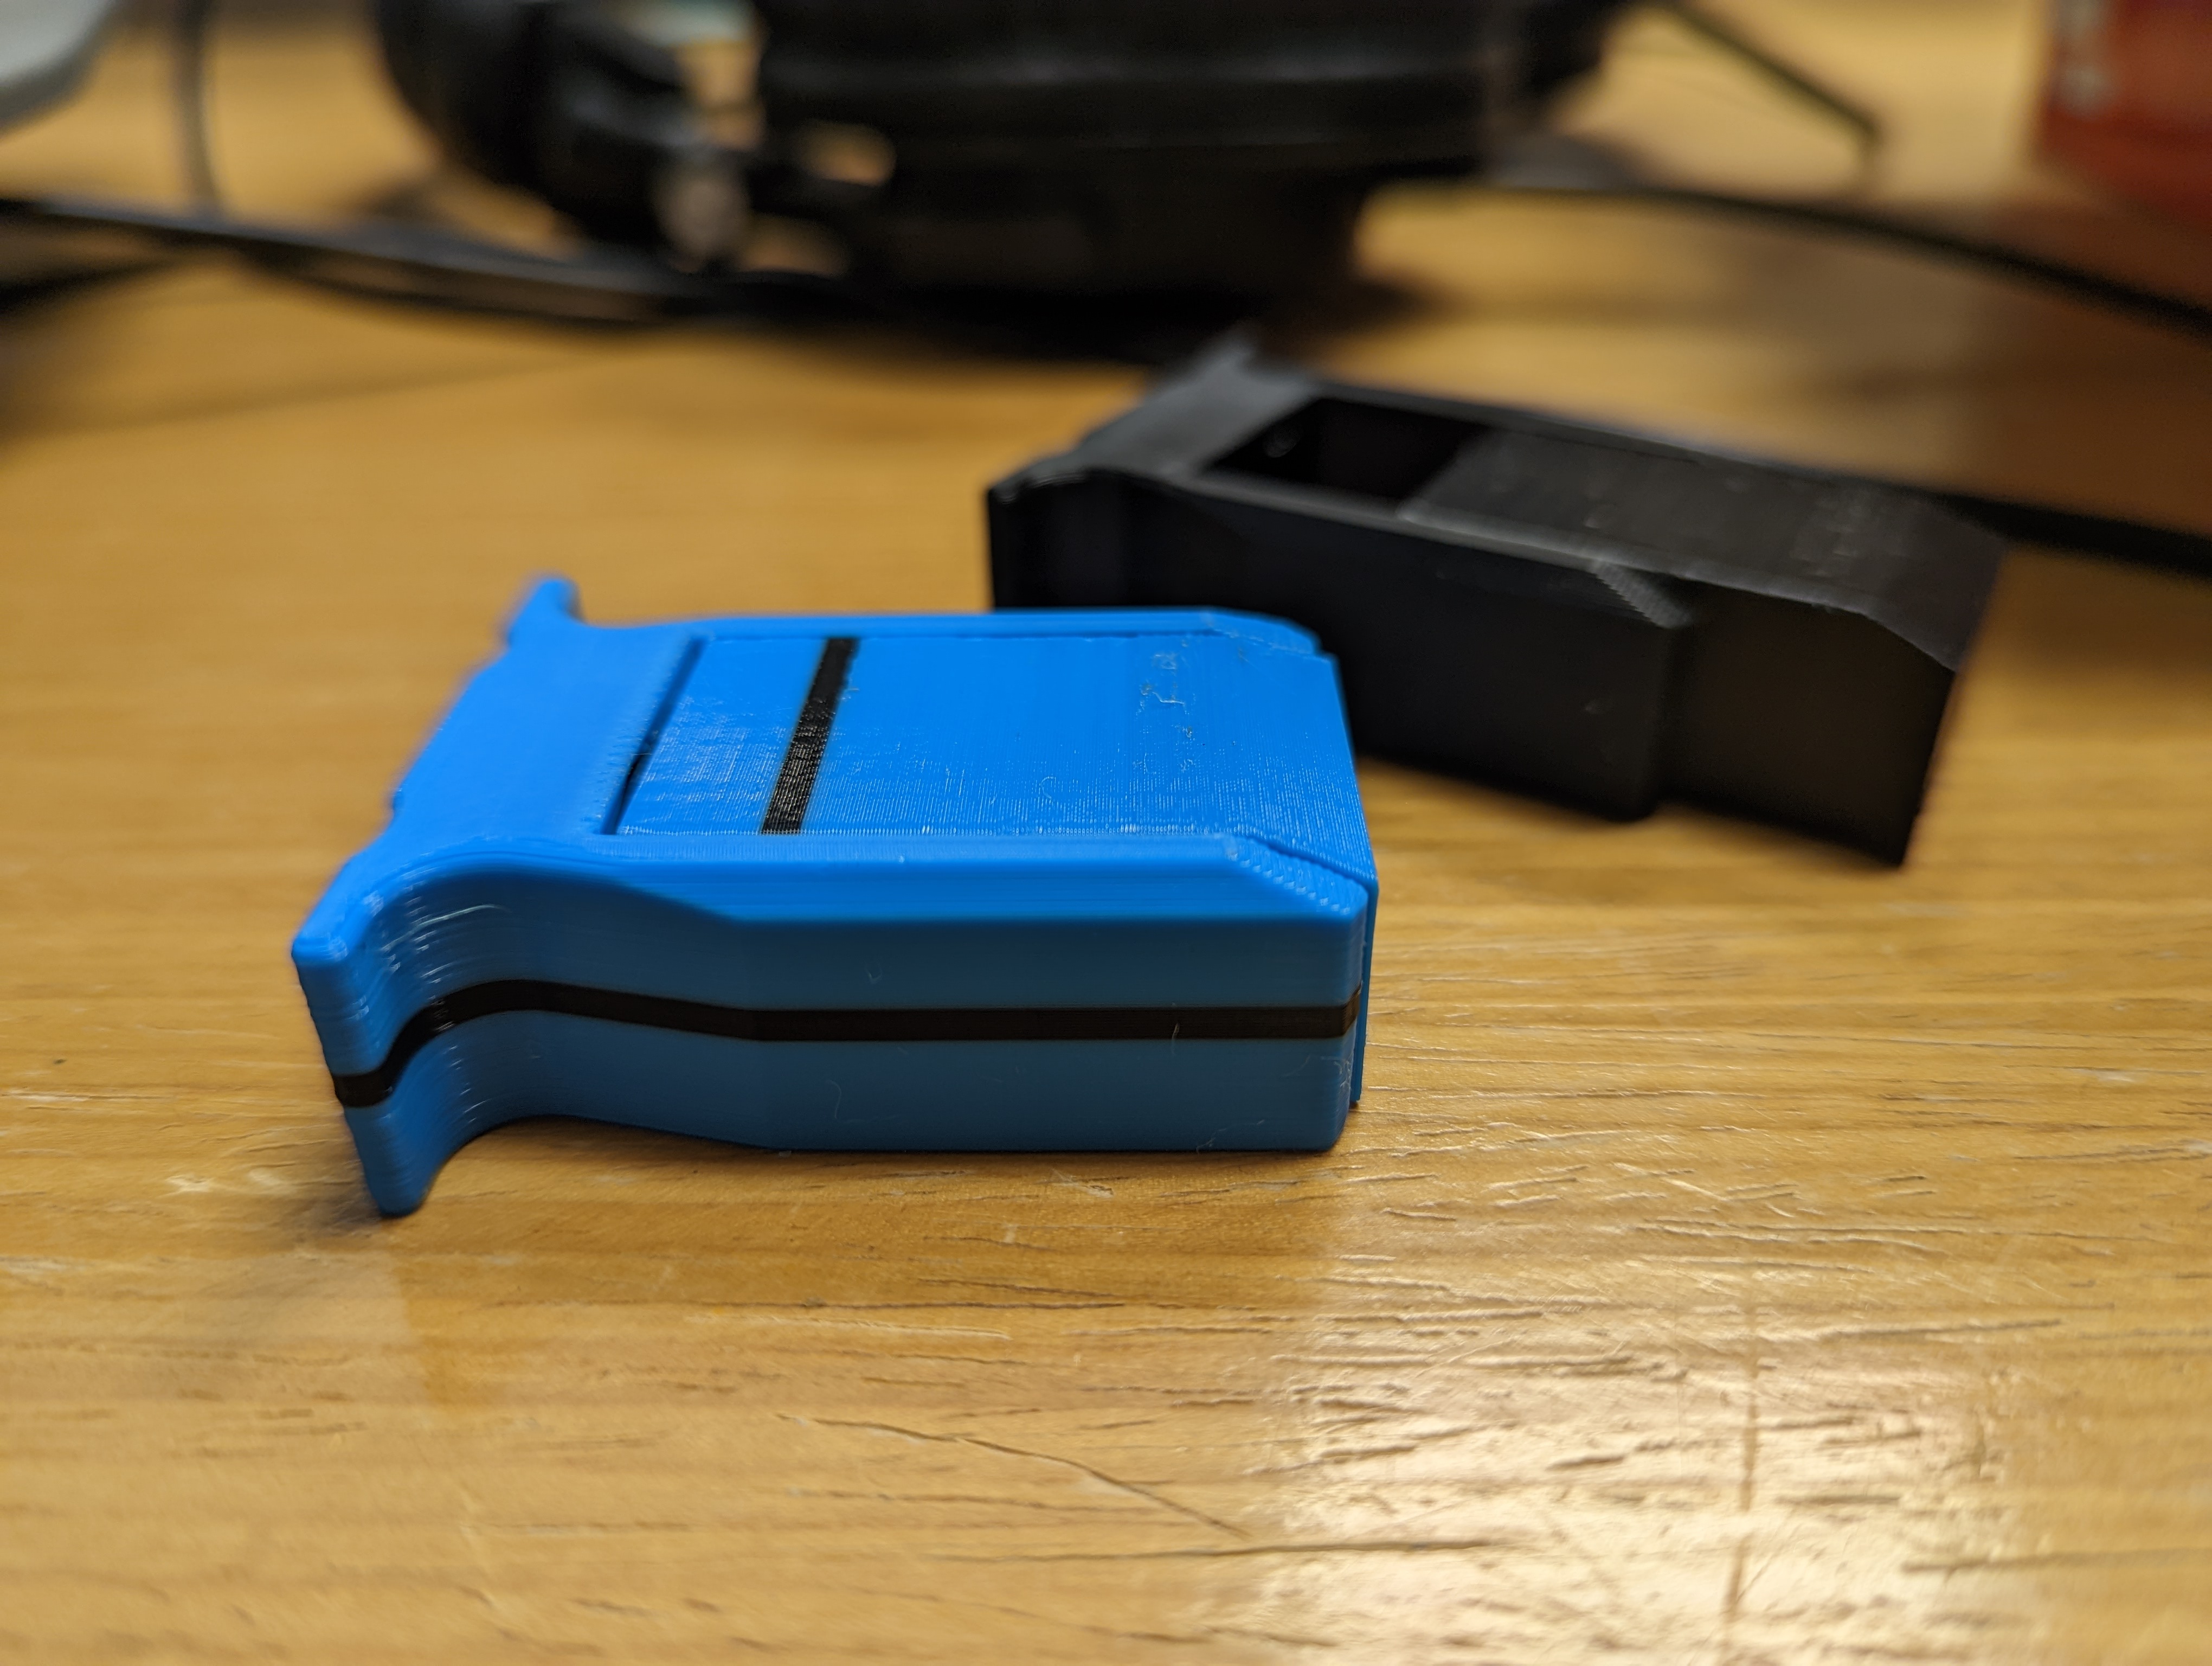
Captured XT90S Loop Key
prusaprinters
<p><strong>Goal:</strong></p><p>a new high current loop key design that is:</p><ul><li>easily 3D printable</li><li>captured / self-contained / no losing keys or carrying another fob</li><li>compact & small footprint</li><li>secure mounting</li><li>locks out when powered down</li><li>slick looking</li><li>reliable</li></ul><p><strong>Specs:</strong></p><ul><li>Ring Handle version: 78mm L x 33mm W x 17mm H</li><li>T-Handle version: 52mm L x 44mm W x 17mm H</li><li>Mounting Hardware: requires qty 2 x <a href="https://www.mcmaster.com/90591A250/">M3 hex nuts</a>, qty 2 x 8 or <a href="https://www.mcmaster.com/91306A722/">10 mm long M3 fasteners</a> (depending on enclosure wall thickness)</li><li>Epoxy strongly recommended to lock the XT90 connectors into their housings. But DON’T COVER THE NUTS!</li></ul><p><strong>Print Settings:</strong></p><ul><li>0.20 layer height</li><li>4 perimeter walls, 4 top/bottom - # of walls is important to get max strength in the slider arms</li><li>~20% infill (i prefer <a href="https://help.prusa3d.com/article/infill-patterns_177130">Gyroid pattern</a> for strength and speed)</li><li>“Mount” printed vertically (opening down), “Slider” printed horizontally - this is important</li><li>Brim on “Mount” to ensure 1st layer adhesion, as necessary</li><li>I print without, but support on the “mount” <i>may be required</i> to get a good fit for the female XT90, depending on how good your printer is at bridges.</li><li>Print time: should come in around 3 hrs for a set</li><li>Avoid crossing perimeters ON (to avoid stringing inside the cavity)</li><li>Seam - Nearest (for nicer surface finish / avoid zits)</li><li>External Perimeters First - this allows for better dimensional accuracy on the “Mount”, which enables better fit between parts</li><li>Thick Bridges - this may help the bridging on the “Slider” if you don’t use support</li><li>Enable Ironing (topmost surface only) - if you want a nice, smooth top layer</li></ul><p><strong>Assembly Instructions:</strong></p><ul><li>The Ring Handle version can take any normal loopkey. It’s get extra depth to account for an off the self (unmodified) XT90 with a section of 12awg connecting the pins.</li><li>The T-Handle version is designed to be as short and compact as possible. You have 4mm total height for the pins and wire on the end of the XT90 female. This means the pins need to be dremeled down.</li><li>Install the nuts into their pockets before assembling the mount</li><li>Use epoxy (5-15minute gorilla style works fine) to secure each connector in its part - you don't need much!</li><li>Print the drawing on letter (8.5" x 11") paper at 100% scale and use that as a drill guide</li></ul>
With this file you will be able to print Captured XT90S Loop Key with your 3D printer. Click on the button and save the file on your computer to work, edit or customize your design. You can also find more 3D designs for printers on Captured XT90S Loop Key.
